-
Notifications
You must be signed in to change notification settings - Fork 153
SAML Authentication in WordPress via OpenAM
SAMLv2, despite its venerable age, is the de facto standard for SSO (Single Sign On) in an enterprise environment. And in the following article, we will set up a SAML login to WordPress using OpenAM authentication. That is, when authenticating to WordPress, users will be redirected to OpenAM and, after authenticating to OpenAM will be automatically authenticated to WordPress. Given OpenAM's flexibility in customizing authentication methods, you can customize WordPress login not only by login and password but also, for example, using built-in Windows authentication (NTLMv2 or Kerberos), adding a second authentication factor (biometrics or one-time password) or even by scanning a QR code in a special mobile app.
Instead of WordPress, it can be almost any application that supports SAMLv2. The OpenAM configuration will be nearly identical. Only the settings for the application itself will differ.
Service Provider (SP) - The application whose services users will use after authentication.
Identity Provider (IdP) - the application that authenticates users and provides the Service Provider with information about the authenticated accounts.
In our case, the Identity Provider is OpenAM and the Service Provider is WordPress.
For demonstration purposes, all applications will be run in Docker containers via the Docker Compose utility.
Add the OpenAM and WordPress hostnames 127.0.0.0.1 openam.example.org wordpress.example.org to the hosts file.
On systems running Windows, the hosts file is C:\Windows\System32\drivers\etc\hosts. On Linux and Mac systems, /etc/hosts.
Create a docker-compose.yml file with the following contents:
services:
  openam:
    image: openidentityplatform/openam:latest
    restart: always
    hostname: openam.example.org
    ports:
      - "8080:8080"
    volumes:
      - openam-data:/usr/openam/config
      - ./openam-config.properties:/usr/openam/openam-config.properties:ro
      - ./openam-init.sh:/usr/local/tomcat/bin/openam-init.sh:ro
    command: |
      bash /usr/local/tomcat/bin/openam-init.sh

  wordpress:
    image: wordpress
    restart: always
    hostname: wordpress.example.org
    ports:
      - 8081:80
    environment:
      WORDPRESS_DB_HOST: db
      WORDPRESS_DB_USER: exampleuser
      WORDPRESS_DB_PASSWORD: examplepass
      WORDPRESS_DB_NAME: exampledb
    volumes:
      - wordpress:/var/www/html

  db:
    image: mysql:8.0
    restart: always
    environment:
      MYSQL_DATABASE: exampledb
      MYSQL_USER: exampleuser
      MYSQL_PASSWORD: examplepass
      MYSQL_RANDOM_ROOT_PASSWORD: '1'
    volumes:
      - db:/var/lib/mysql

volumes:
  wordpress:
  db:
  openam-data:
To configure OpenAM immediately configured at startup, create an OpenAM openam-config.properties configuration file:
ACCEPT_LICENSES=true
SERVER_URL=http://openam.example.org:8080
DEPLOYMENT_URI=/openam
BASE_DIR=/usr/openam/config
locale=en_US
PLATFORM_LOCALE=en_US
AM_ENC_KEY=
ADMIN_PWD=passw0rd
AMLDAPUSERPASSWD=p@passw0rd
COOKIE_DOMAIN=openam.example.org
ACCEPT_LICENSES=true
DATA_STORE=embedded
DIRECTORY_SSL=SIMPLE
DIRECTORY_SERVER=openam.example.org
DIRECTORY_PORT=50389
DIRECTORY_ADMIN_PORT=4444
DIRECTORY_JMX_PORT=1689
ROOT_SUFFIX=dc=openam,dc=example,dc=org
DS_DIRMGRDN=cn=Directory Manager
DS_DIRMGRPASSWD=passw0rd
and an initial configuration script openam-init.sh
#!/bin/bash

/usr/local/tomcat/bin/catalina.sh run &
SERVER_PID=$!

# Wait for OpenAM to respond to isAlive.jsp
until curl -f -s -o /dev/null http://localhost:8080/openam/isAlive.jsp; do
    echo "Waiting for OpenAM to fully initialize..."
    sleep 5
done

if [[ -f /usr/openam/config/boot.json ]]; then
    echo "OpenAM has already been configured."
else
    echo "Setting up OpenAM..."
    java -jar /usr/openam/ssoconfiguratortools/openam-configurator-tool*.jar --file /usr/openam/openam-config.properties
fi

wait $SERVER_PID
Start the containers with the docker compose up command.
If you already have WordPress configured, you can skip this section. If not, open the http://wordpress.example.org:8081/wp-admin/install.php link in your browser. Select the language and go to settings. Fill in the settings and be sure to remember the generated password. You will need it to log in to the administrator console.
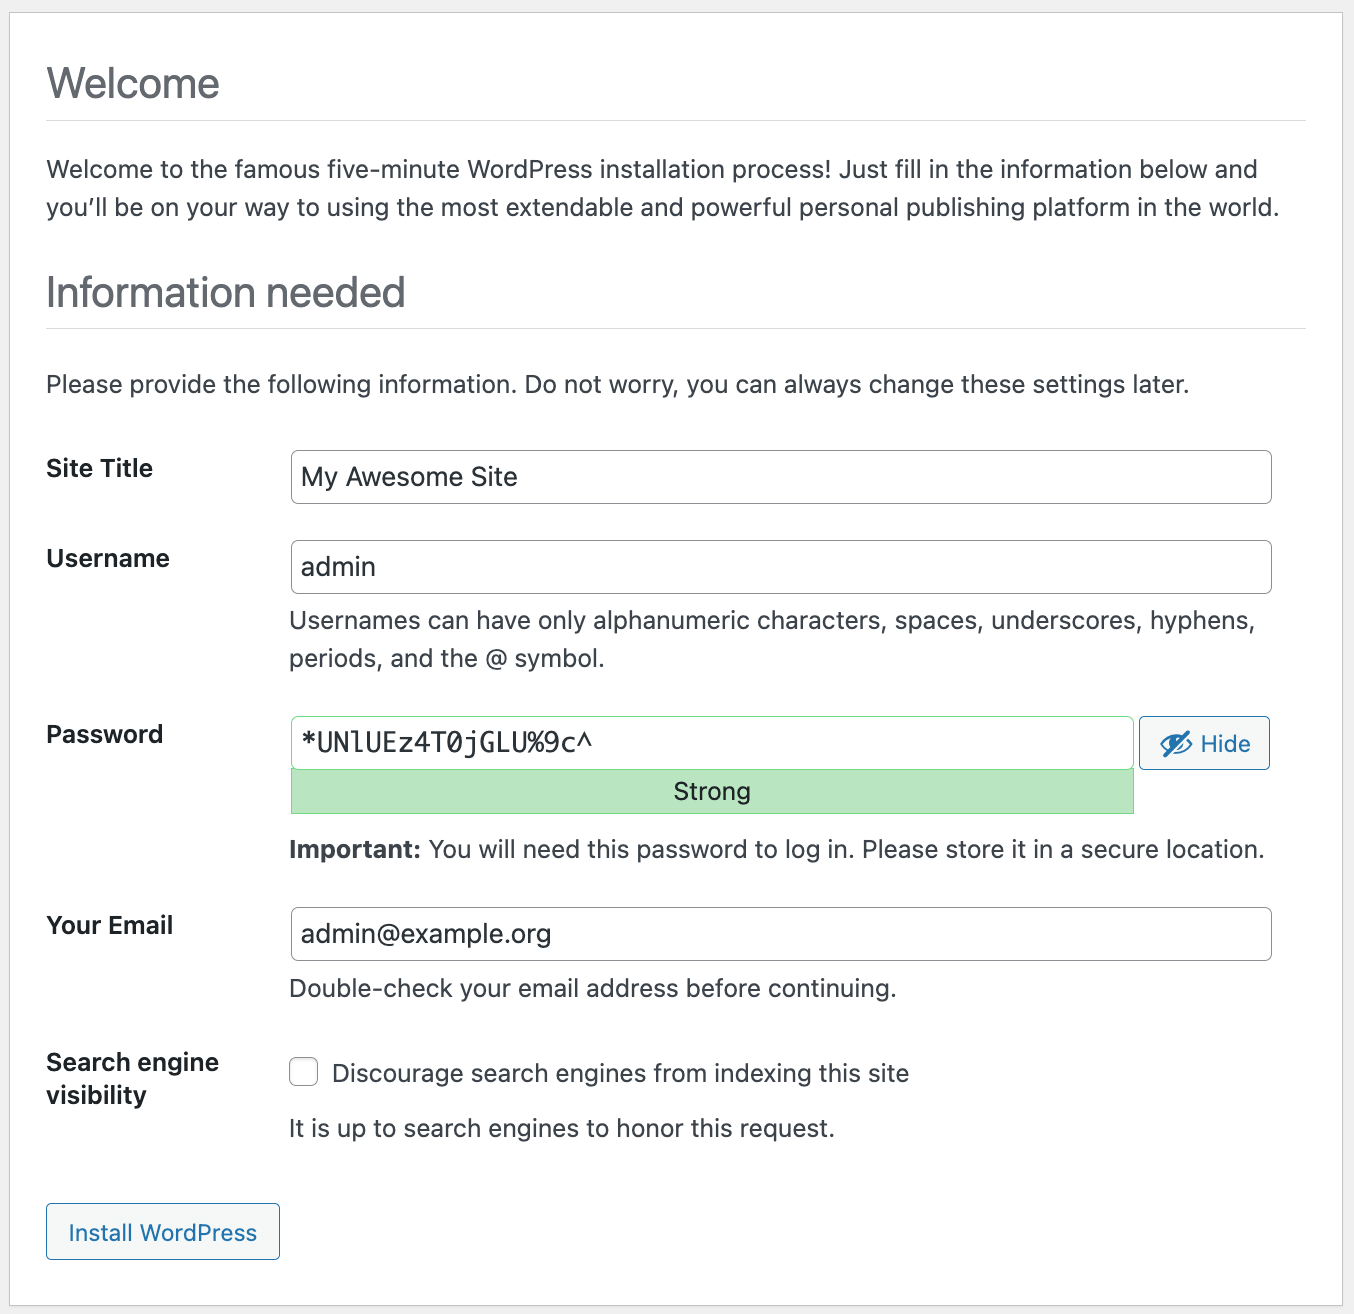
Press the Install WordPress button.
After completing the configuration, navigate to the login form and enter the administrator username and password specified during installation. The administrator console will open.
In the administrator console, select Plugins. Click the Add New Plugin button and install the miniOrange SAML Single Sign On - SSO Login plugin.
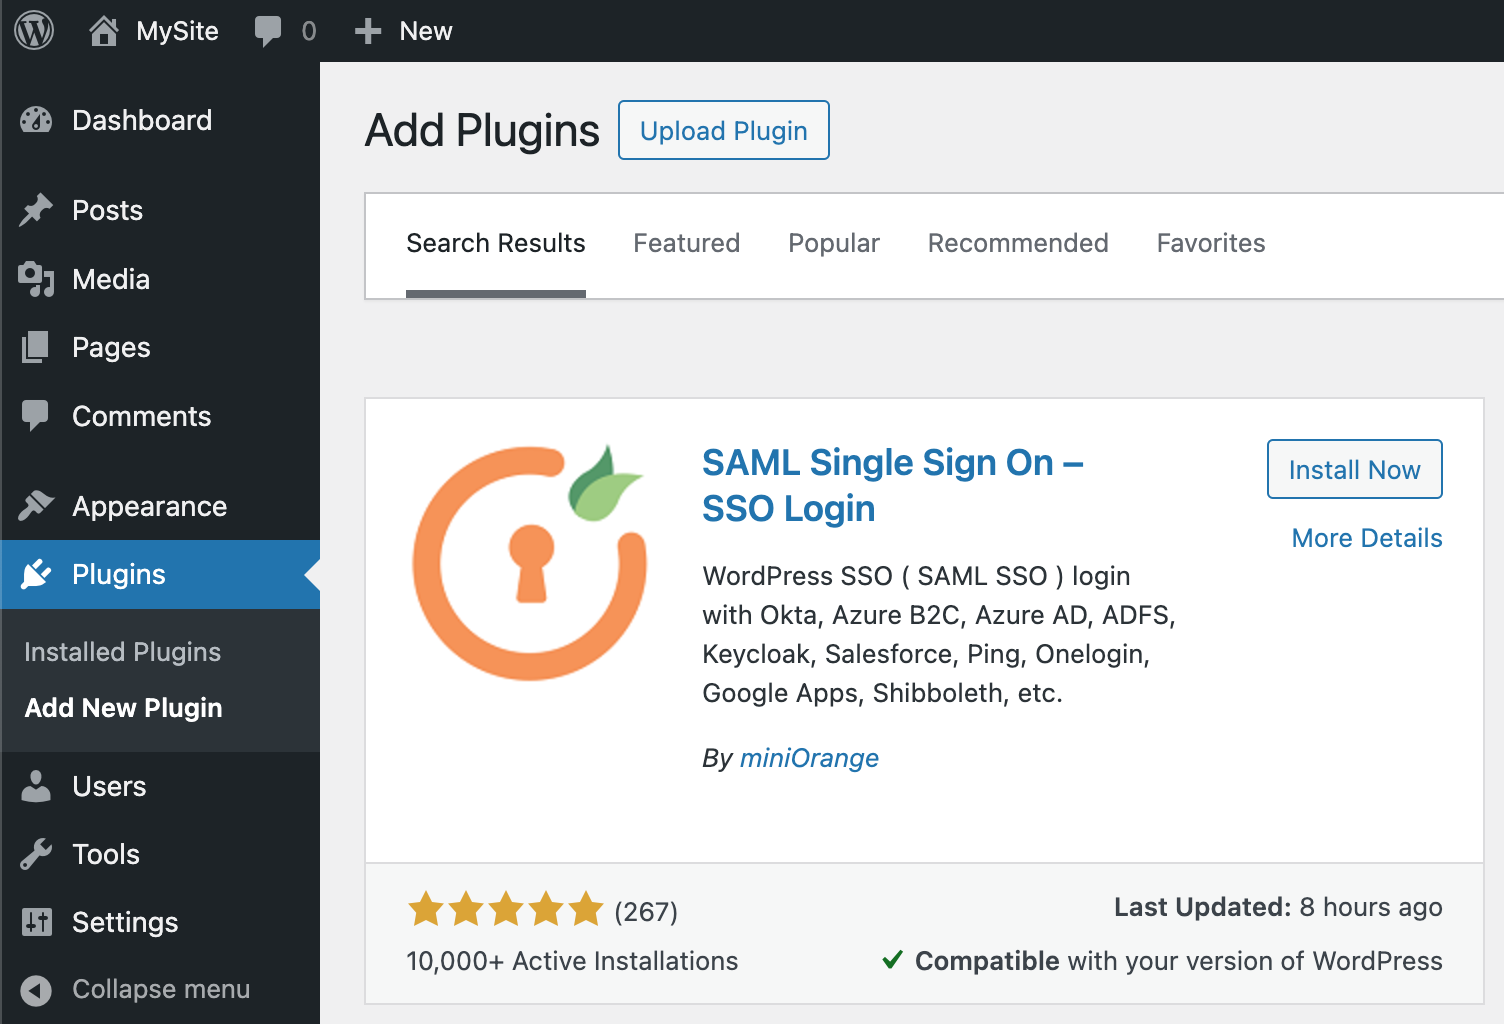
Once installed, activate the plugin by clicking the Activate button in the plugin window. In the left panel, you will see the settings item for the installed plugin.
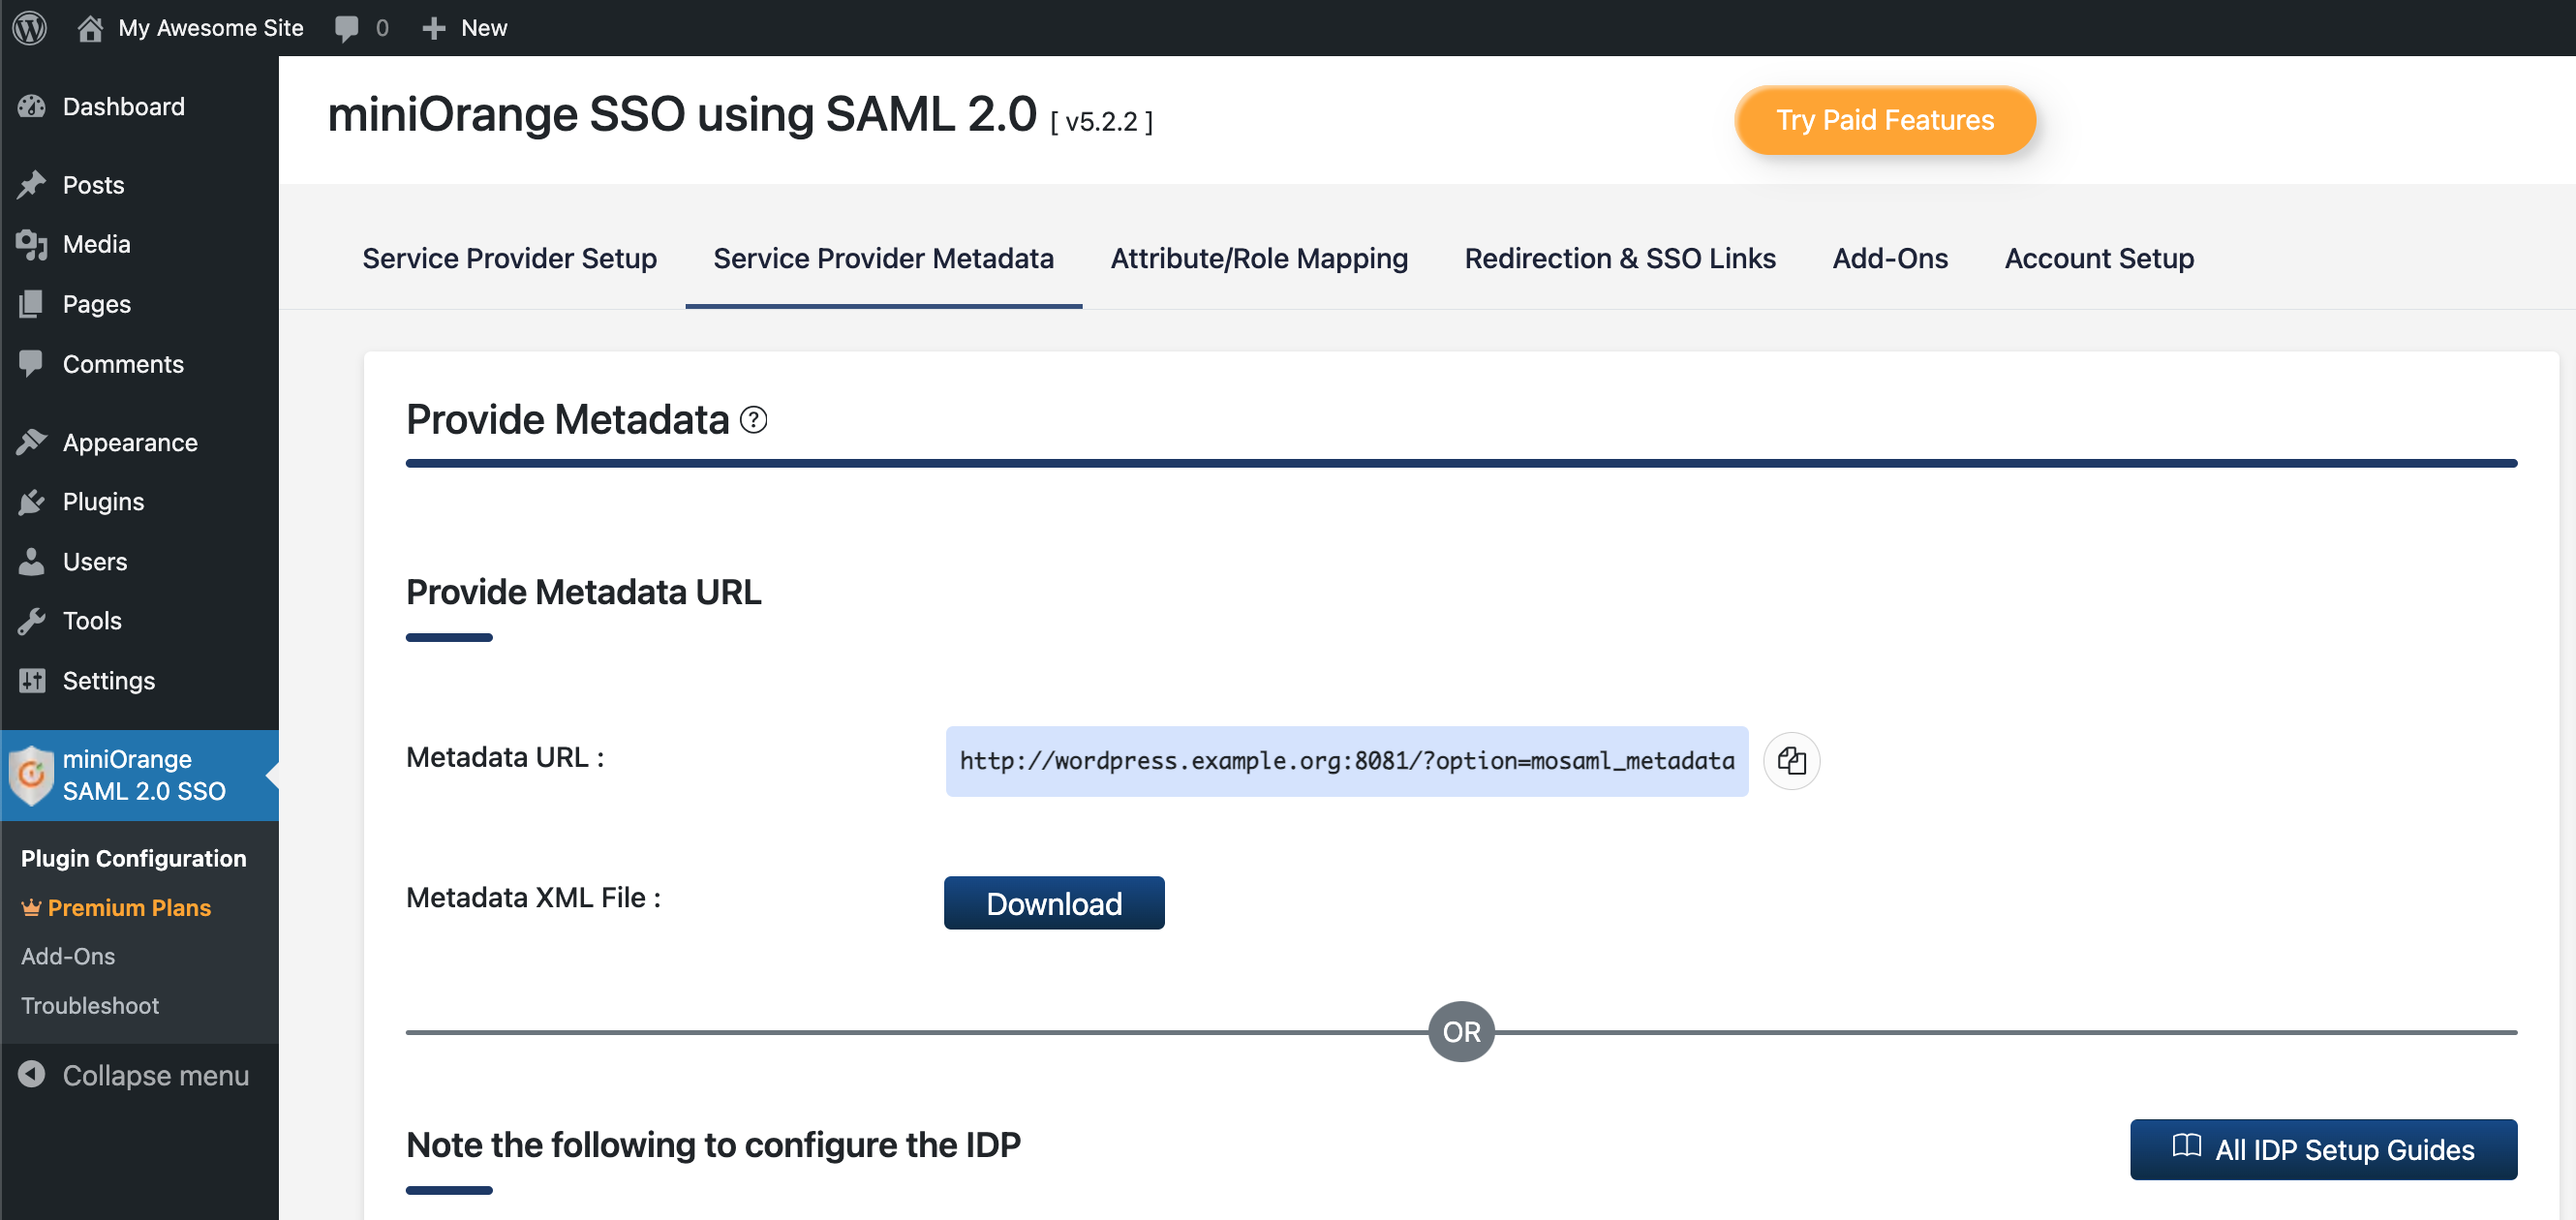
Go to the Service Provider Metadata section in the plugin settings panel and copy the Metadata URL. Change the port from 8081 to 80 because OpenAM will load metadata from the WordPress Docker container, available on port 80 within the Docker environment: http://wordpress.example.org:80/?option=mosaml_metadata.
Go to the OpenAM administrator console at http://openam.example.org:8080/openam/XUI/#login/.
Enter the OpenAM administrator login and password. In our case, it will be amadmin and passw0rd respectively.
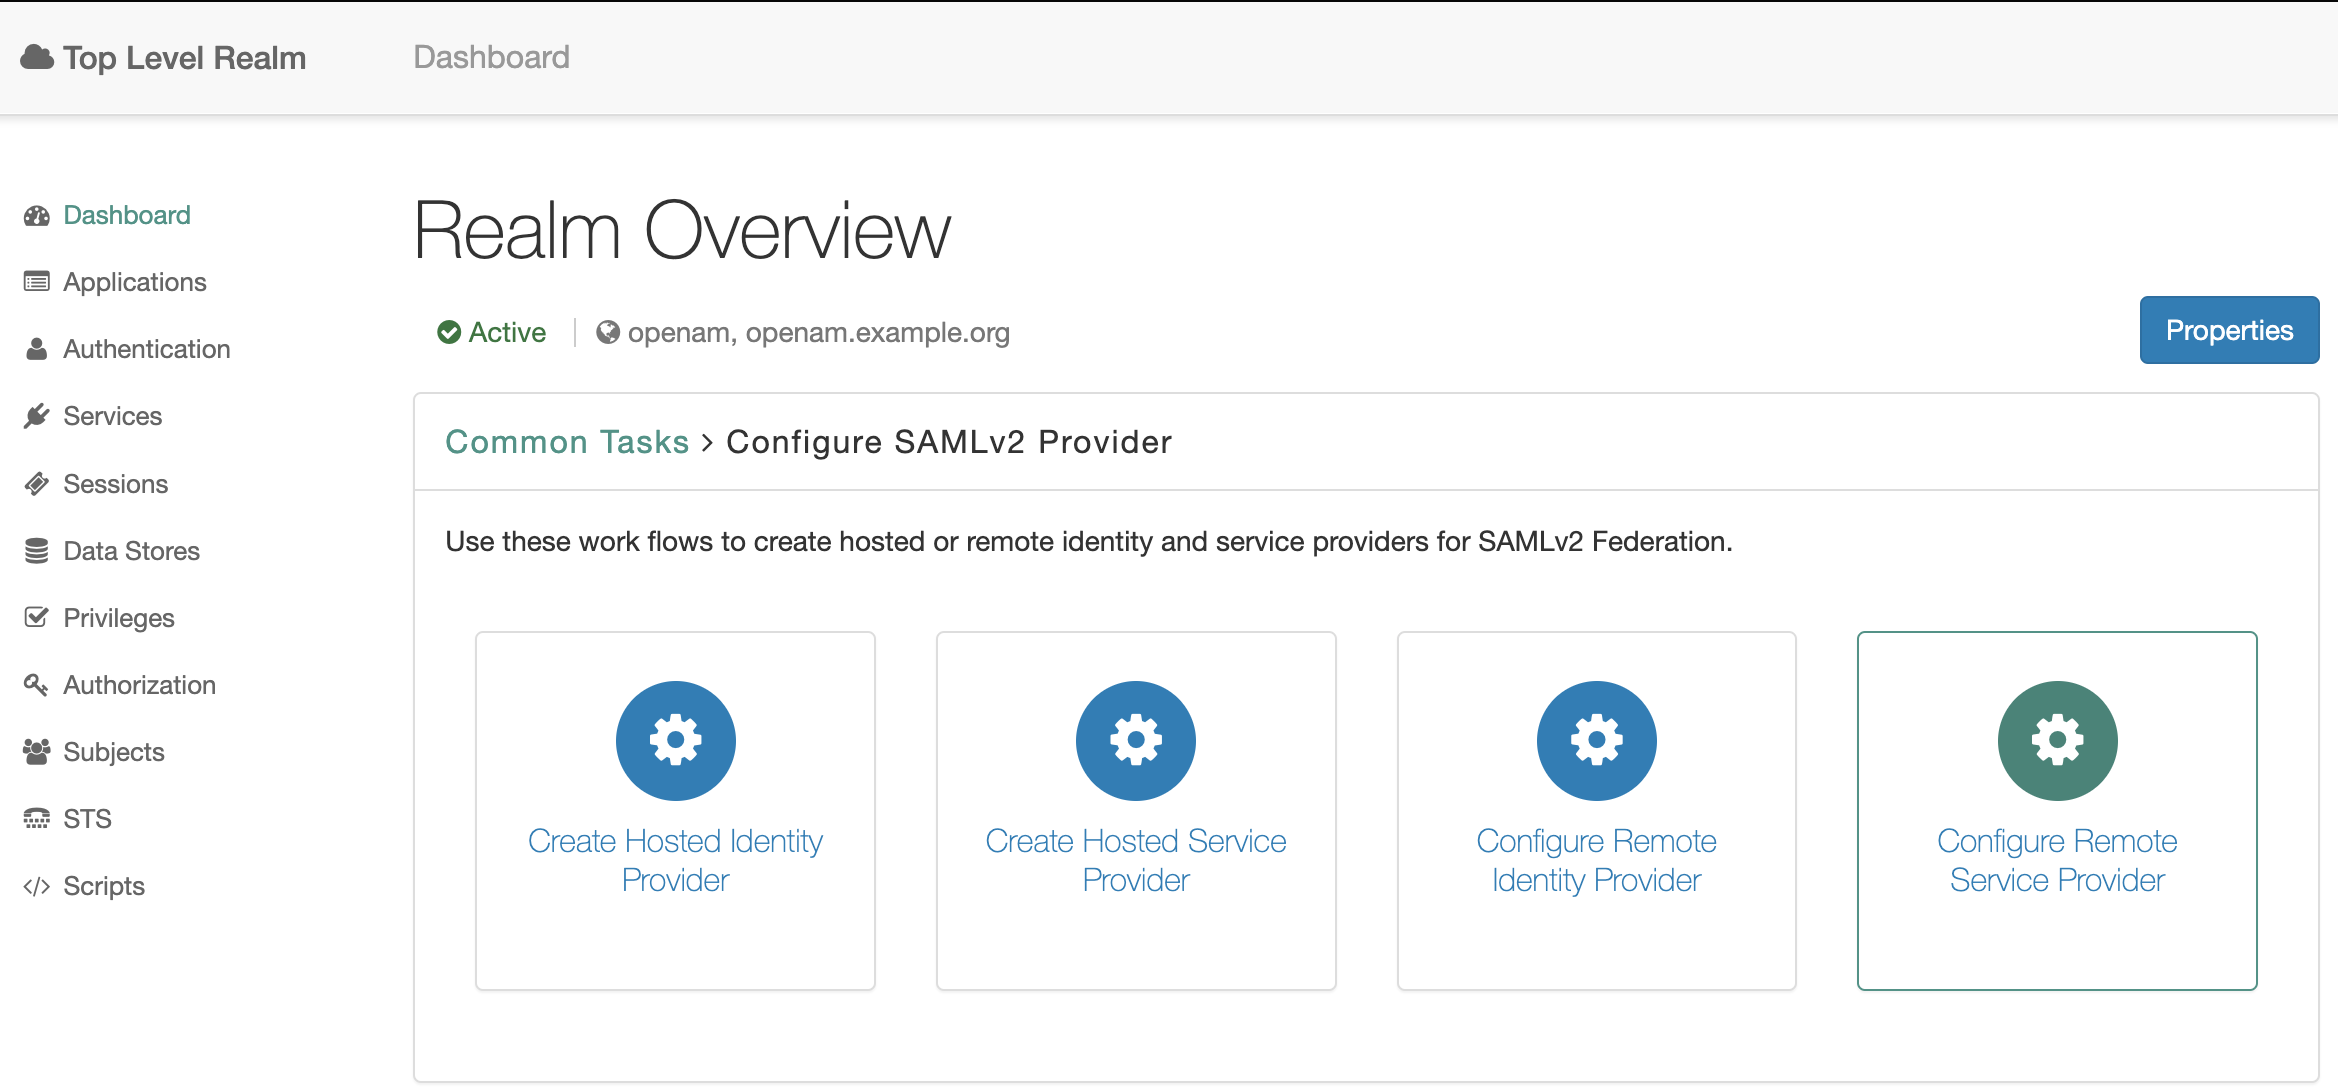
In the console, open Top Level Realm, click Configure SAMLv2 Provider → Create Hosted Identity Provider.
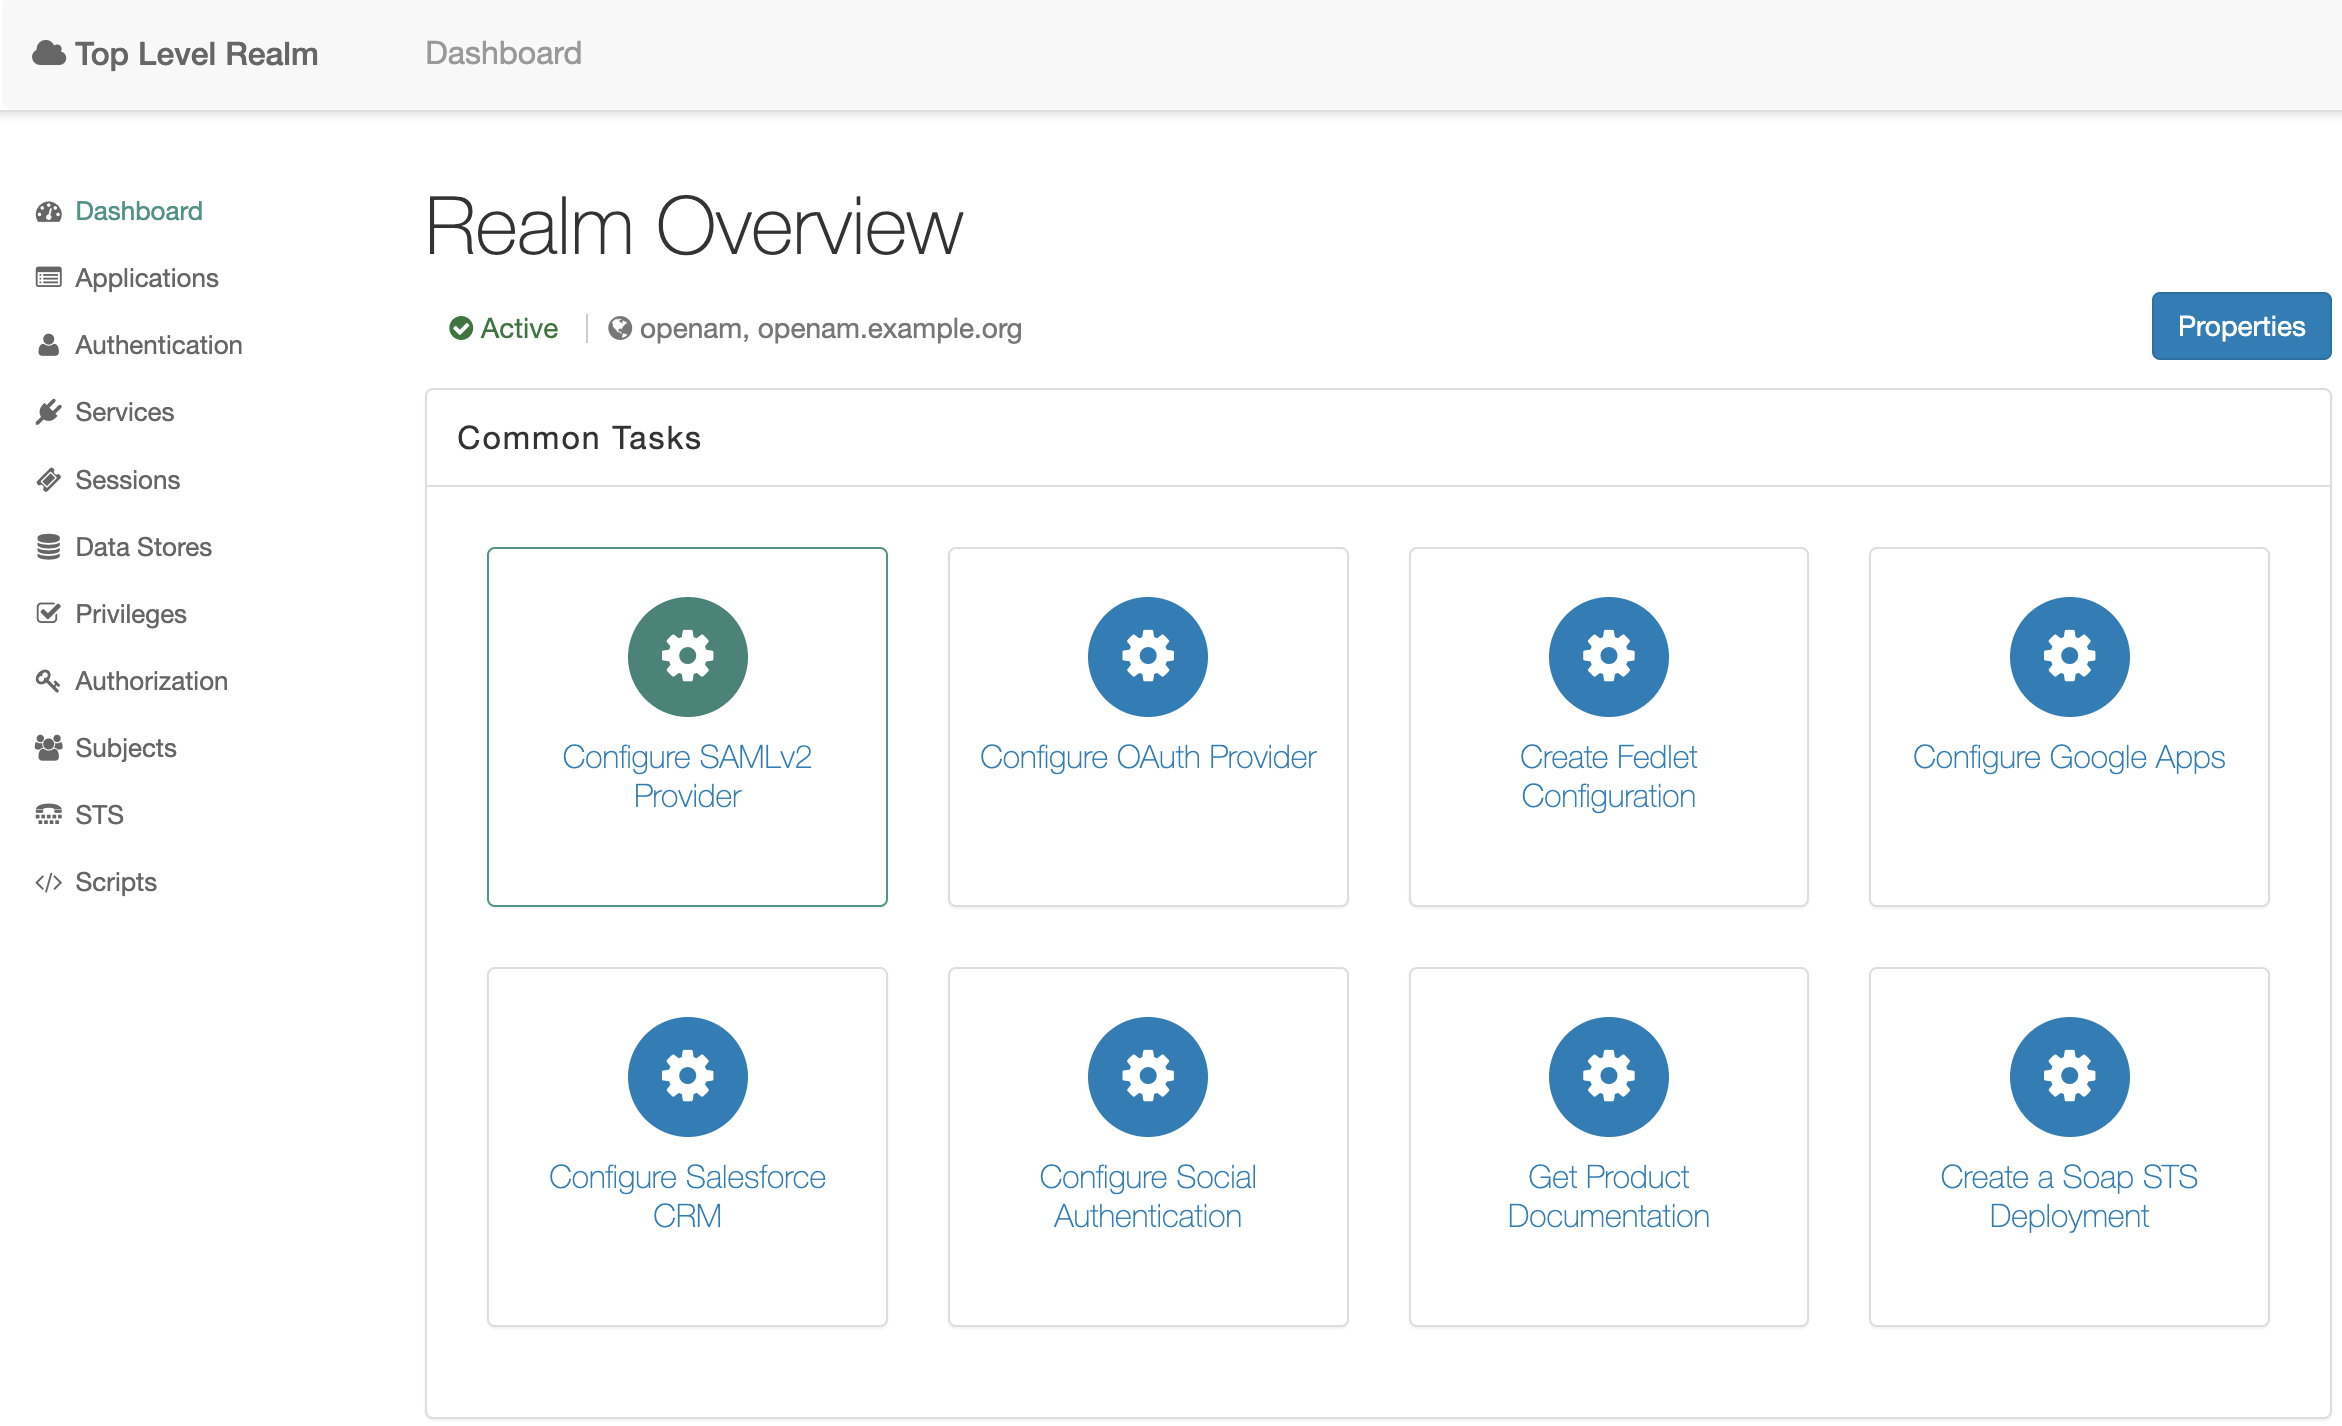
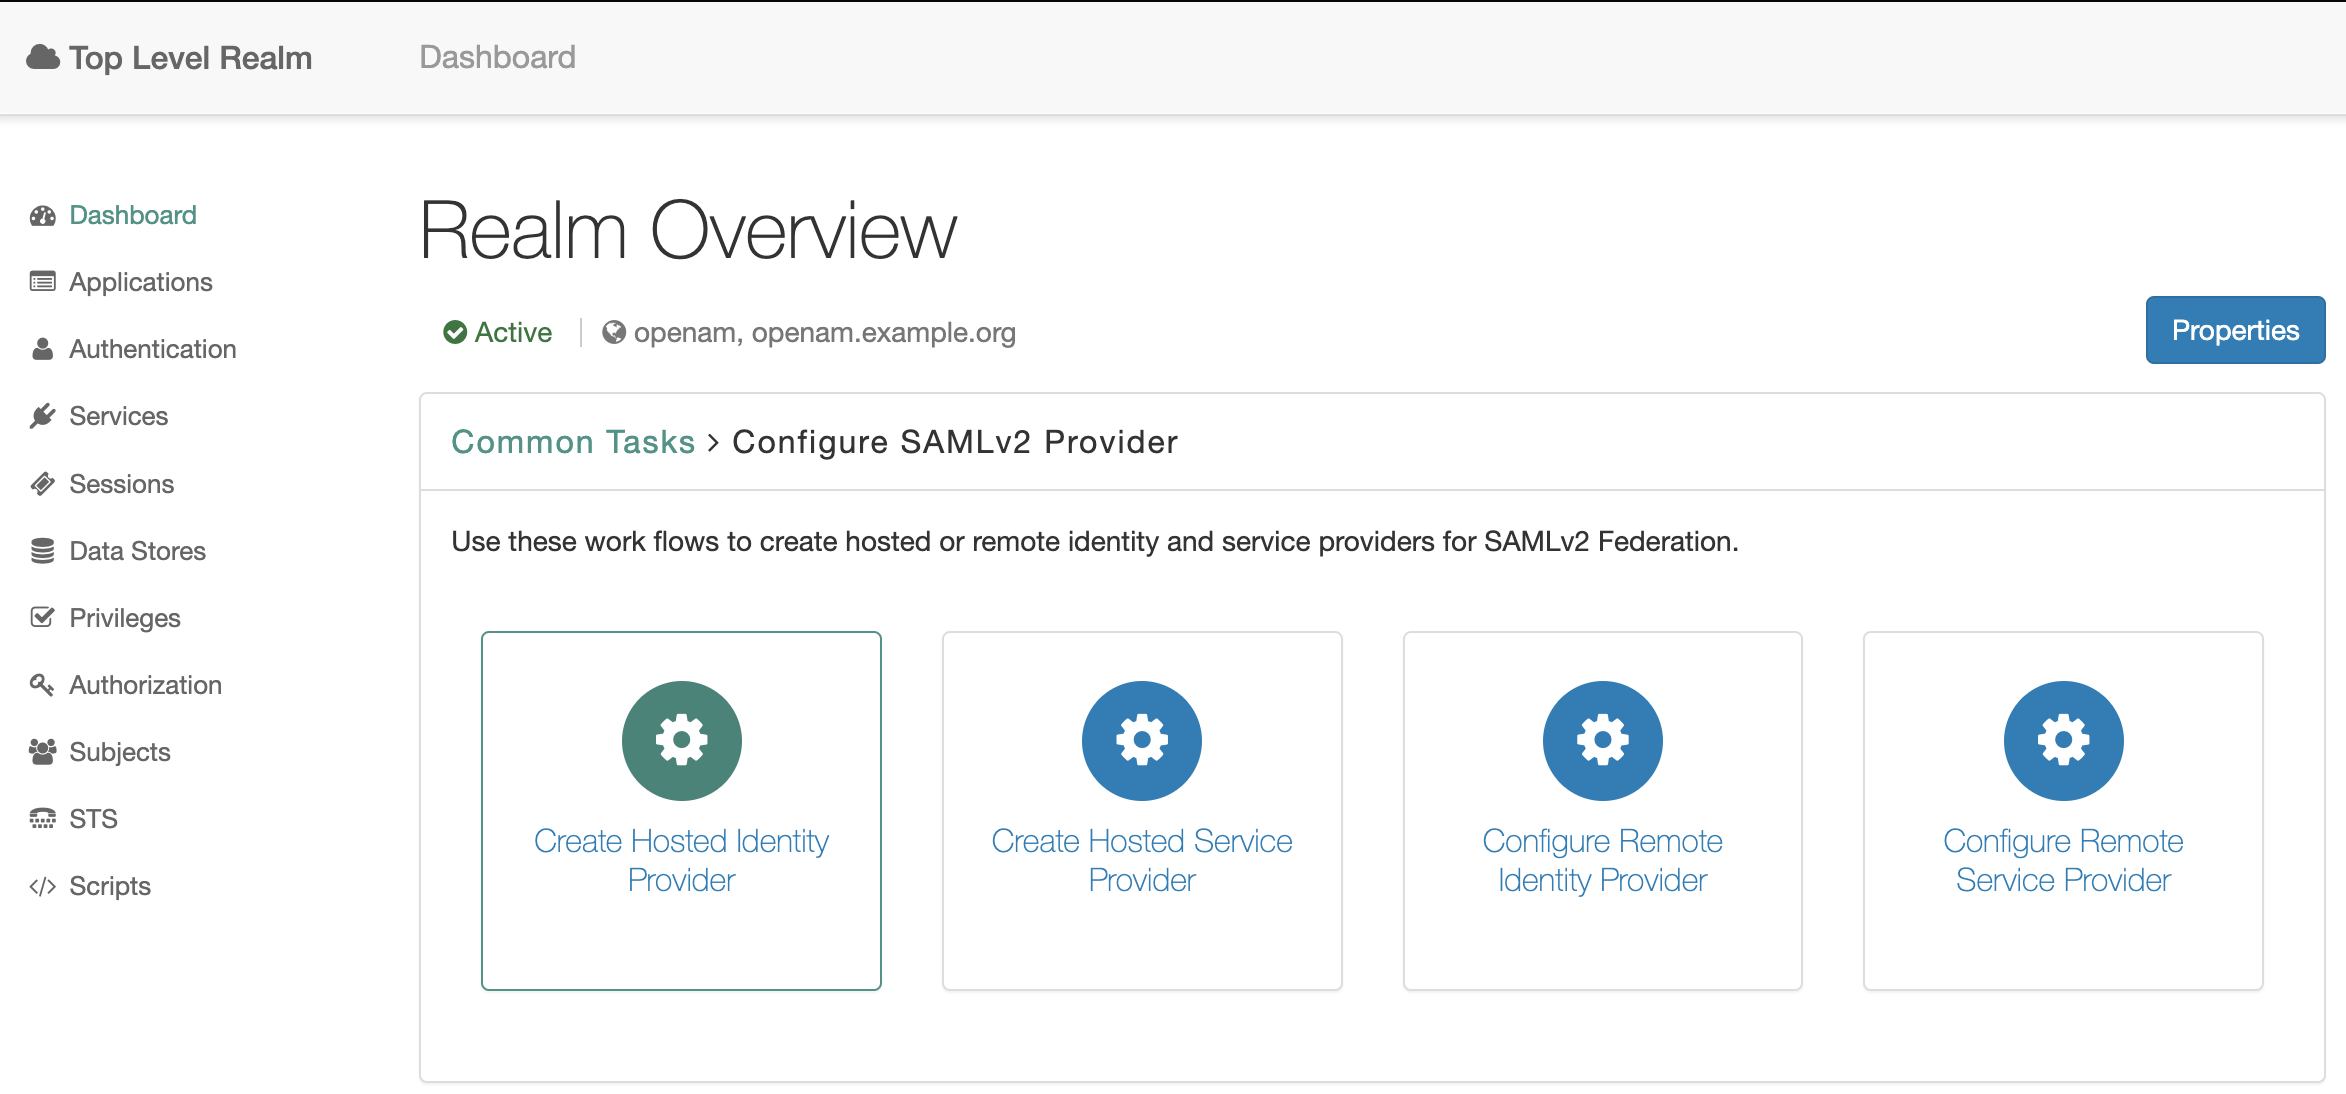
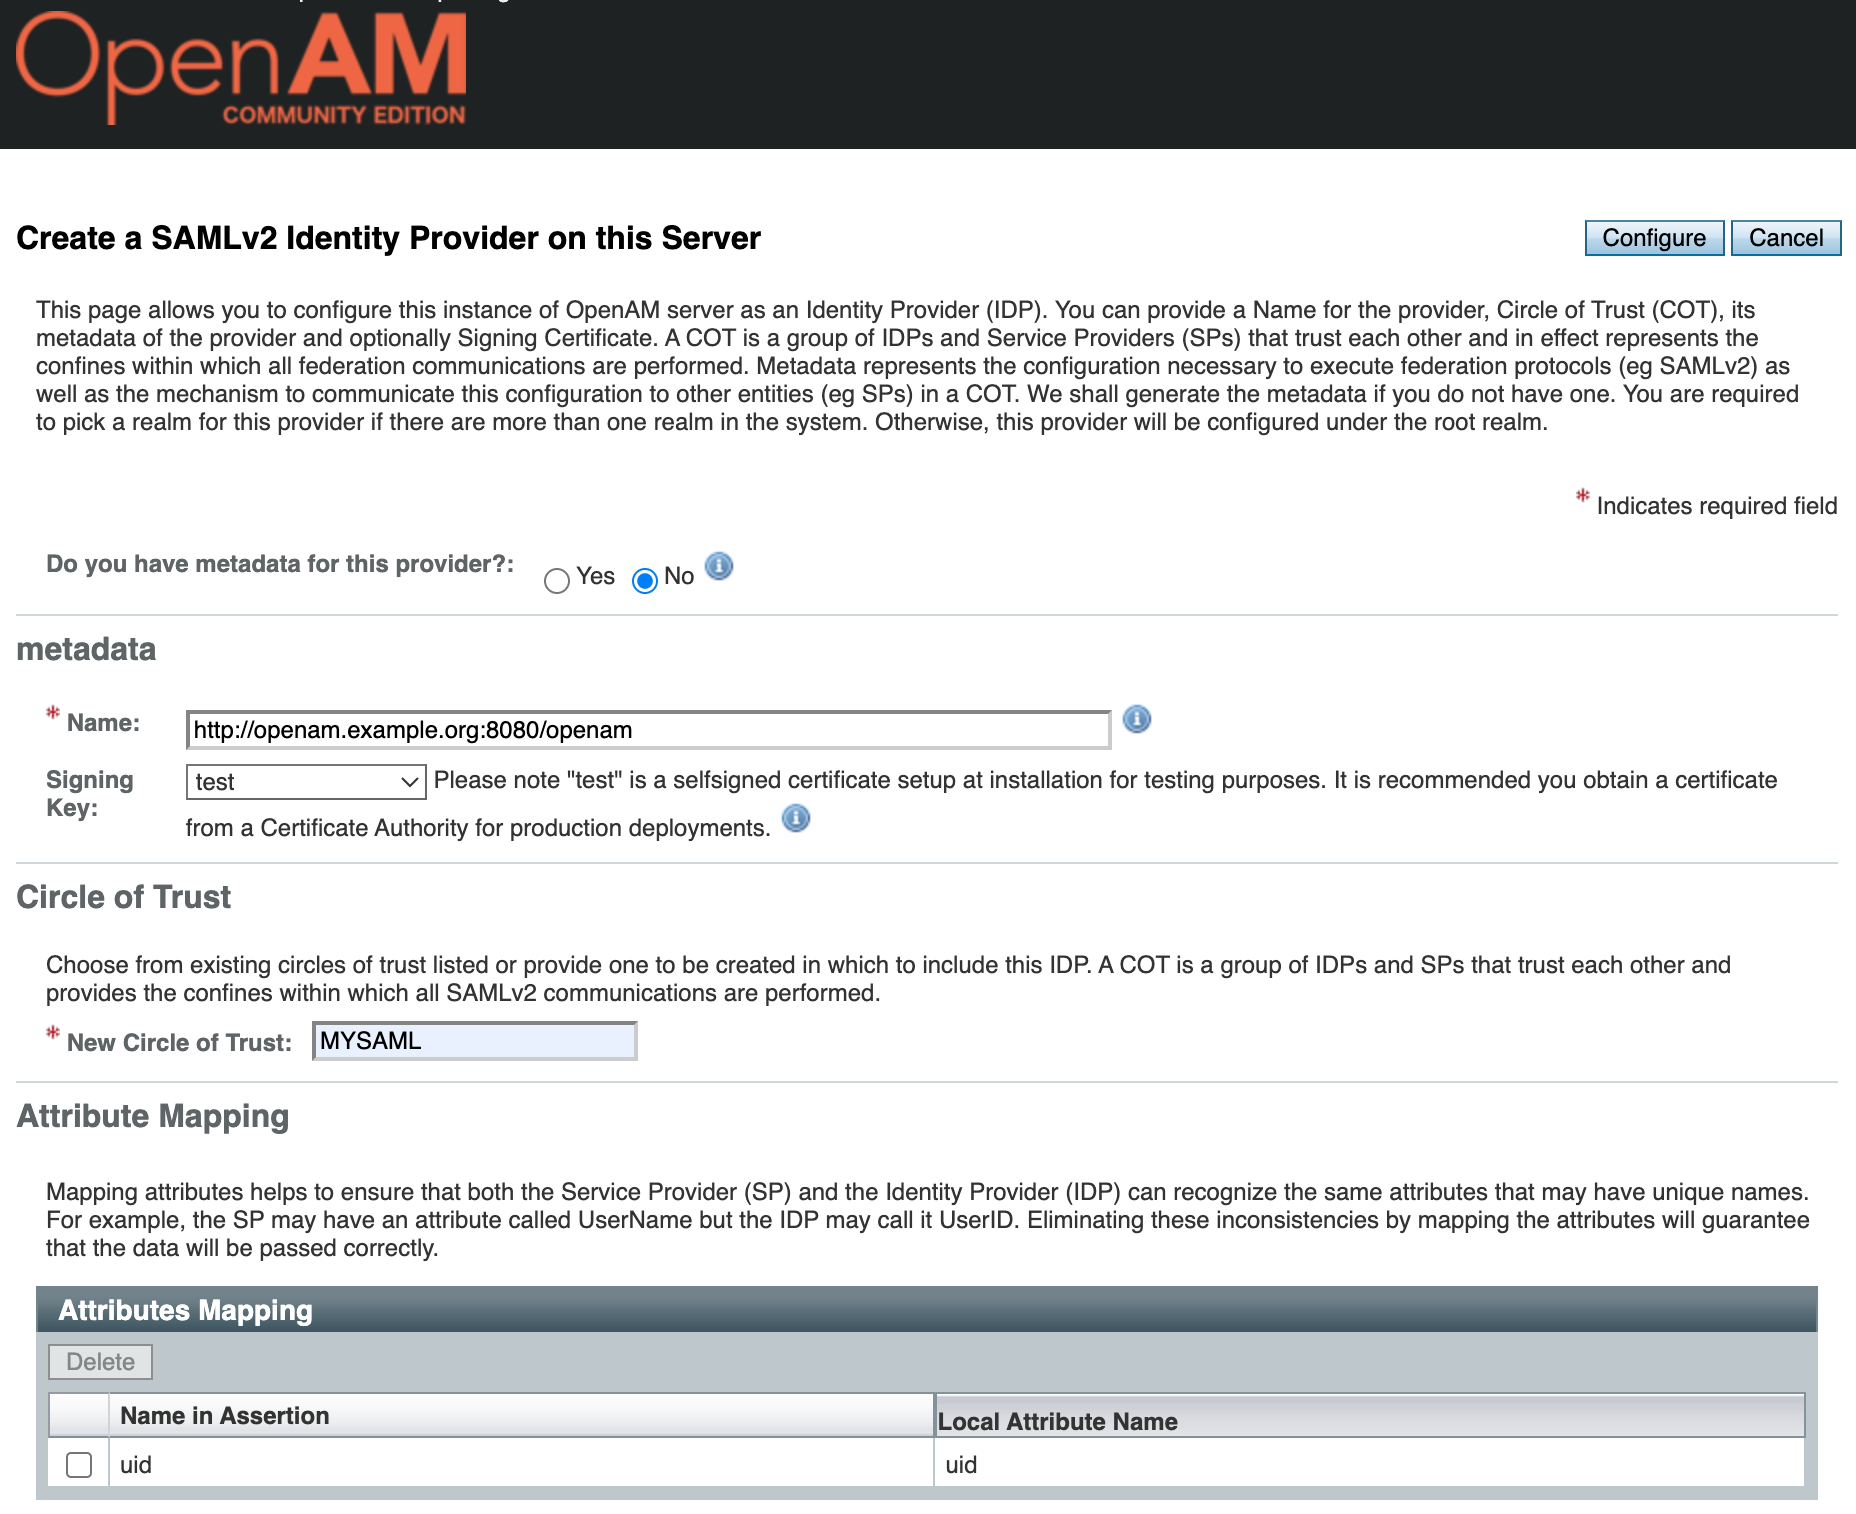
Complete the settings as shown in the screenshot and click the "Configure" button.
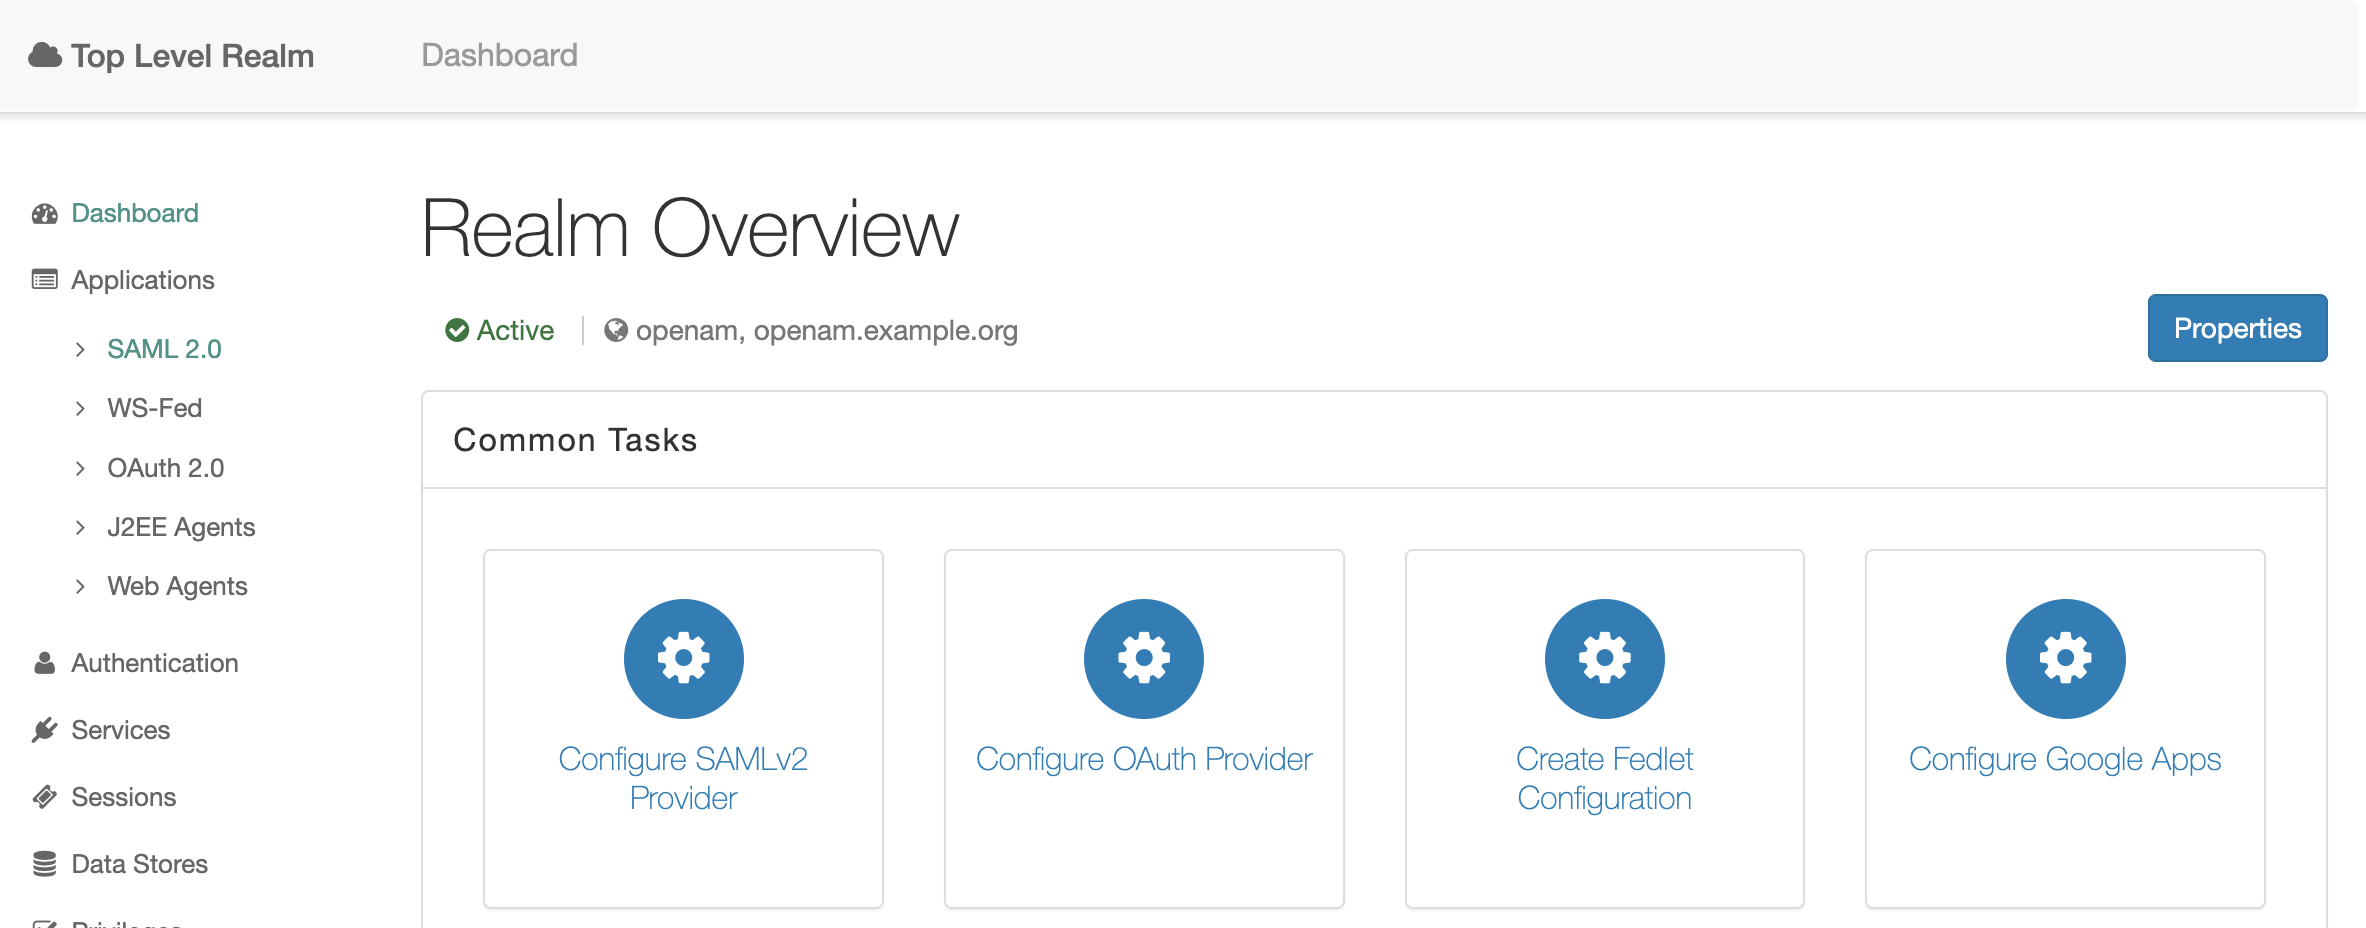
In the administrator console click Top Level Realm and in the left menu select Applications → SAML 2.0
In the Entity Providers section, open the settings for Identity Provider http://openam.example.org:8080/openam. On the Assertion Content tab, go to Name ID Format → NameID Value Map and add the value urn:oasis:names:tc:SAML:1.1:nameid-format:unspecified=uid
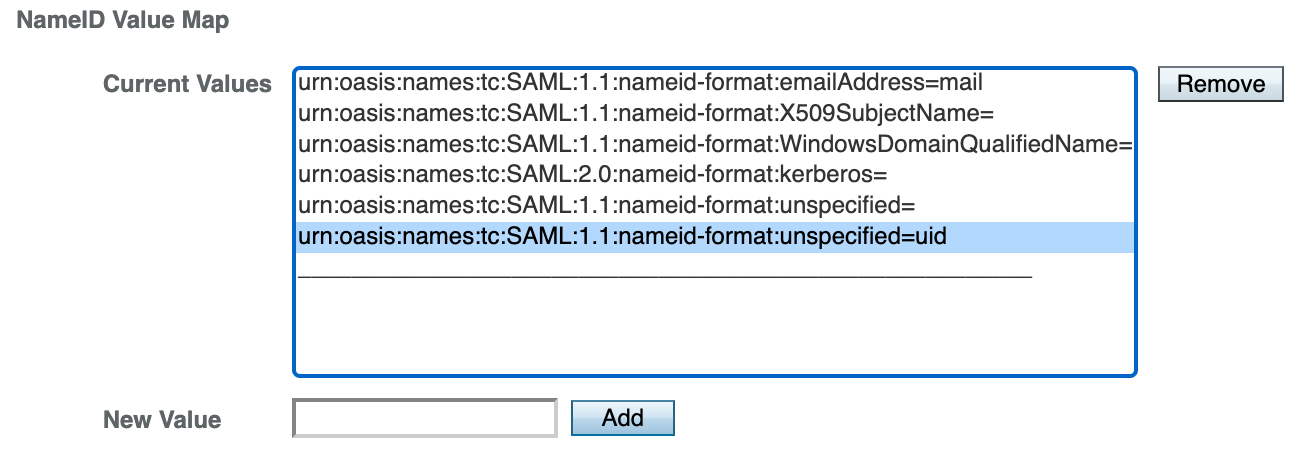
Press the Save button.
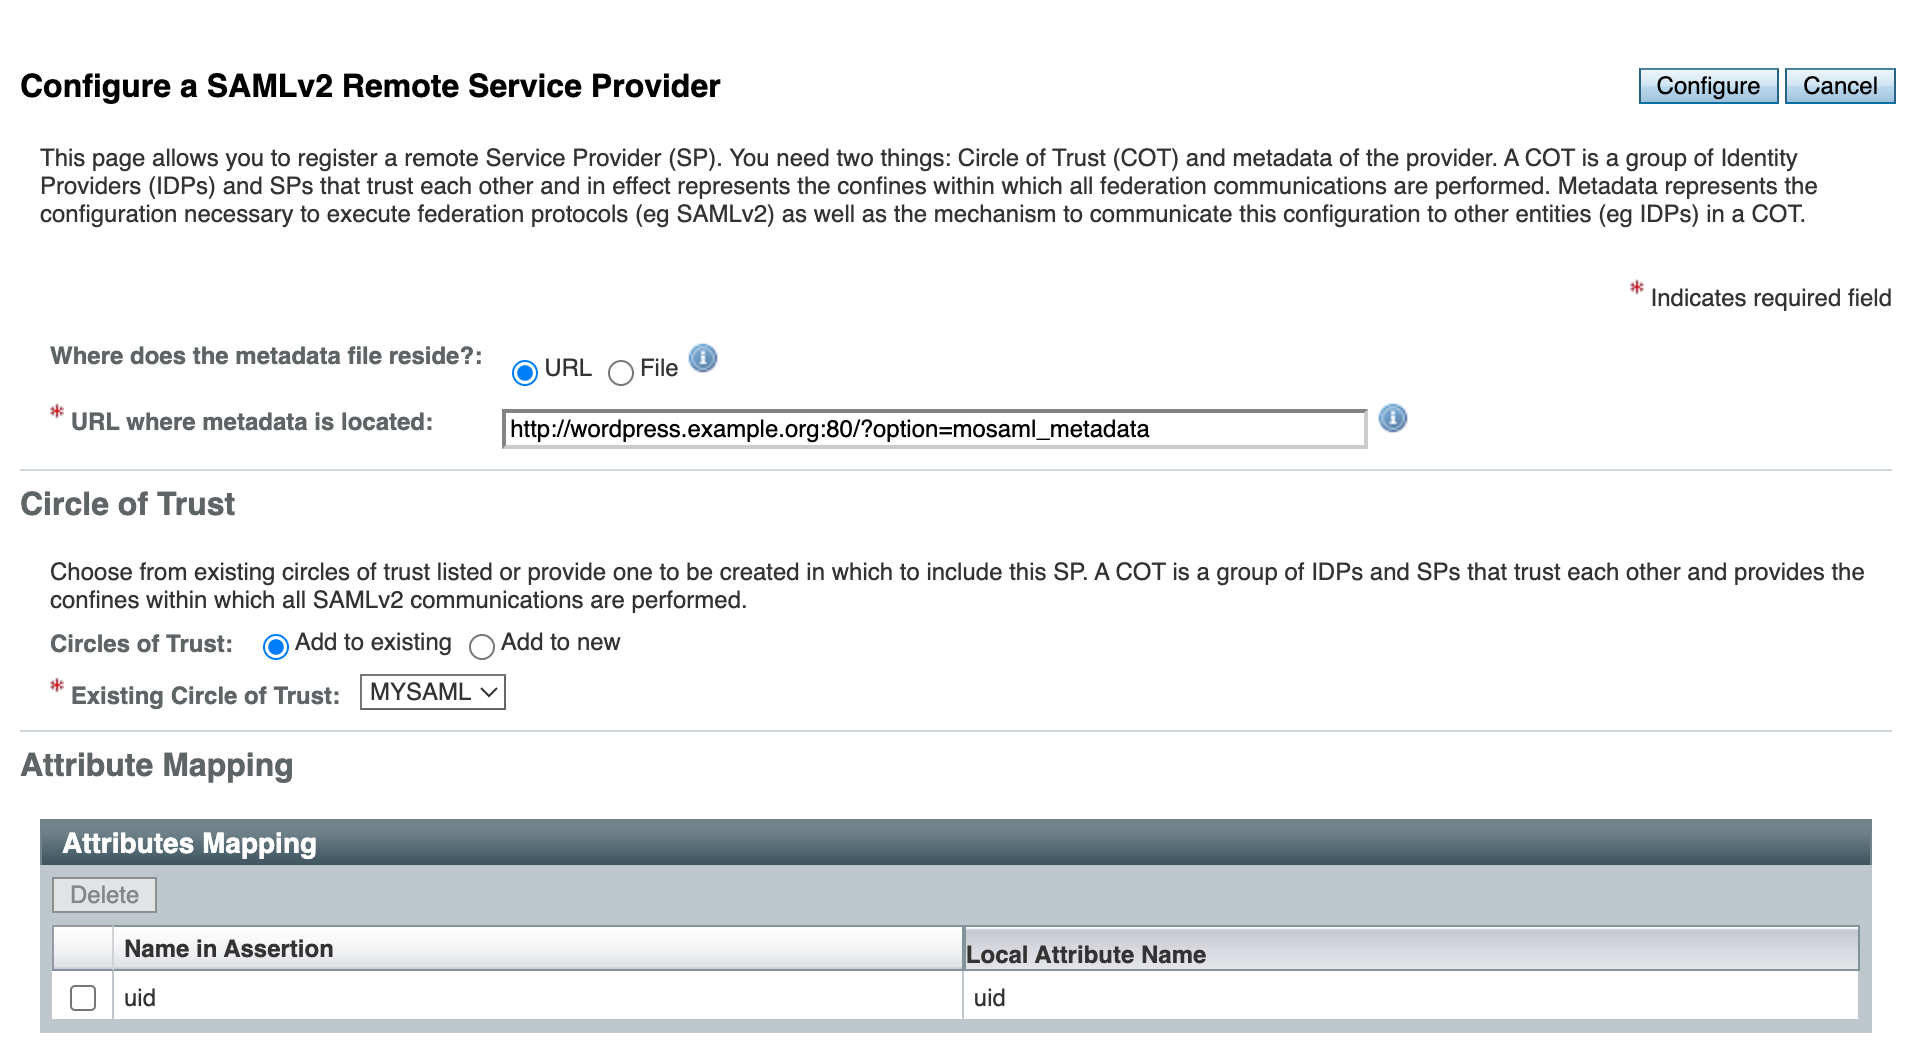
Next, register WordPress as a remote service provider. In the OpenAM administrator console, select Top Level Realm, then Configure SAMLv2 Provider → Configure Remote Service Provider.
Fill out the Remote Service Provider settings as shown in the screenshot. The metadata URL should be as in the SAMLv2 WordPress plugin configuration step: http://wordpress.example.org:80/?option=mosaml_metadata.
Go back to the WordPress administration console.
Open the miniOrange SAML plugin settings.
Click the Service Provider Setup tab.
In the Configure Service Provider section, click the Upload IDP Metadata tab.
Fill in the fields as shown in the screenshot below. The SAML metadata URL for OpenAM will be:http://openam.example.org:8080/openam/saml2/jsp/exportmetadata.jsp
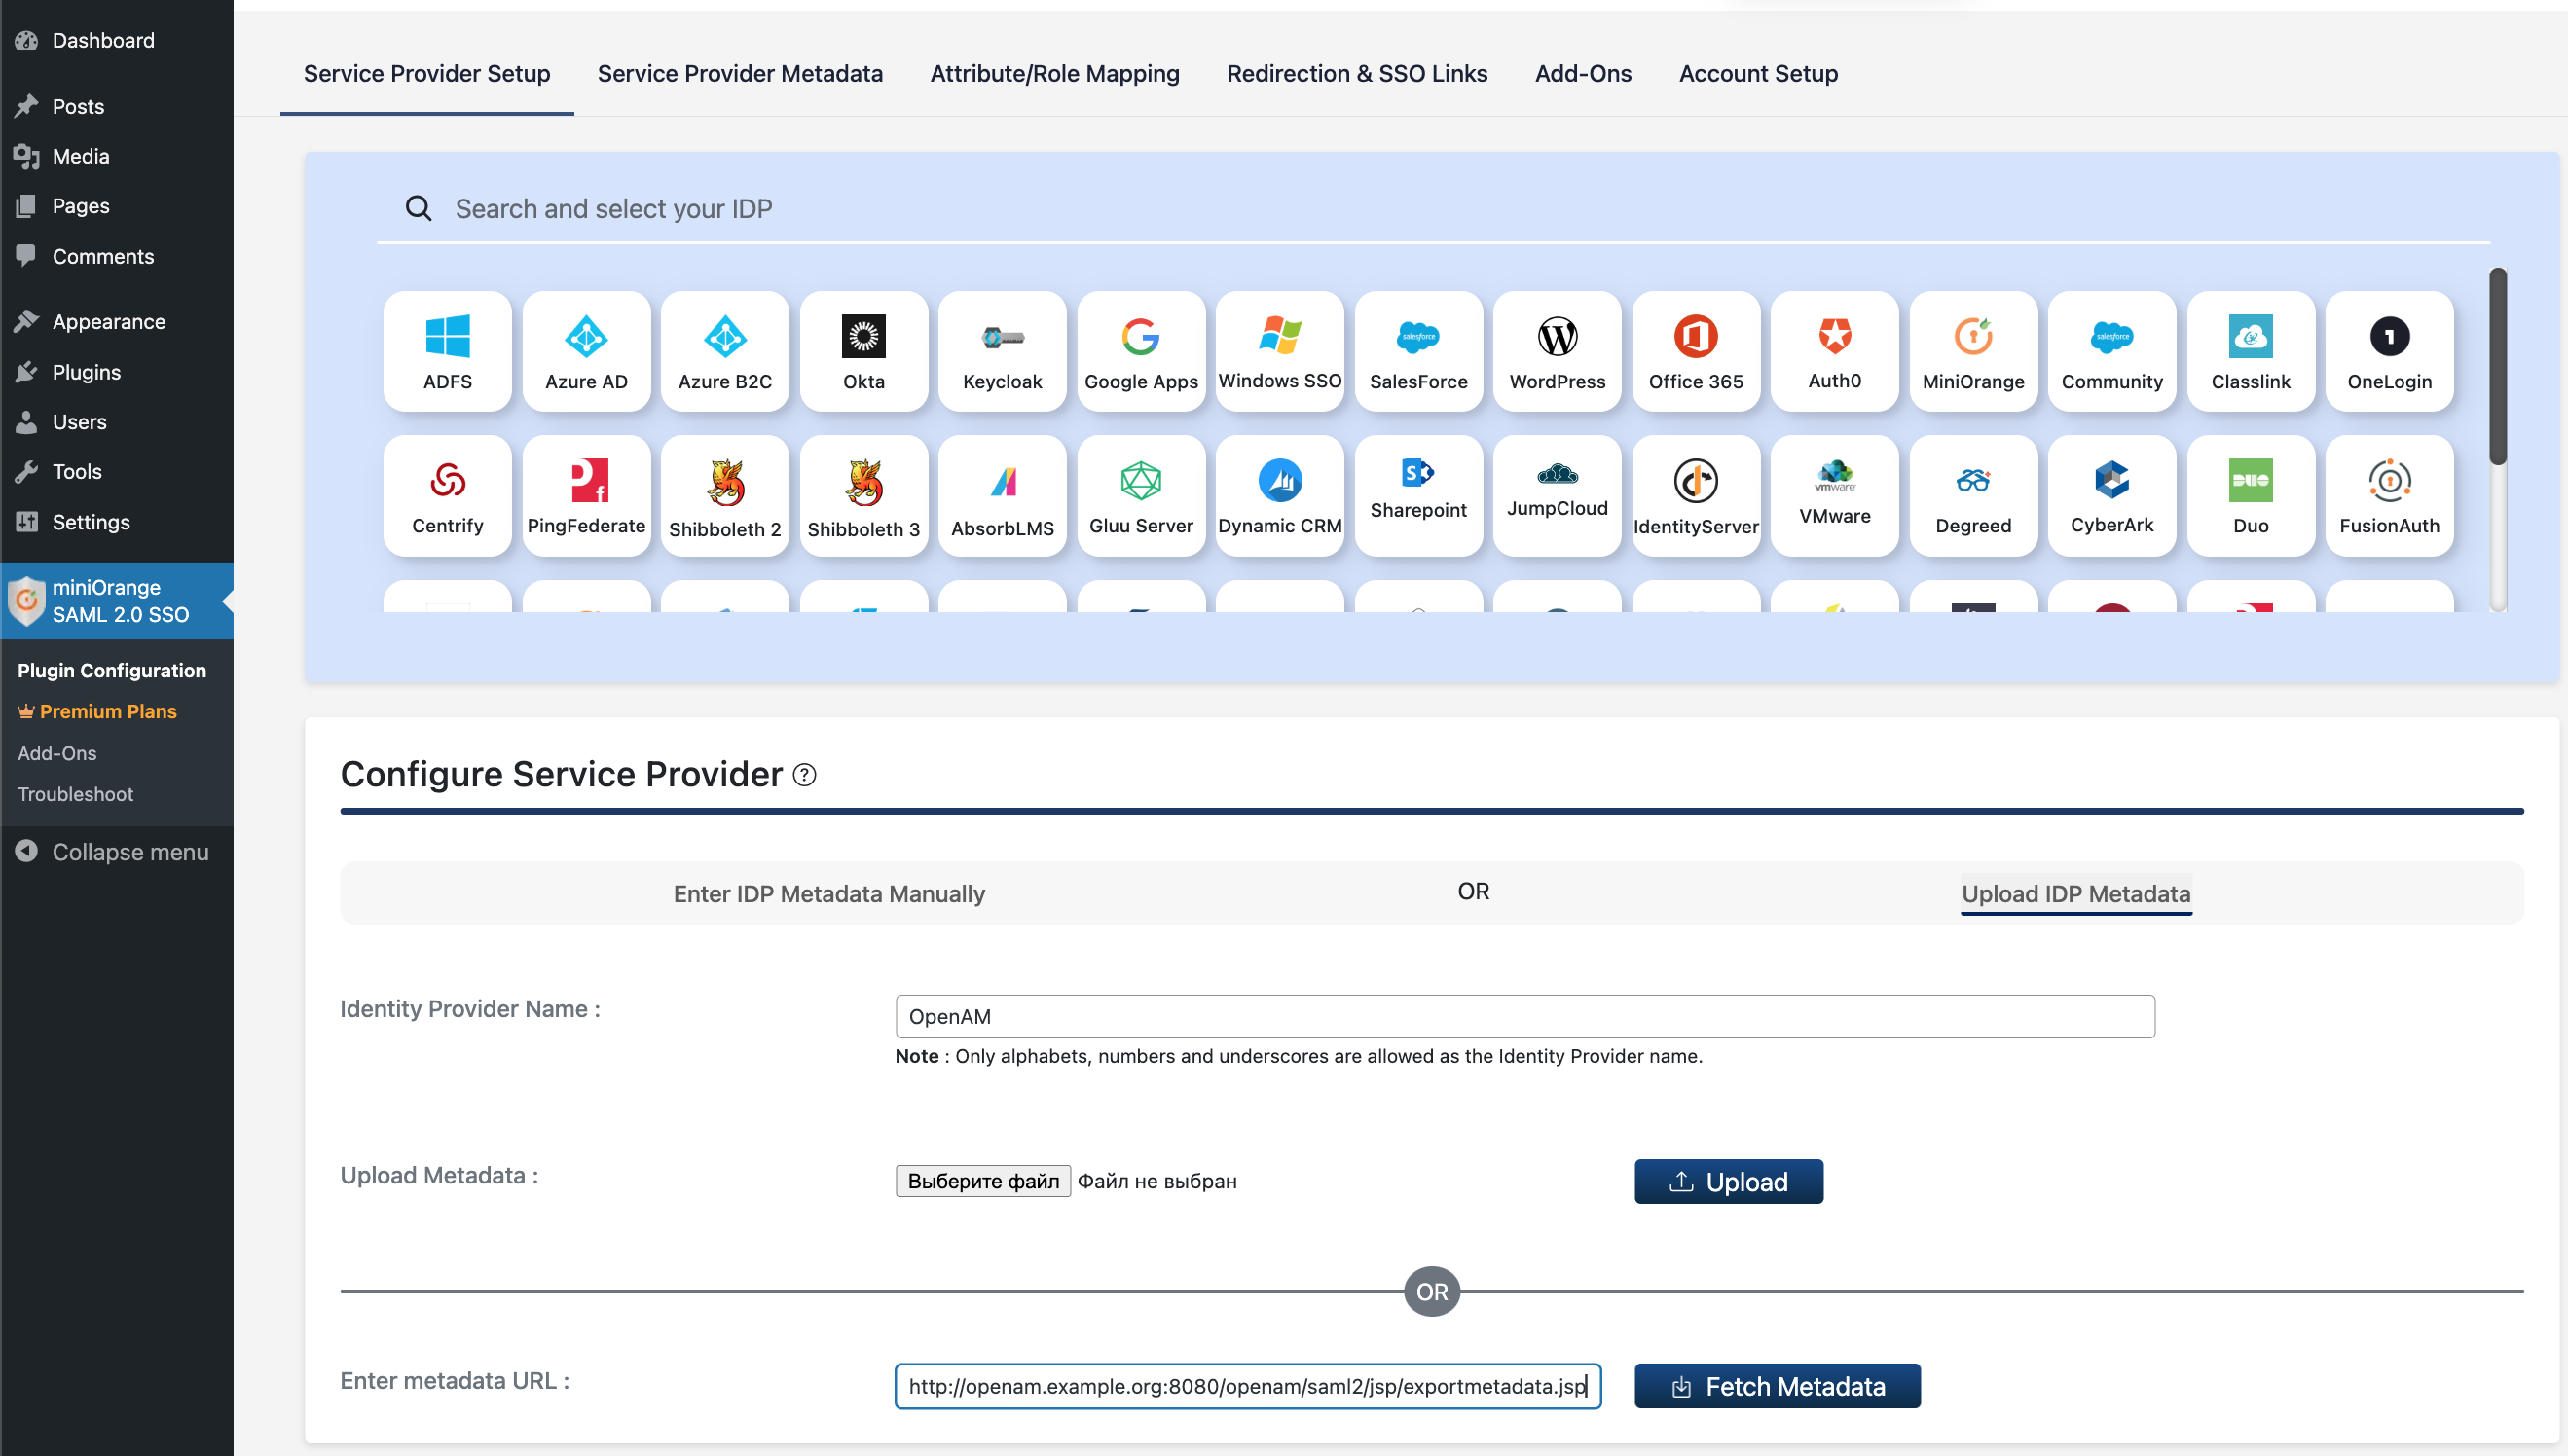
Press the Fetch Metadata button.
The configuration is now complete.
Now let's test the solution. Log out of the WordPress administration console, OpenAM administration console or open a browser window in Incognito mode. Open the http://wordpress.example.org:8081/wp-admin/ link. The OpenAM login button will appear in the WordPress login window.
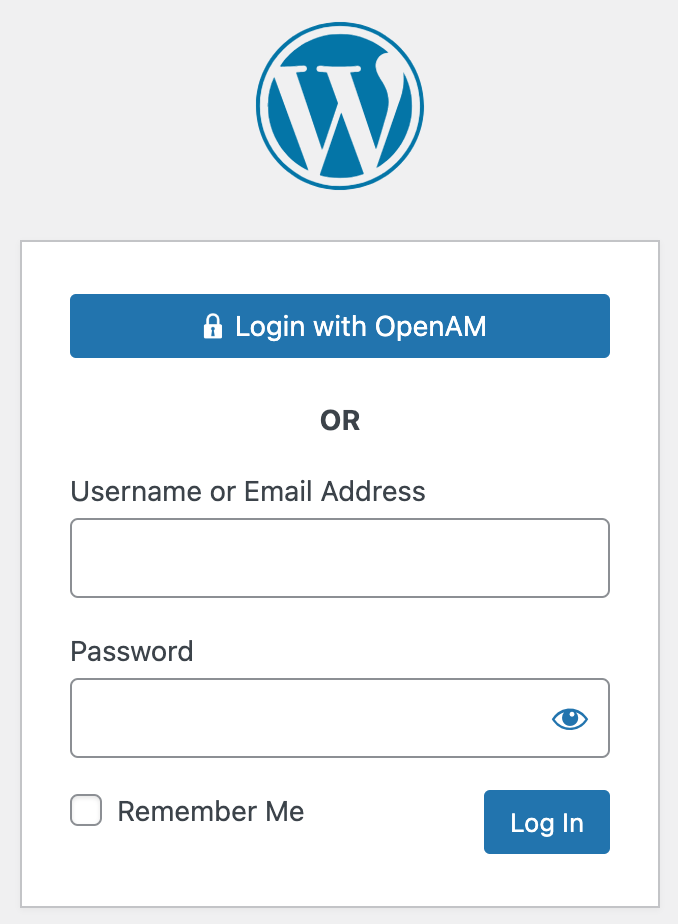
Click this button. You will be redirected to OpenAM authentication. Enter the user name demo and password changeit. The demo user is created during the initial installation of OpenAM. In a production environment, you should delete this user or change it's the default password.
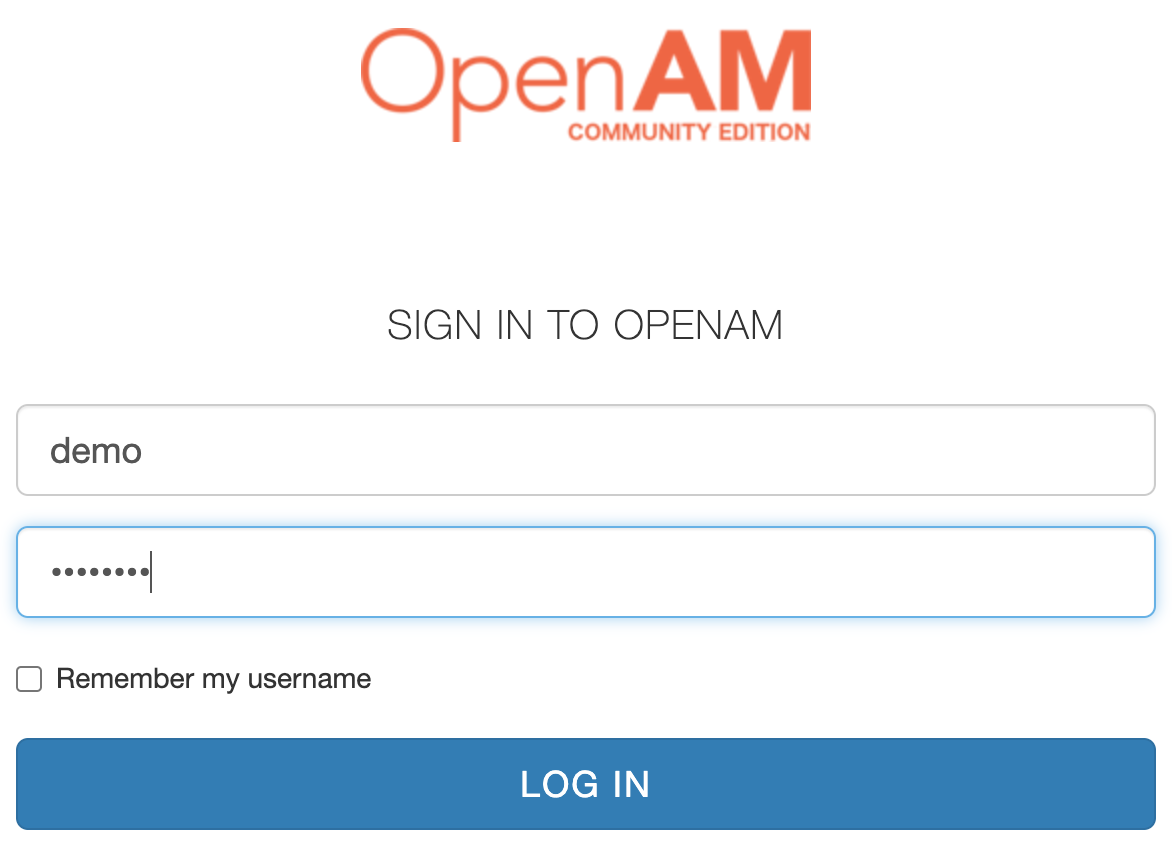
Press the LOG IN button.
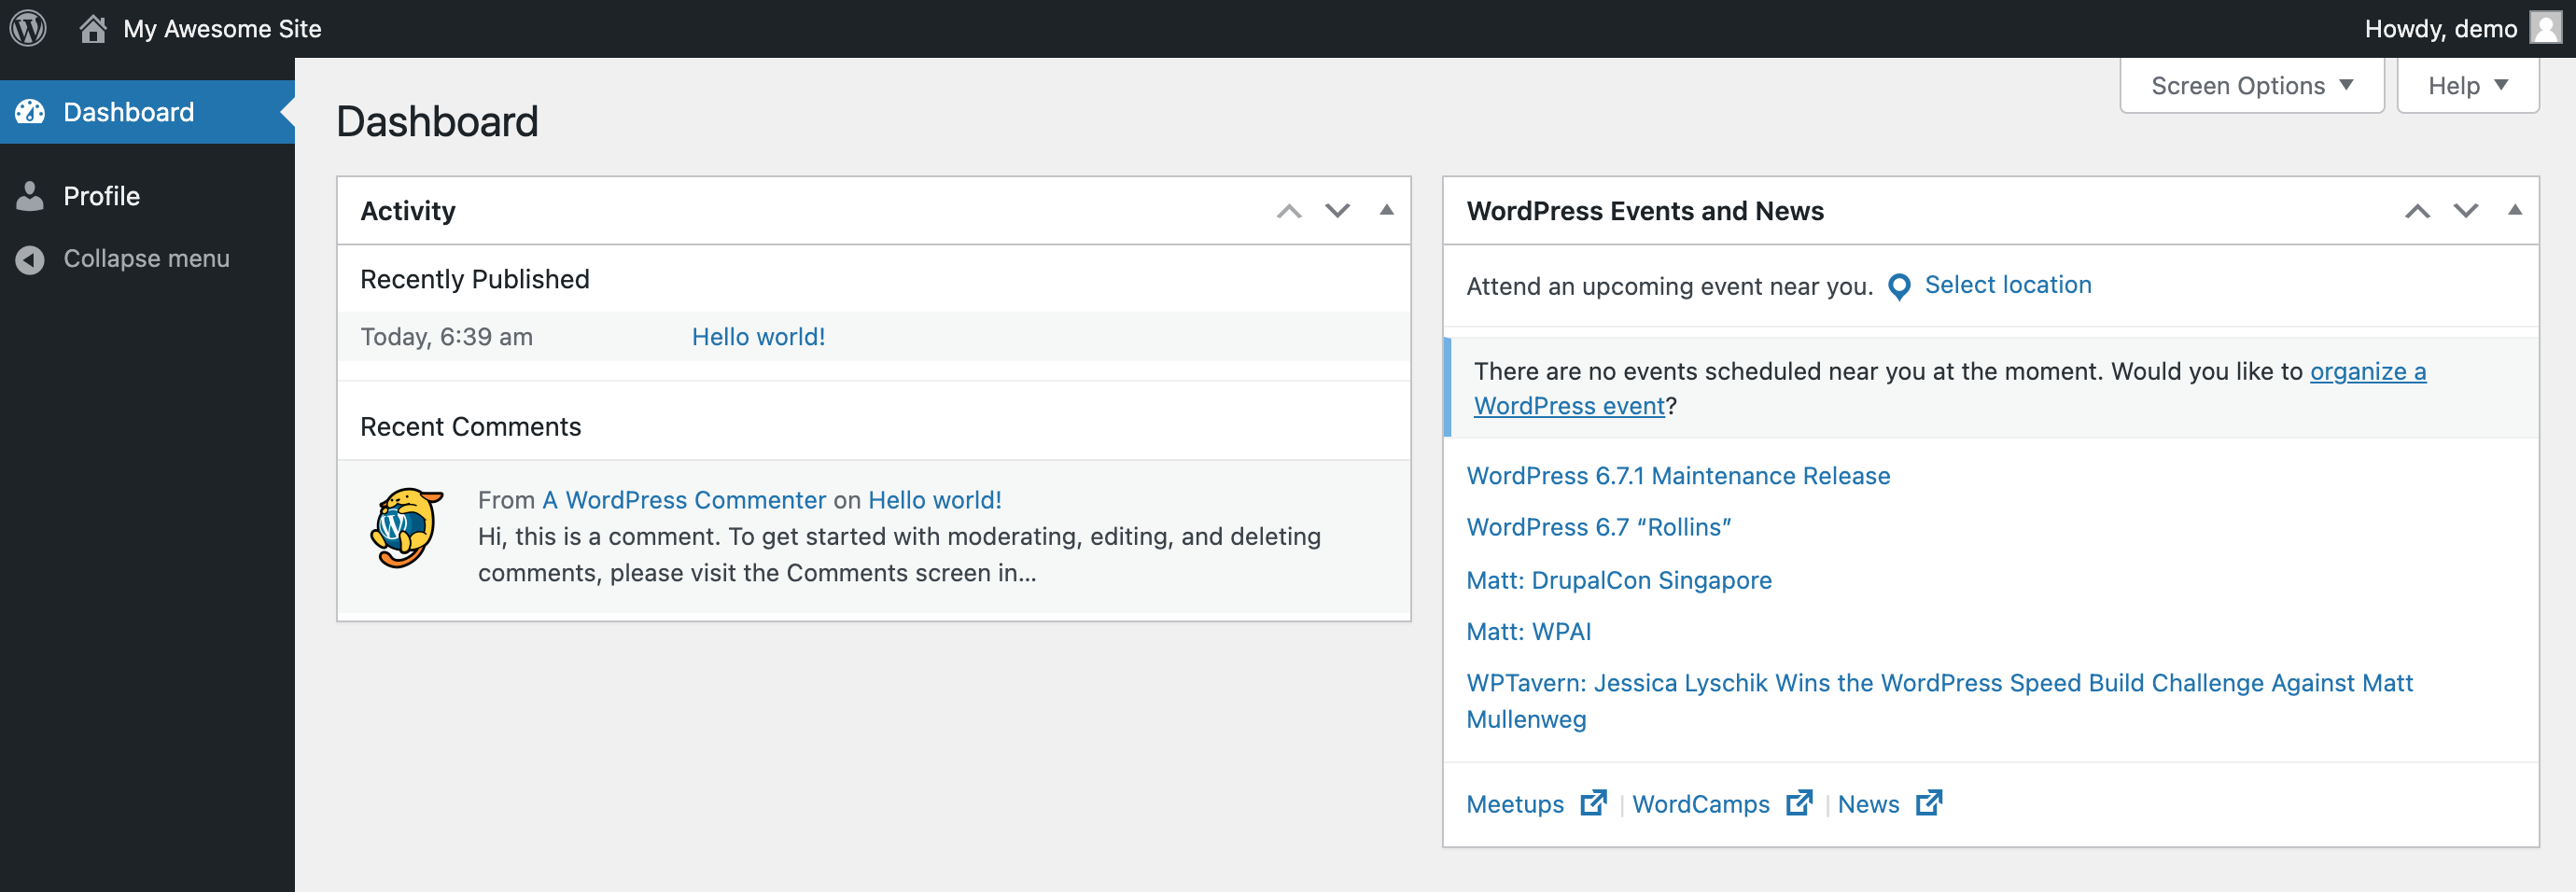
You will be authenticated to WordPress with the demo user account.
