-
Notifications
You must be signed in to change notification settings - Fork 153
How to Setup SAMLv2 Federation in OpenAM
In the following manual, we will set up a federation between two OpenAM instances. One instance will act as an Identity Provider (IdP), and another as a Service Provider (SP). Therefore, you will be able to authenticate in OpenAM SP with OpenAM IdP credentials.
If you already have OpenAM instances installed, you can skip this section. For demonstration purposes, we will install OpenAM IdP and SP in Docker containers.
Add hostnames and IP adress to the hosts file.
127.0.0.1 idp.acme.org sp.mycompany.orgIn Windows hosts file located at C:\Windows\System32\drivers\etc\hosts directory. Un Linux and Mac the file location is /etc/hosts
Create a Docker network for OpenAM instances
docker network create openam-samlRun OpenAM Docker Container
docker run -h idp.acme.org -p 8080:8080 --network openam-saml --name openam-idp openidentityplatform/openamOnce the OpenAM server is running, perform the initial configuration by running the following command and wait for the configuration to complete.
docker exec -w '/usr/openam/ssoconfiguratortools' openam-idp bash -c \
'echo "ACCEPT_LICENSES=true
SERVER_URL=http://idp.acme.org:8080
DEPLOYMENT_URI=/$OPENAM_PATH
BASE_DIR=$OPENAM_DATA_DIR
locale=en_US
PLATFORM_LOCALE=en_US
AM_ENC_KEY=
ADMIN_PWD=passw0rd
AMLDAPUSERPASSWD=p@passw0rd
COOKIE_DOMAIN=idp.acme.org
ACCEPT_LICENSES=true
DATA_STORE=embedded
DIRECTORY_SSL=SIMPLE
DIRECTORY_SERVER=idp.acme.org
DIRECTORY_PORT=50389
DIRECTORY_ADMIN_PORT=4444
DIRECTORY_JMX_PORT=1689
ROOT_SUFFIX=dc=openam,dc=example,dc=org
DS_DIRMGRDN=cn=Directory Manager
DS_DIRMGRPASSWD=passw0rd" > conf.file && java -jar openam-configurator-tool*.jar --file conf.file'Run OpenAM Docker Container
docker run -h sp.mycompany.org -p 8081:8080 --network openam-saml --name openam-sp openidentityplatform/openamOnce the OpenAM server is running, perform the initial configuration by running the following command and wait for the configuration to complete.
docker exec -w '/usr/openam/ssoconfiguratortools' openam-sp bash -c \
'echo "ACCEPT_LICENSES=true
SERVER_URL=http://sp.mycompany.org:8080
DEPLOYMENT_URI=/$OPENAM_PATH
BASE_DIR=$OPENAM_DATA_DIR
locale=en_US
PLATFORM_LOCALE=en_US
AM_ENC_KEY=
ADMIN_PWD=passw0rd
AMLDAPUSERPASSWD=p@passw0rd
COOKIE_DOMAIN=sp.mycompany.org
ACCEPT_LICENSES=true
DATA_STORE=embedded
DIRECTORY_SSL=SIMPLE
DIRECTORY_SERVER=sp.mycompany.org
DIRECTORY_PORT=50389
DIRECTORY_ADMIN_PORT=4444
DIRECTORY_JMX_PORT=1689
ROOT_SUFFIX=dc=openam,dc=example,dc=org
DS_DIRMGRDN=cn=Directory Manager
DS_DIRMGRPASSWD=passw0rd" > conf.file && java -jar openam-configurator-tool*.jar --file conf.file'Open the OpenAM Identity provider administartion console at http://idp.acme.org:8080/openam. In the login field enter the amadmin value. In the password field enter the value from ADMIN_PWD option, in this case passw0rd.
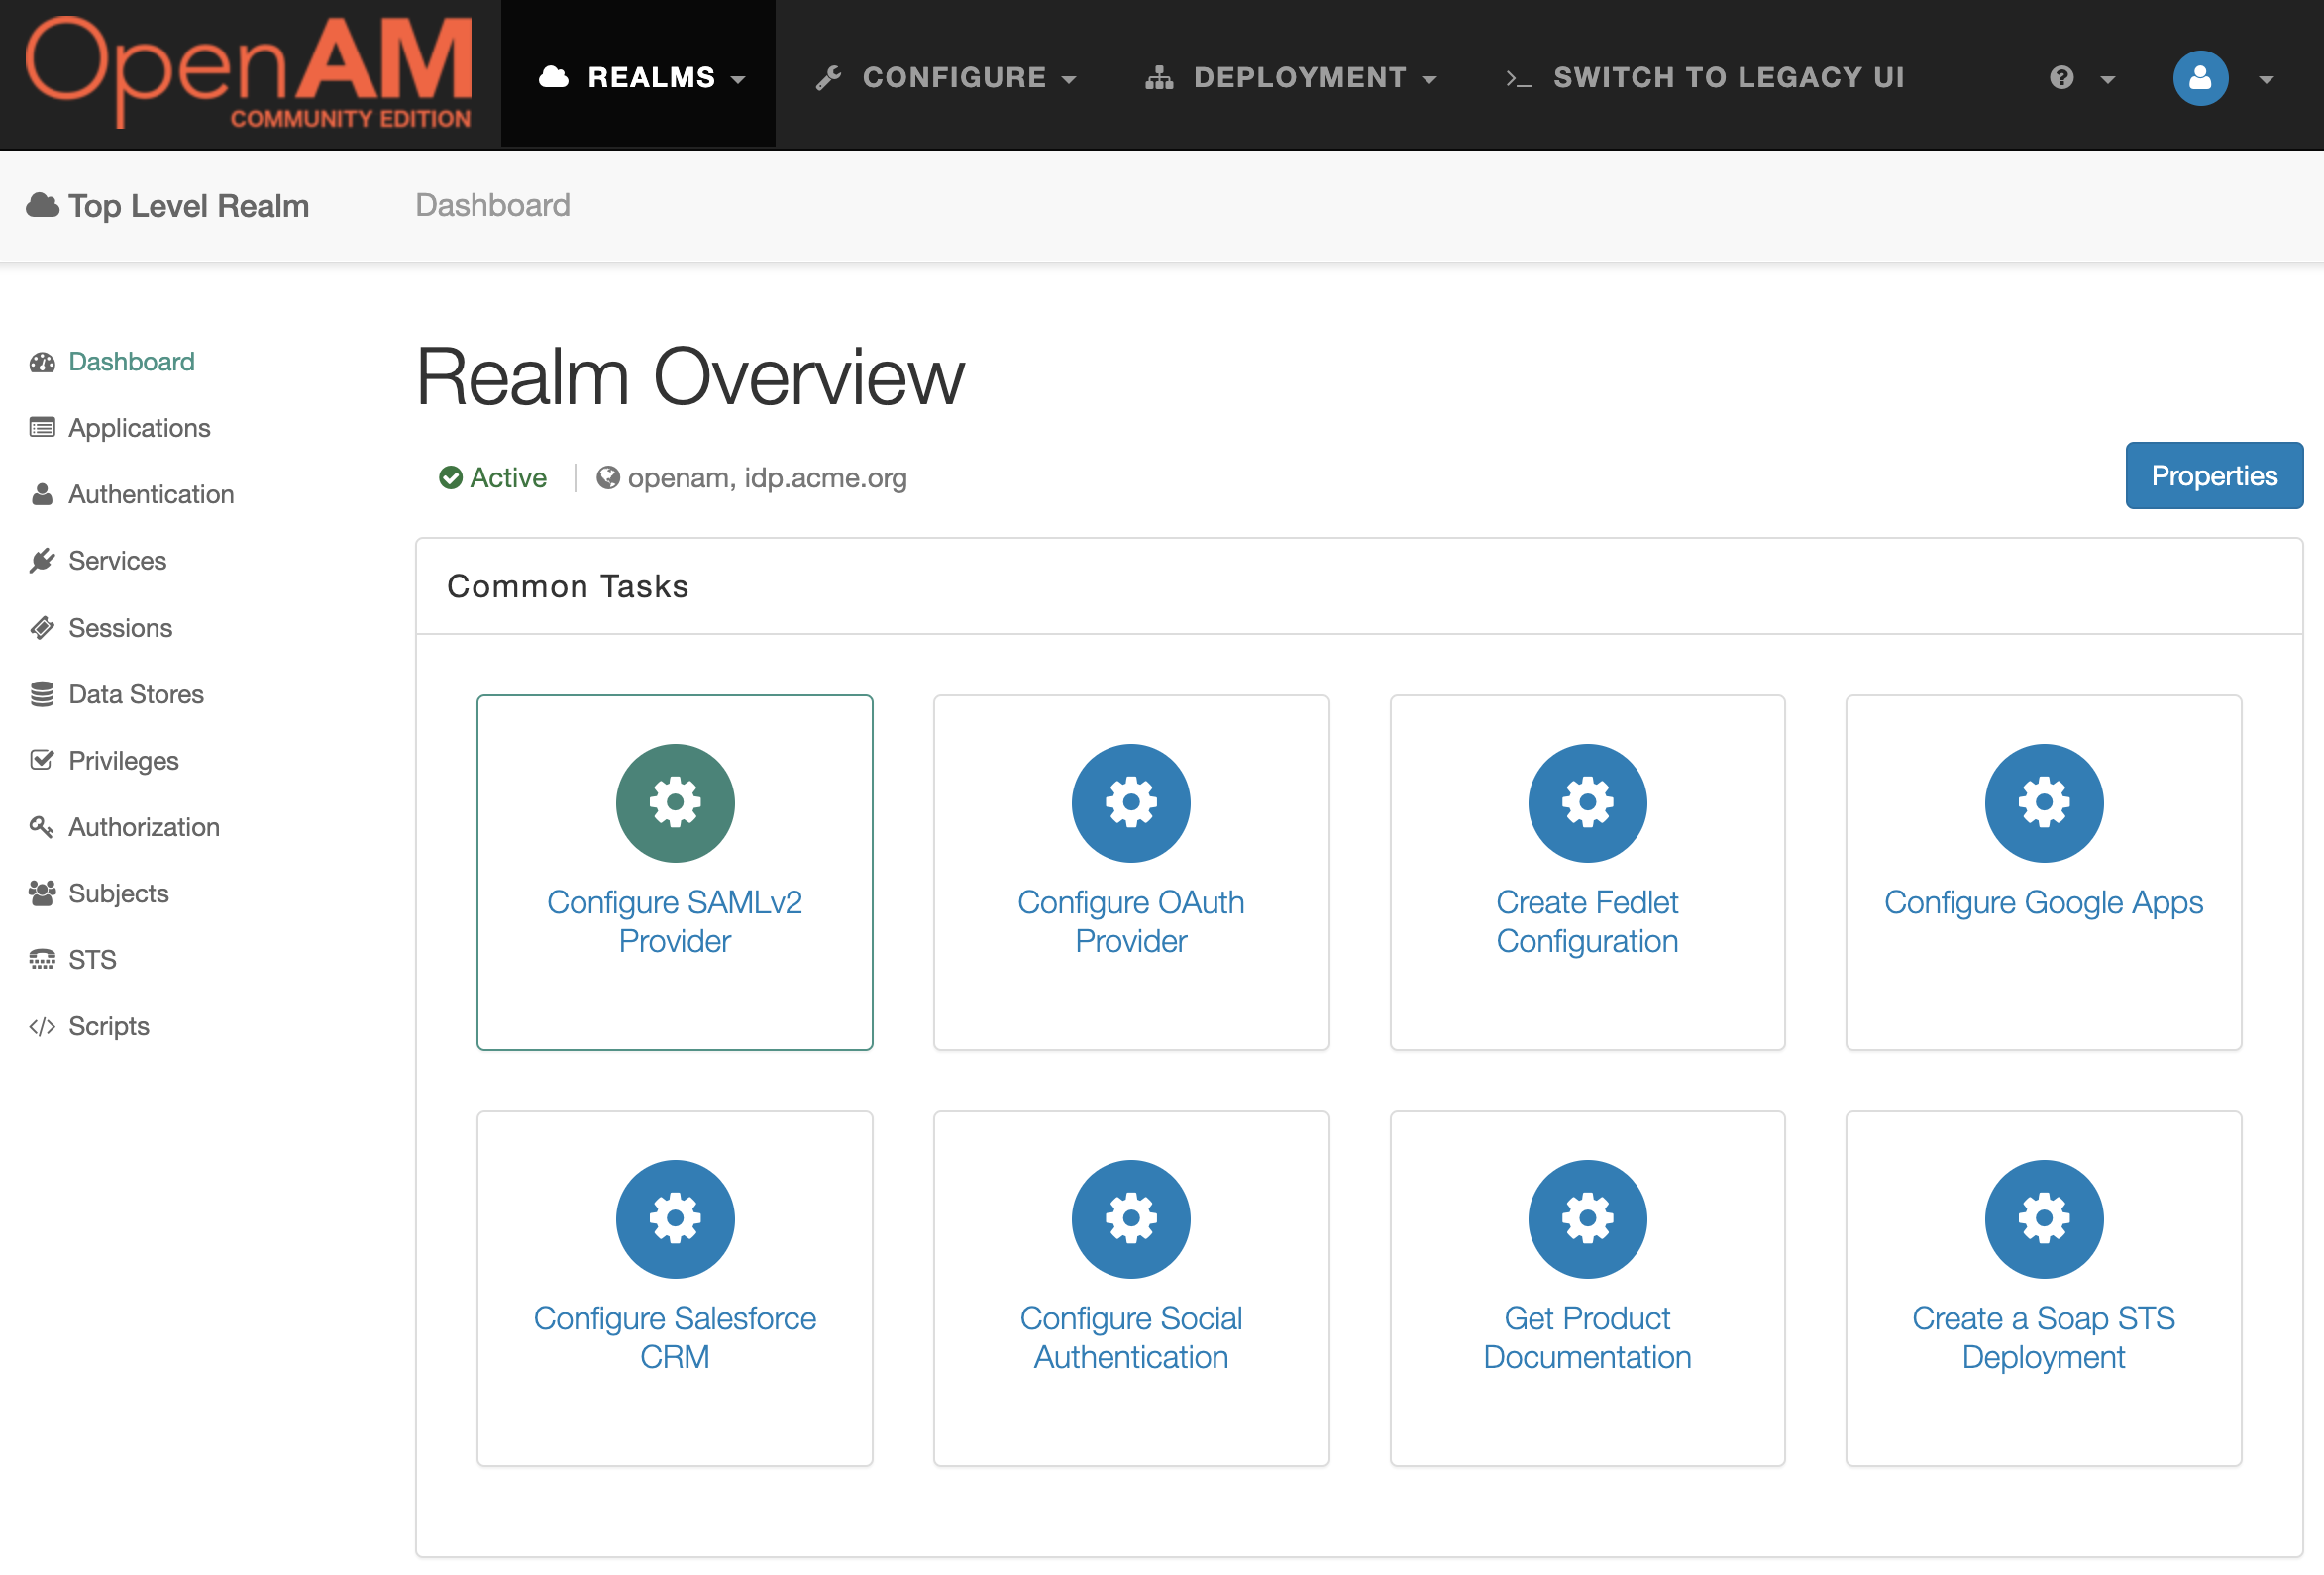
Go to the root realm and in the Dashboard select Configure SAMLv2 Provider.
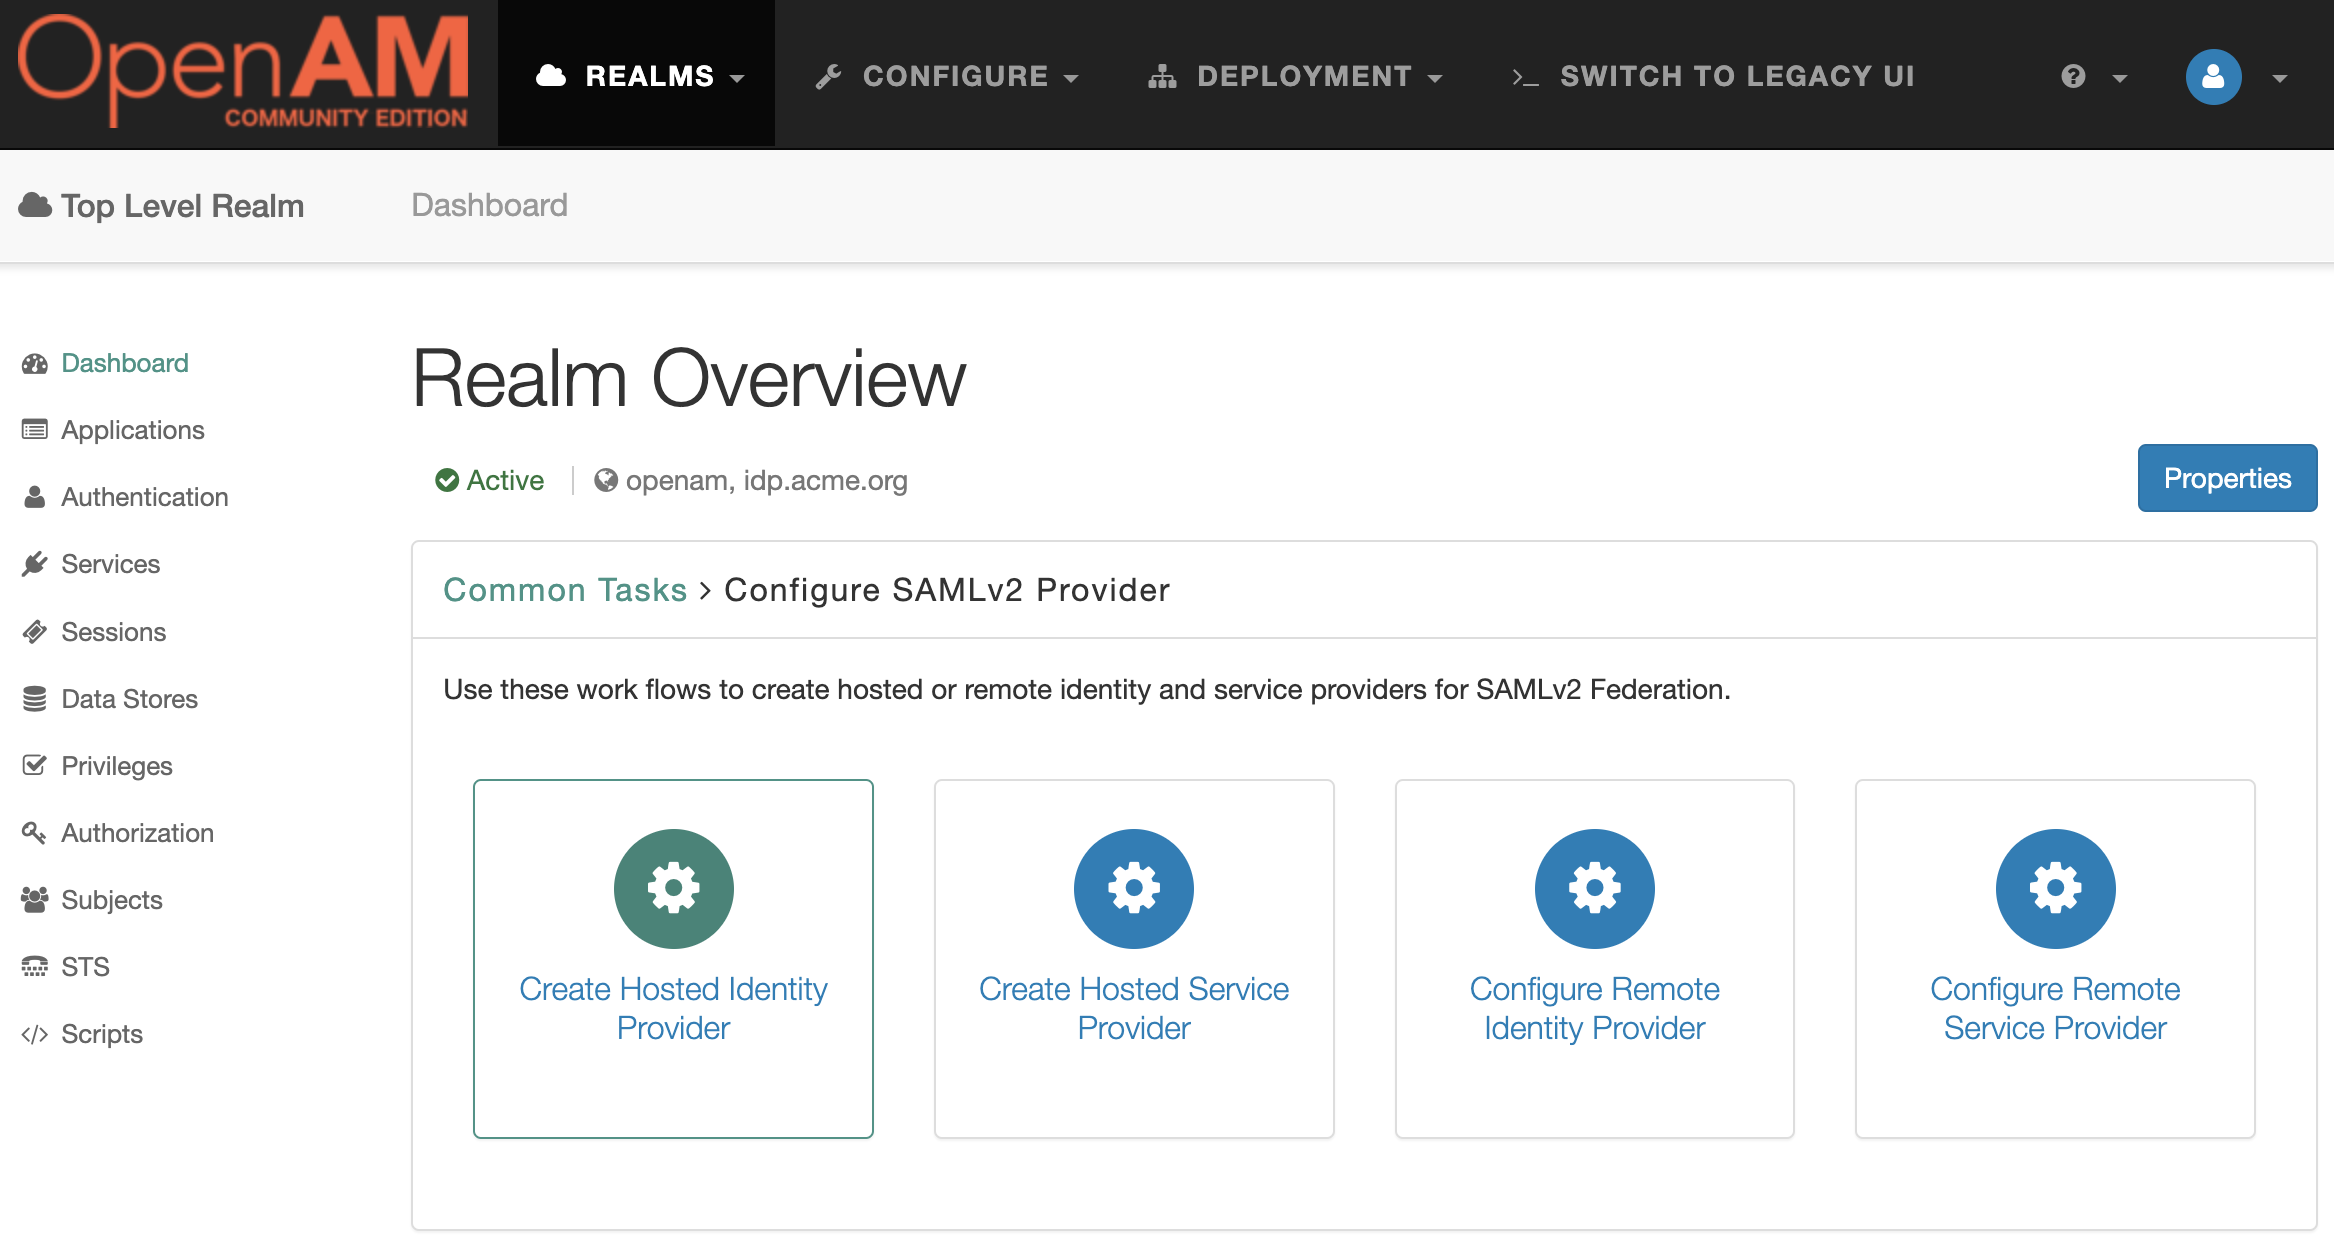
Then Create Hosted Identity Provider
In the Signing Key setting for the demonstration purposes select the test value, then enter any Circle of Trust value. Then add uid in the Attribute Mapping setting.
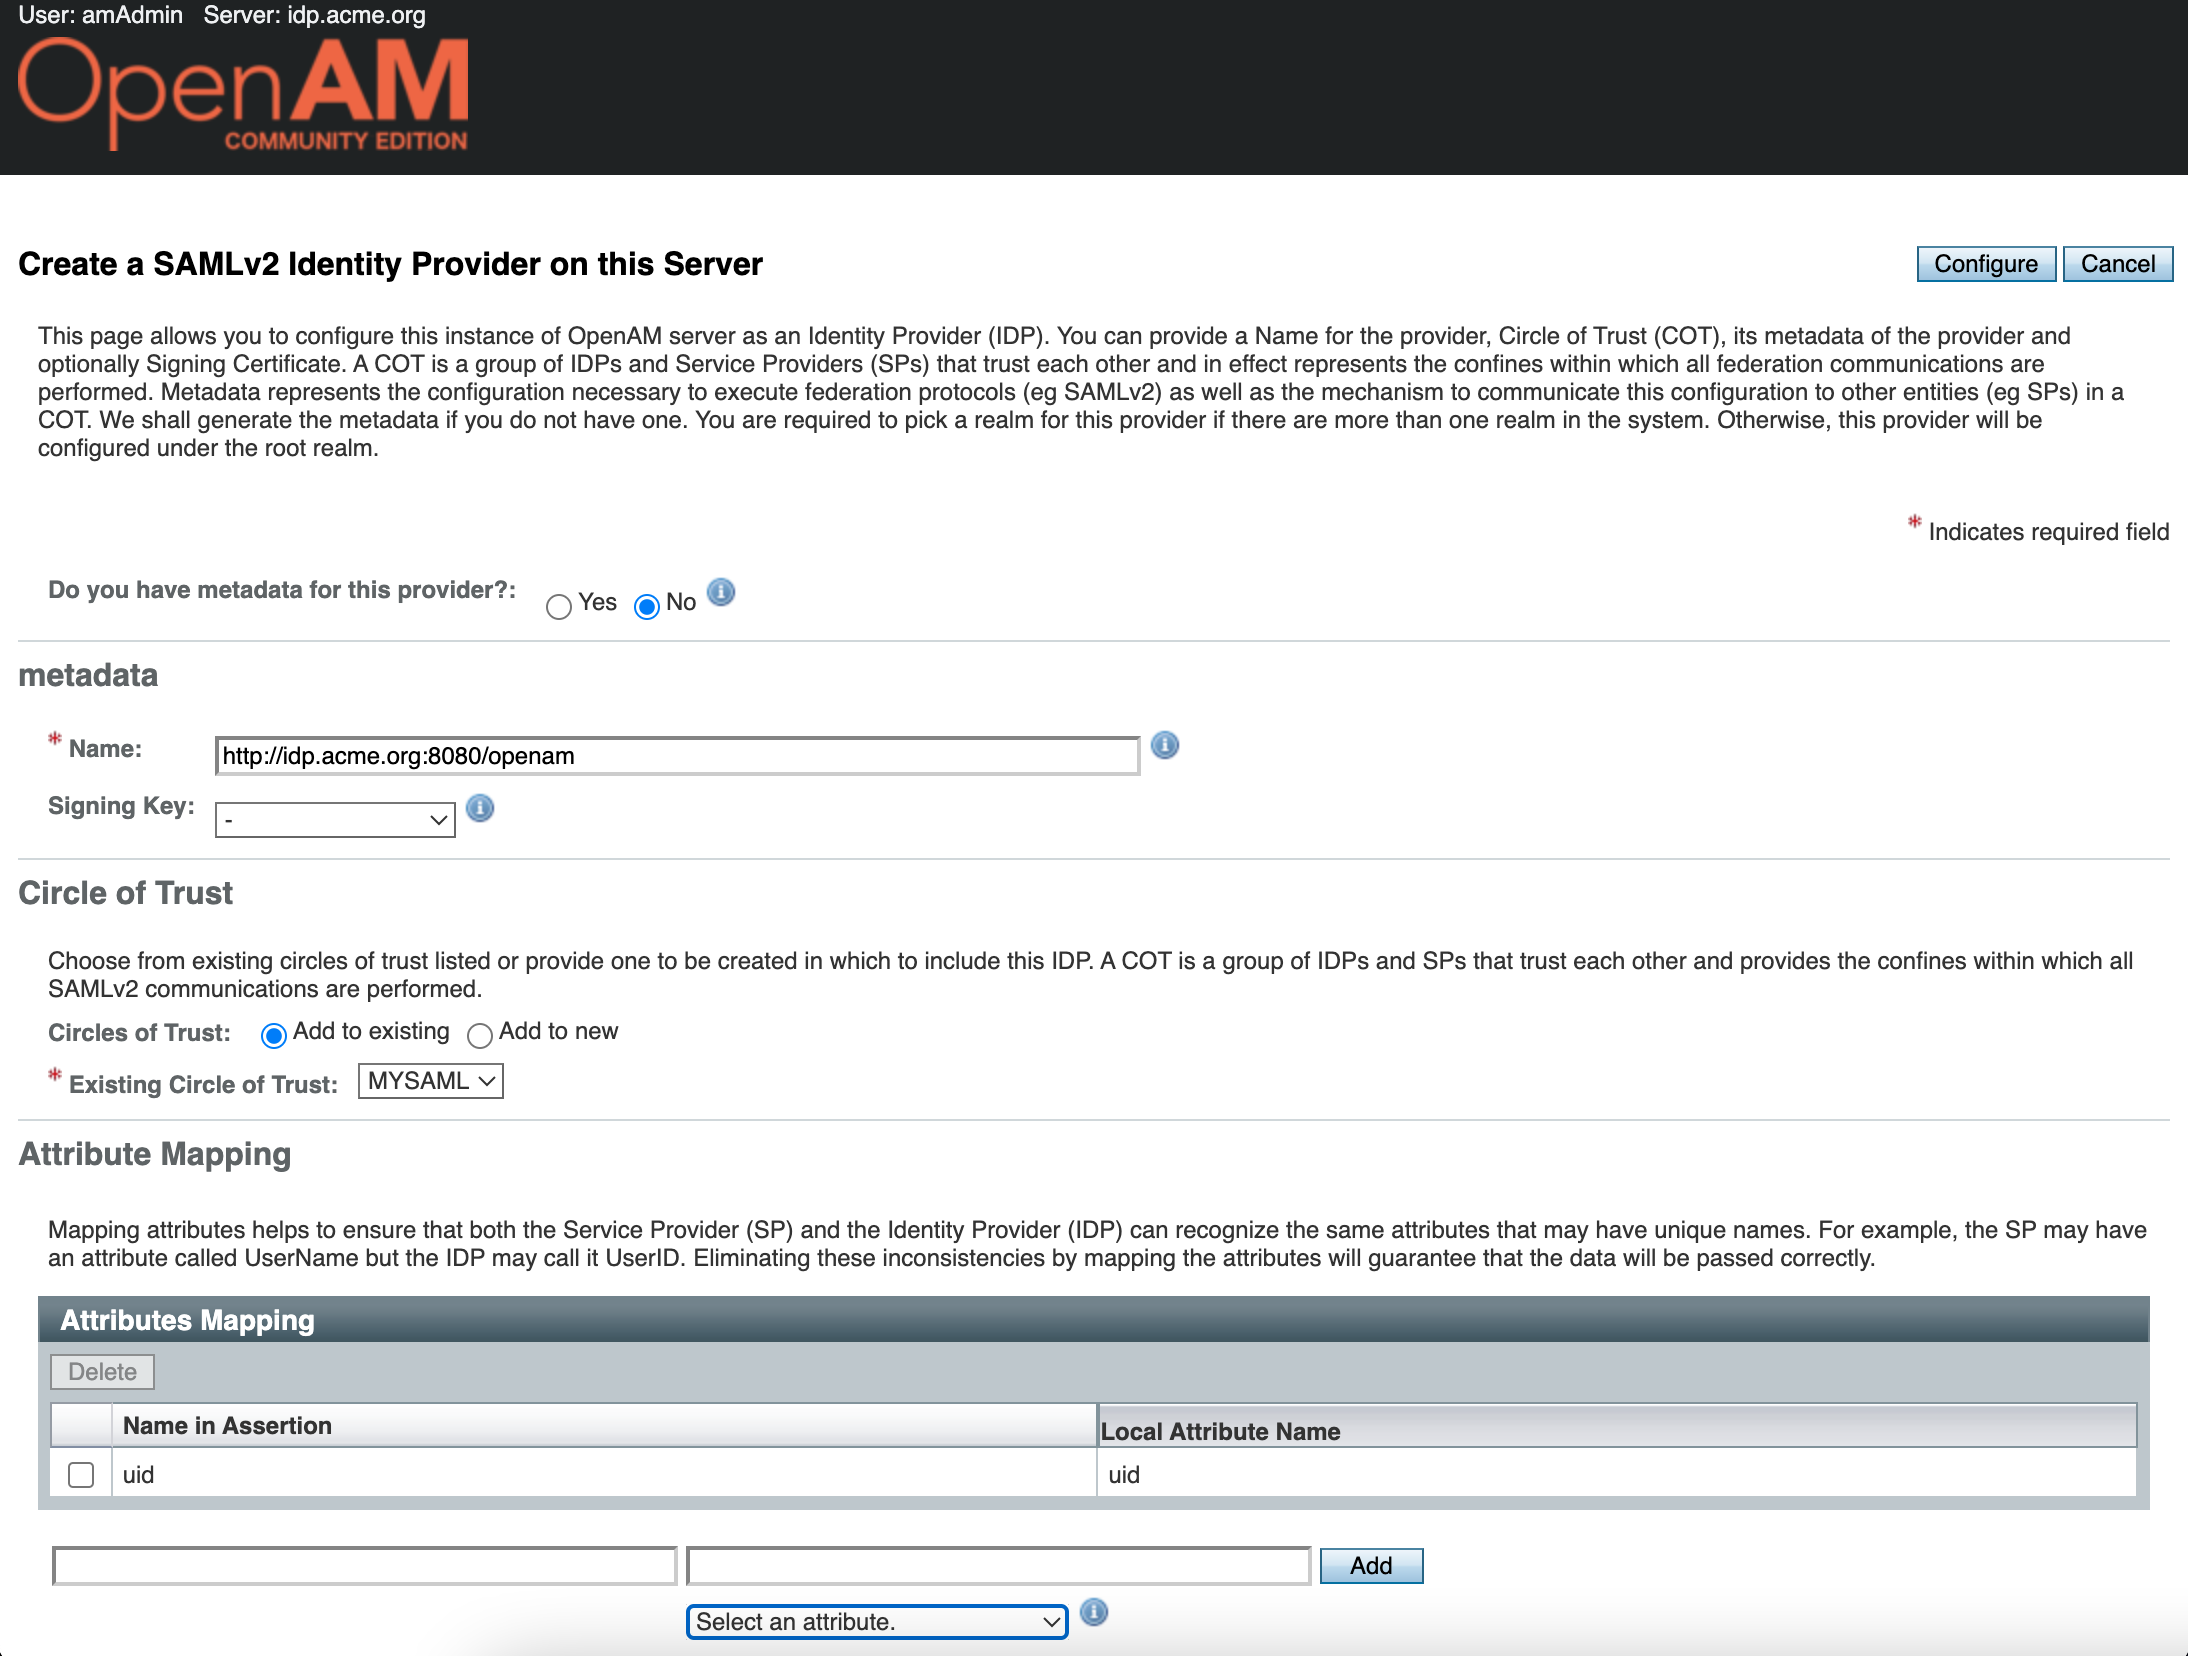
Press the Configure button. Next, OpenAM will prompt you to configure the Remote Service Provider. Since we do not have it configured yet, click the Finish button
Open the OpenAM Service Provider administarion console at http://sp.mycompany.org:8081/openam. In the login field enter the amadmin value. In the password field enter the value from ADMIN_PWD option, in this case passw0rd.
Go to the root realm and in the Dashboard select Configure SAMLv2 Provider. Next Create Hosted Service Provider.
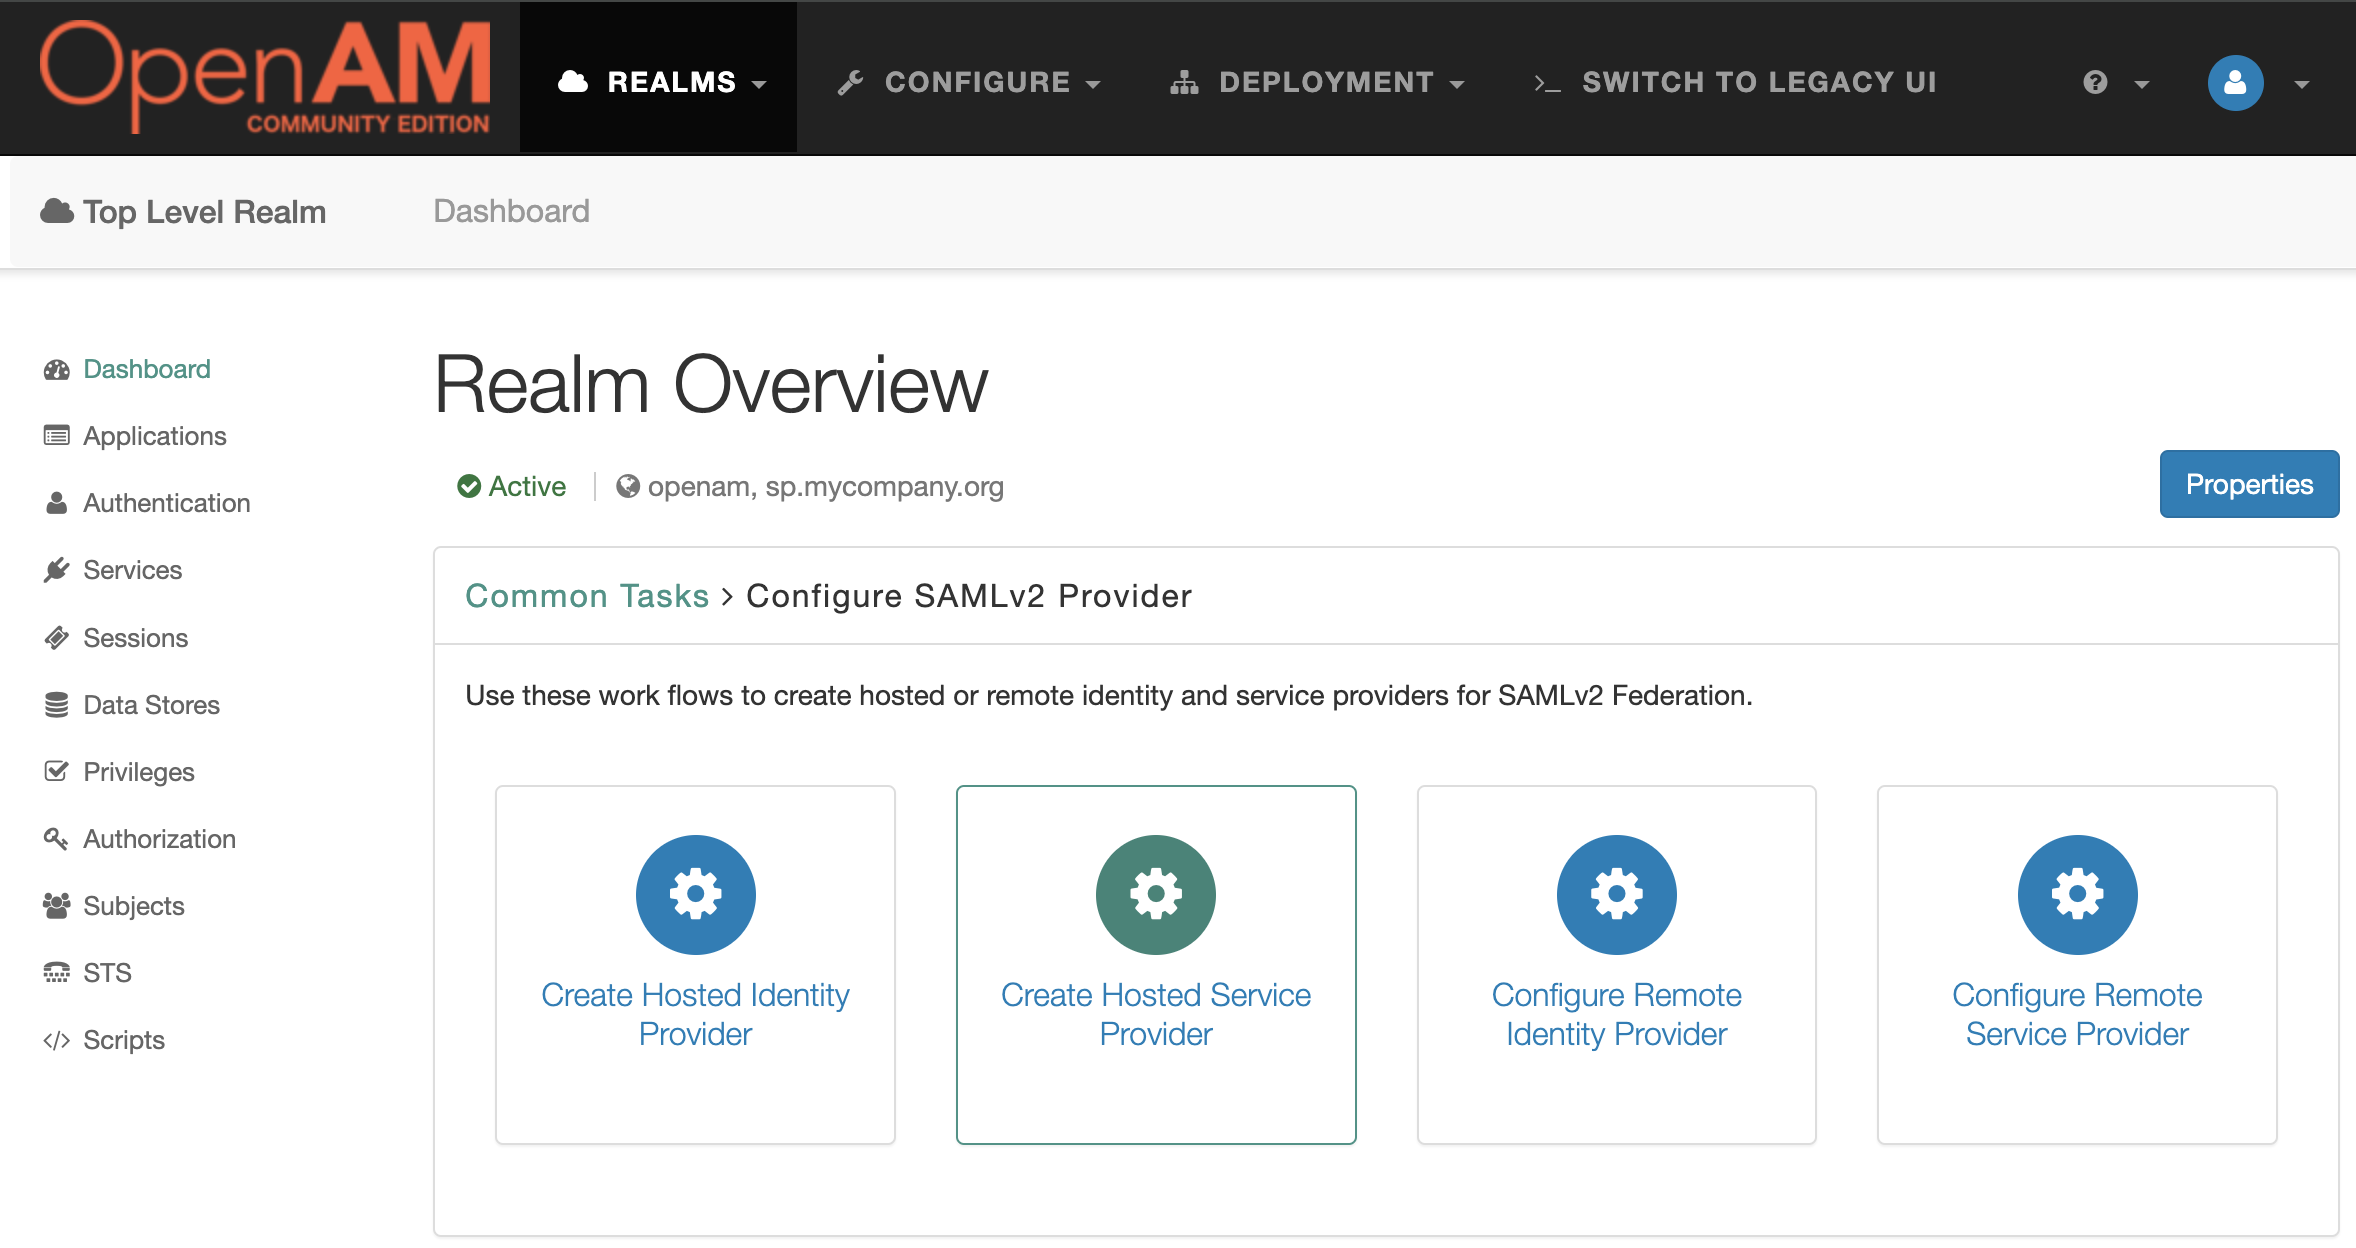
Enter the circle of trust name, you can leave the other settings unchanged.
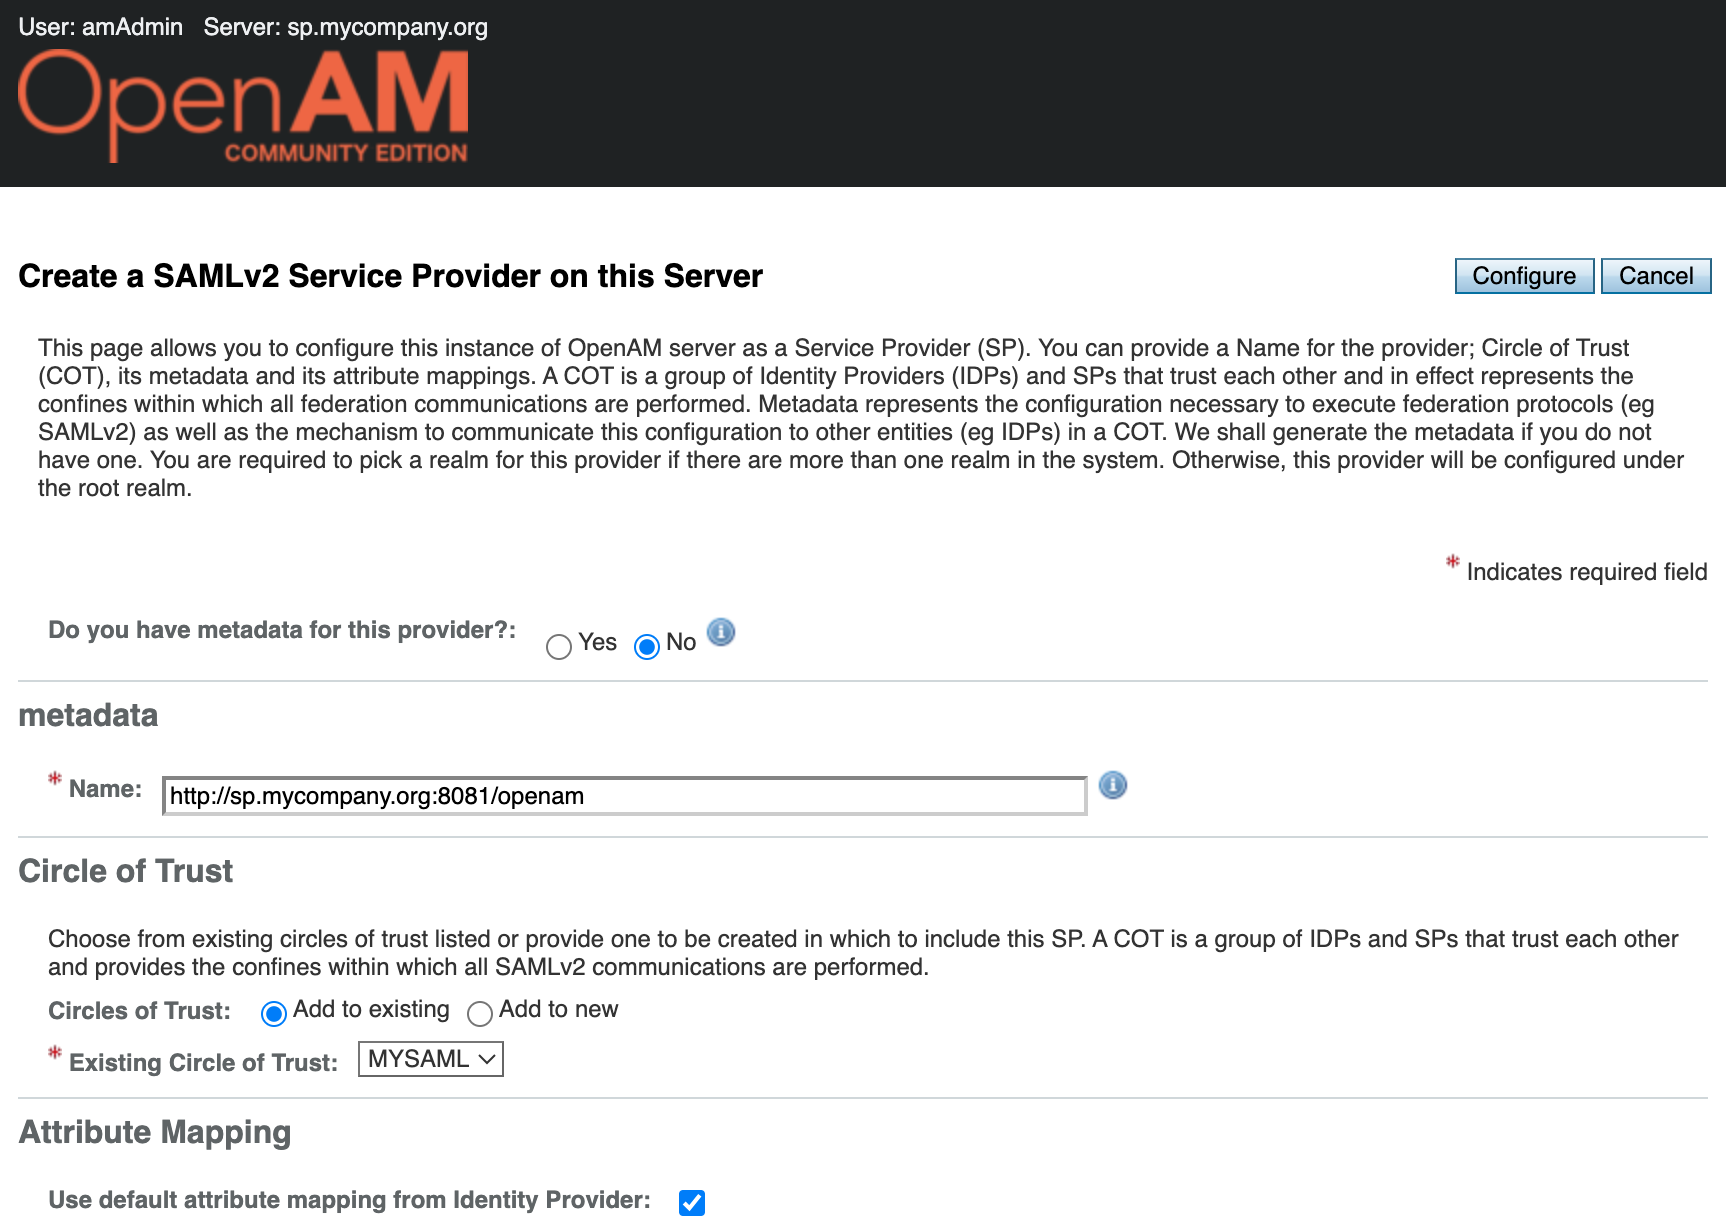
Press the Configure button.

You will be prompted to configure the remote identity provider. Since we have already configured the Identity Provider in the previous step, you can click Yes. This will open the remote identity provider configuration window.
Select the identity provider metadata location - URL. Enter the identity provider metadata URL in the field.
http://idp.acme.org:8080/openam/saml2/jsp/exportmetadata.jsp
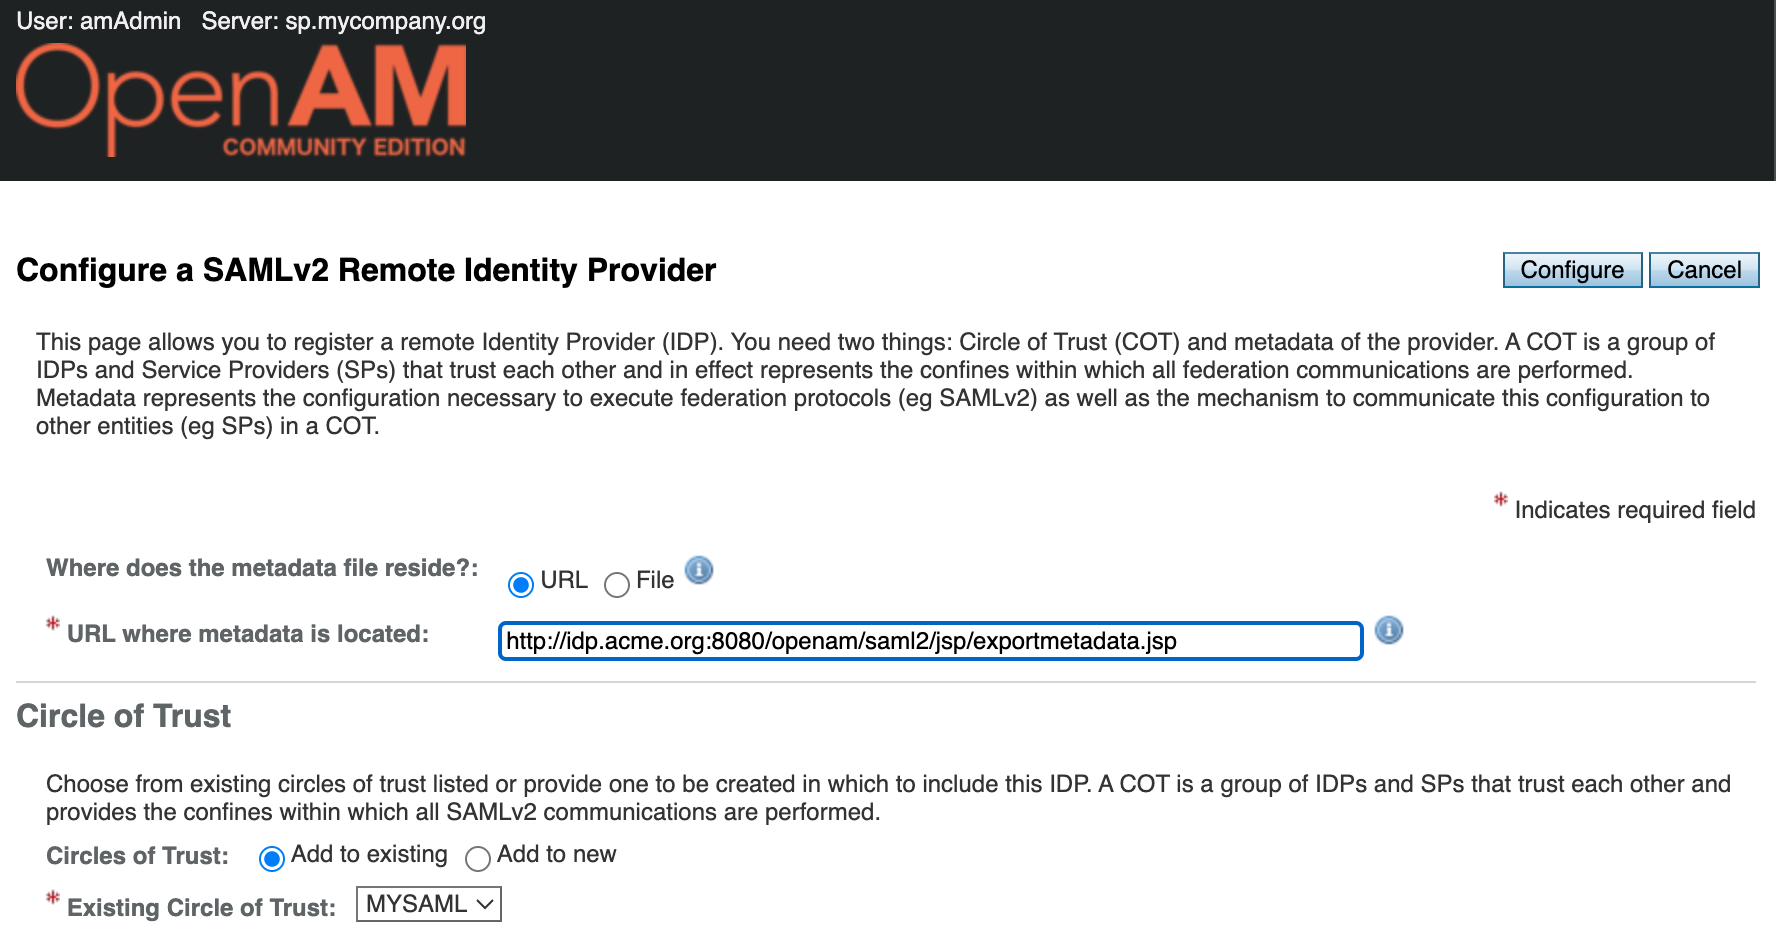
Click the Configure button.
Open the OpenAM SP admin console. In the Dashboard in the left menu go to Applications → SAML 2.0
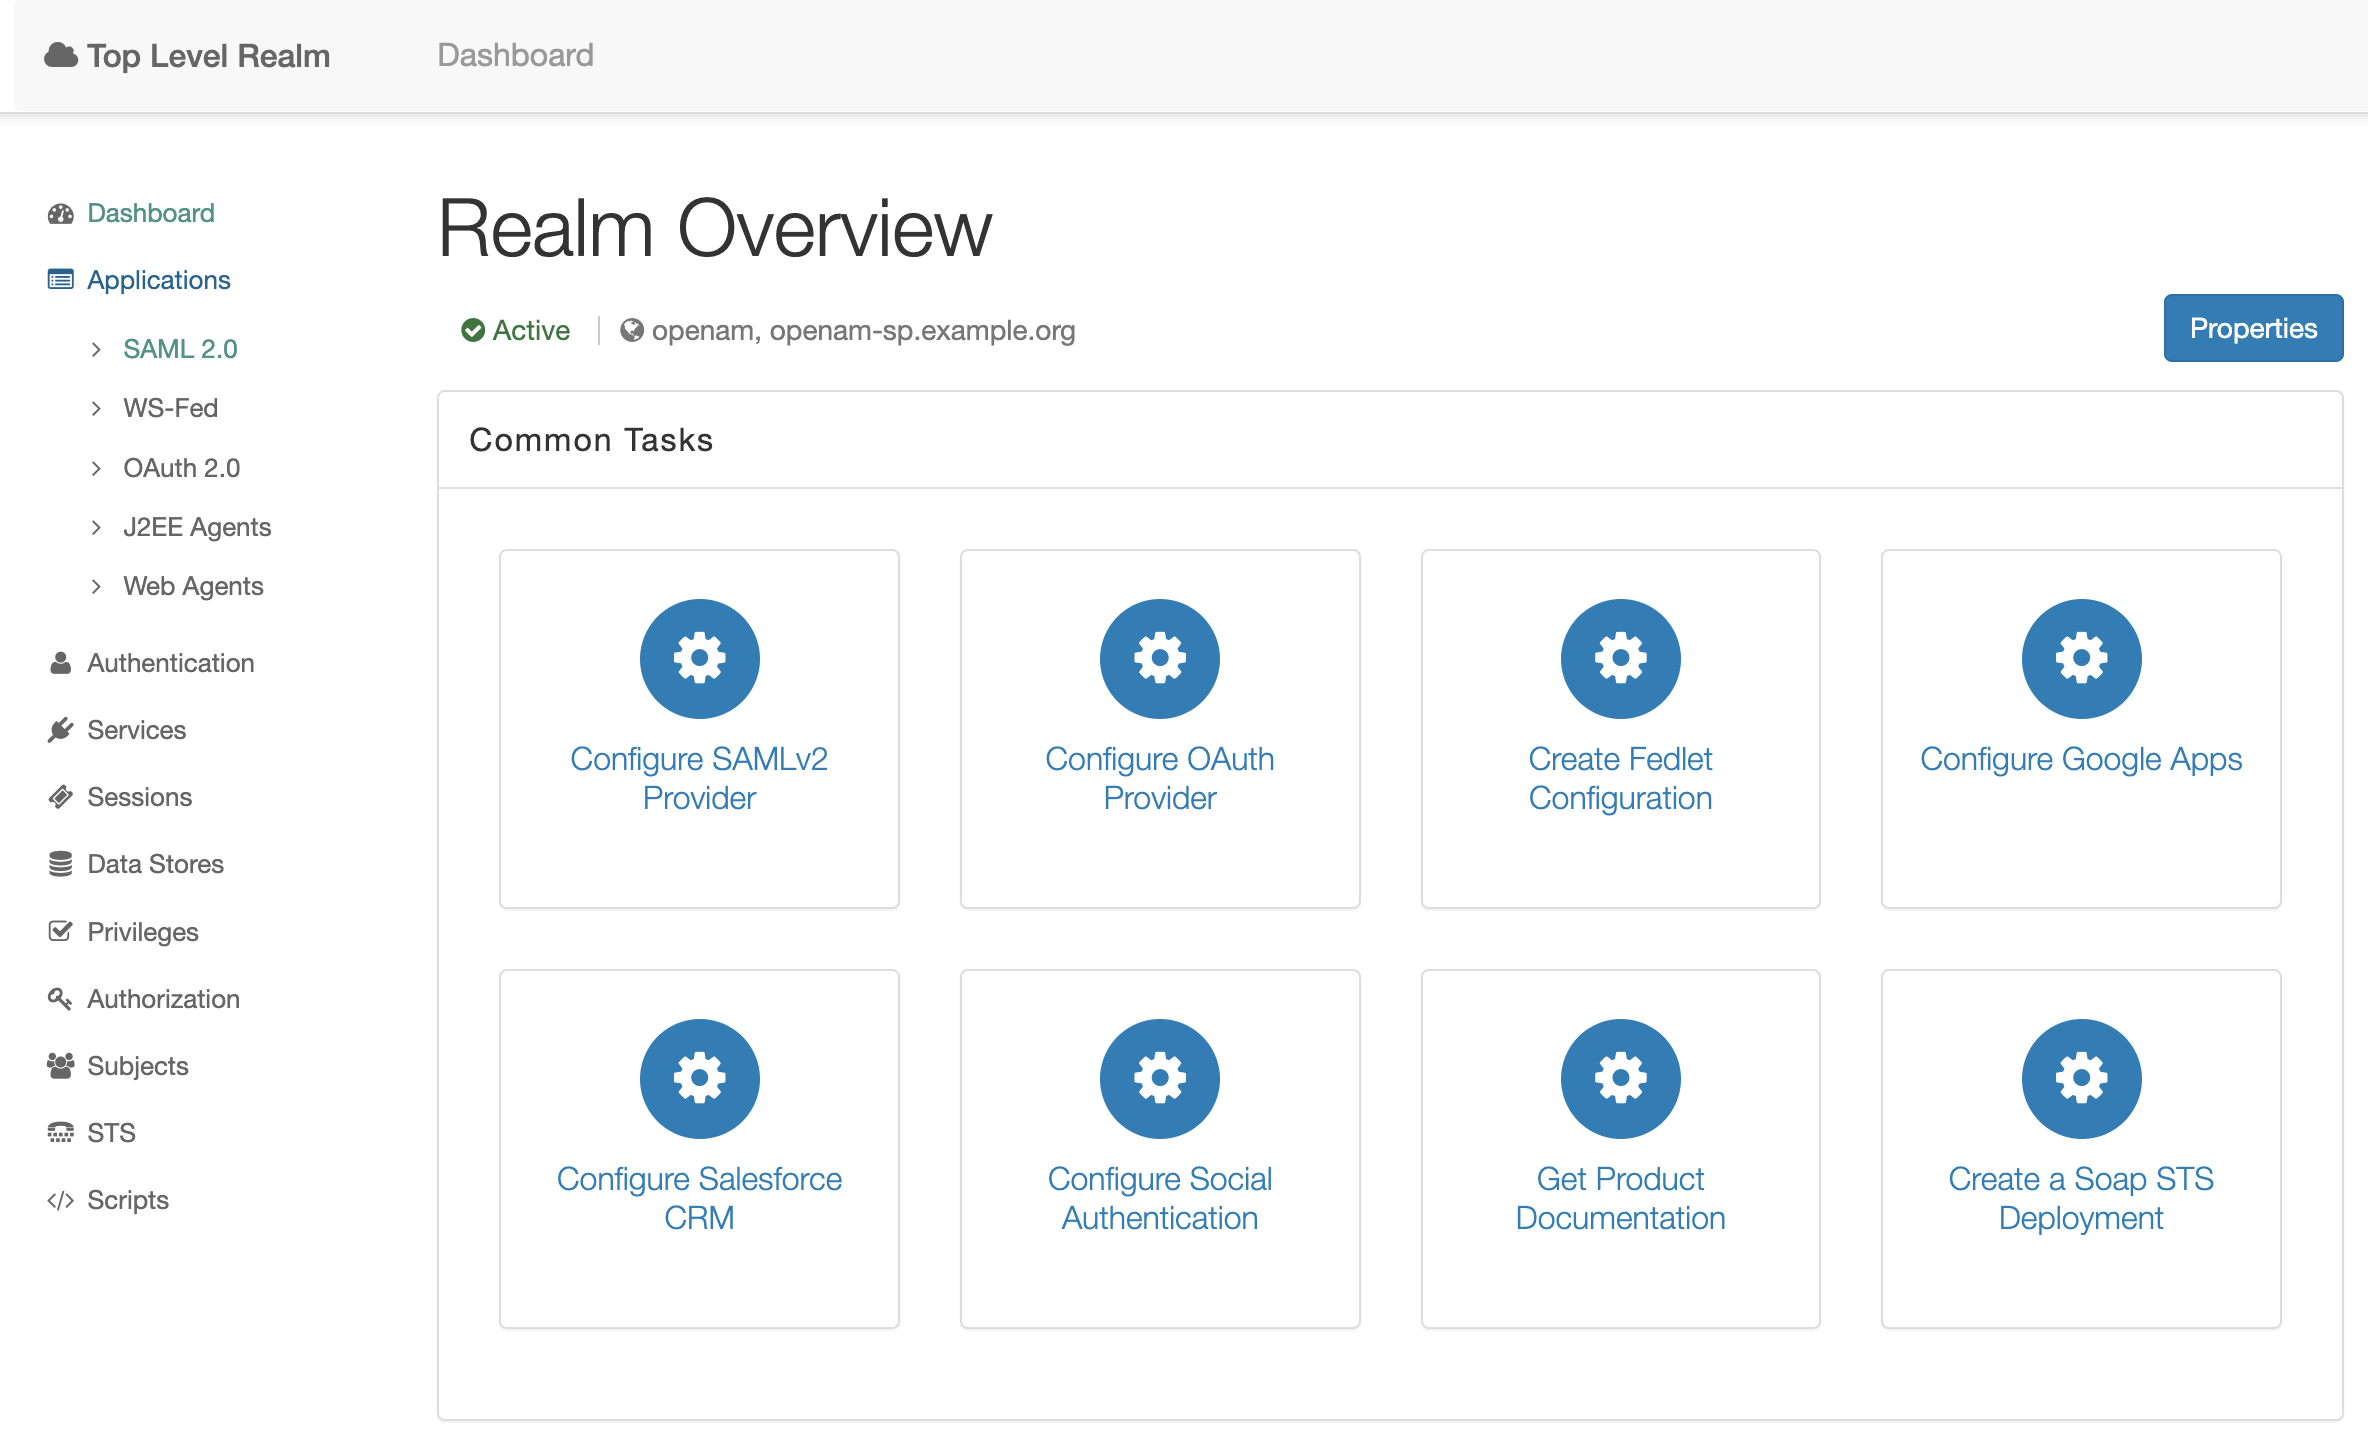
This will open the SAML federation configuration window. Navigate to Entity Providers → http://sp.mycompany.org:8081/openam
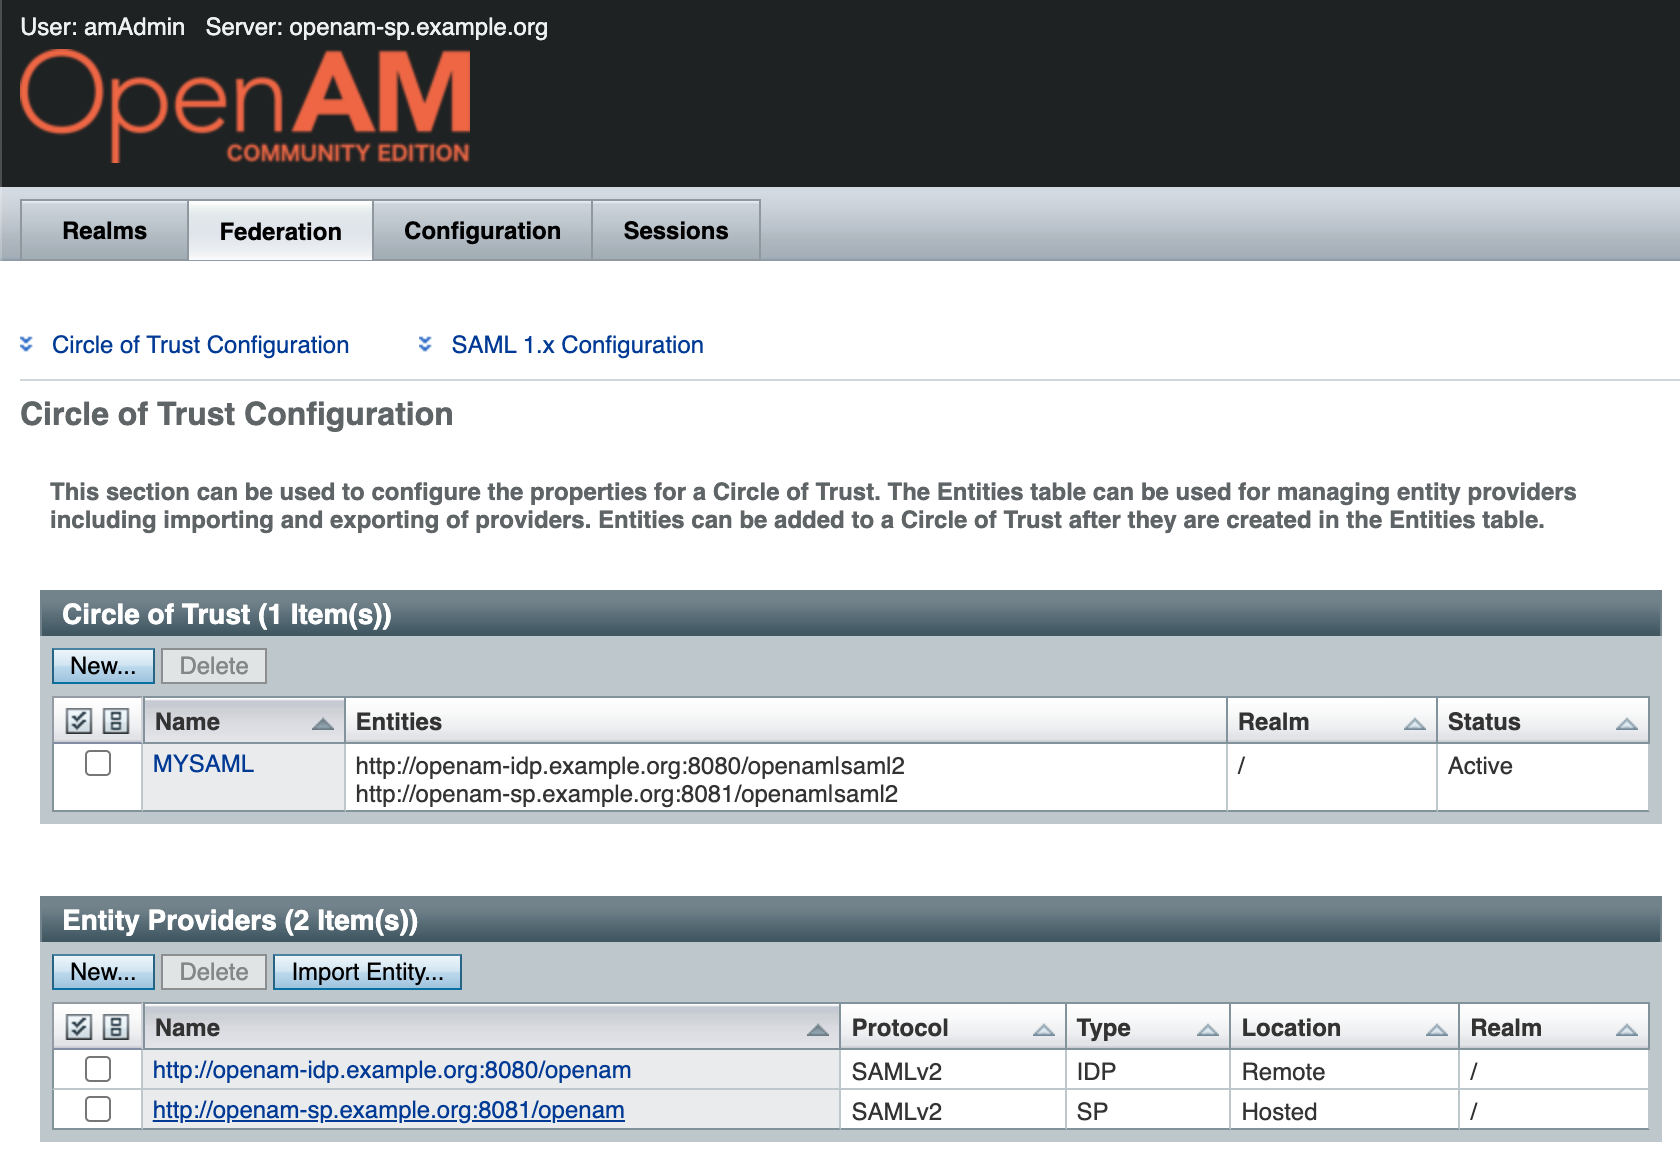
Next, click the Assertions Processing tab. Enable automatic federation by the uid attribute.

Press the Save button.
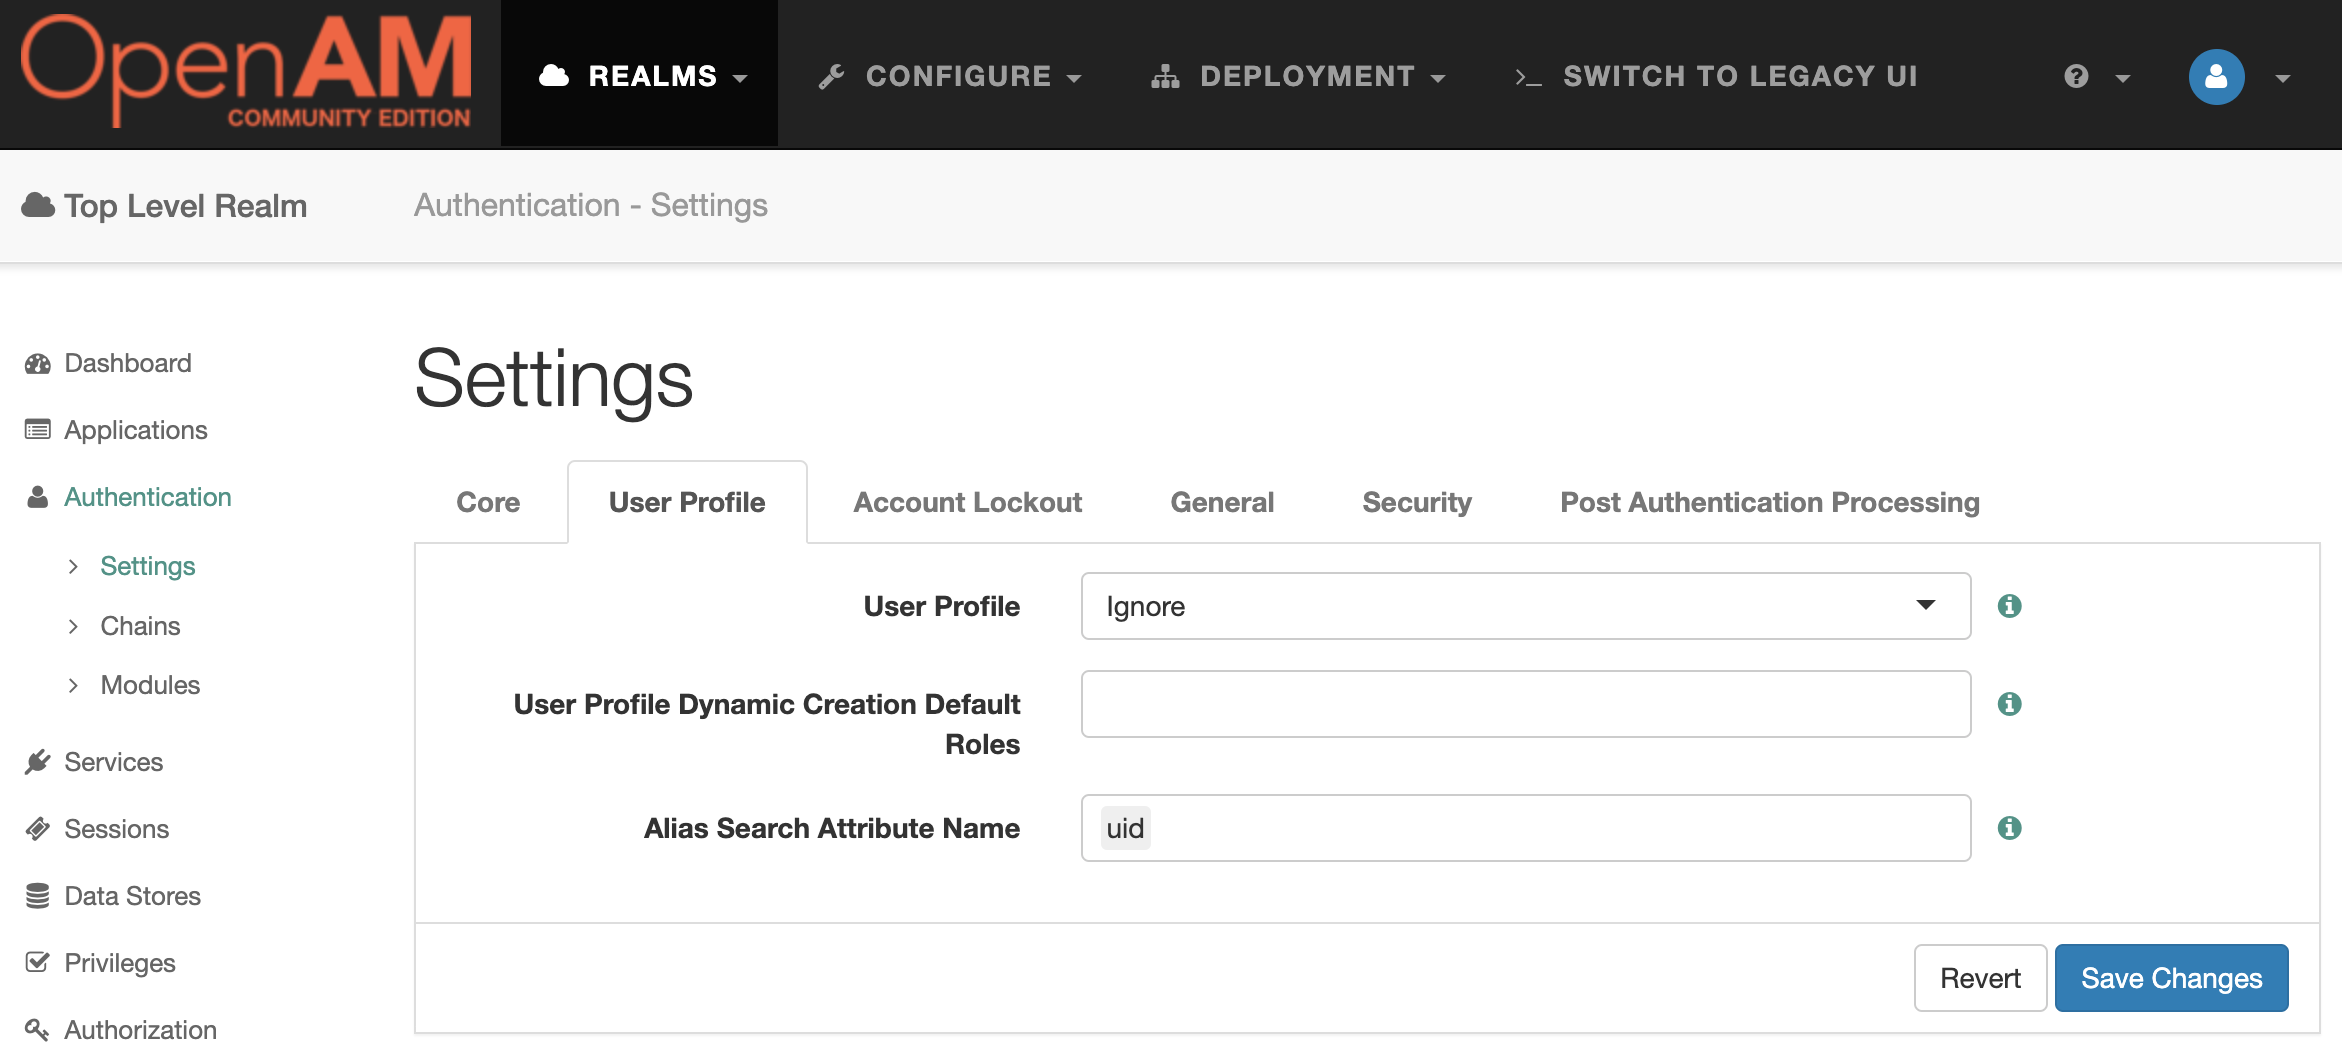
Go to the OpenAM SP administrator console. In the left menu, go to Authentication → Settings . On the User Profile tab, select Ignore . Save the changes.
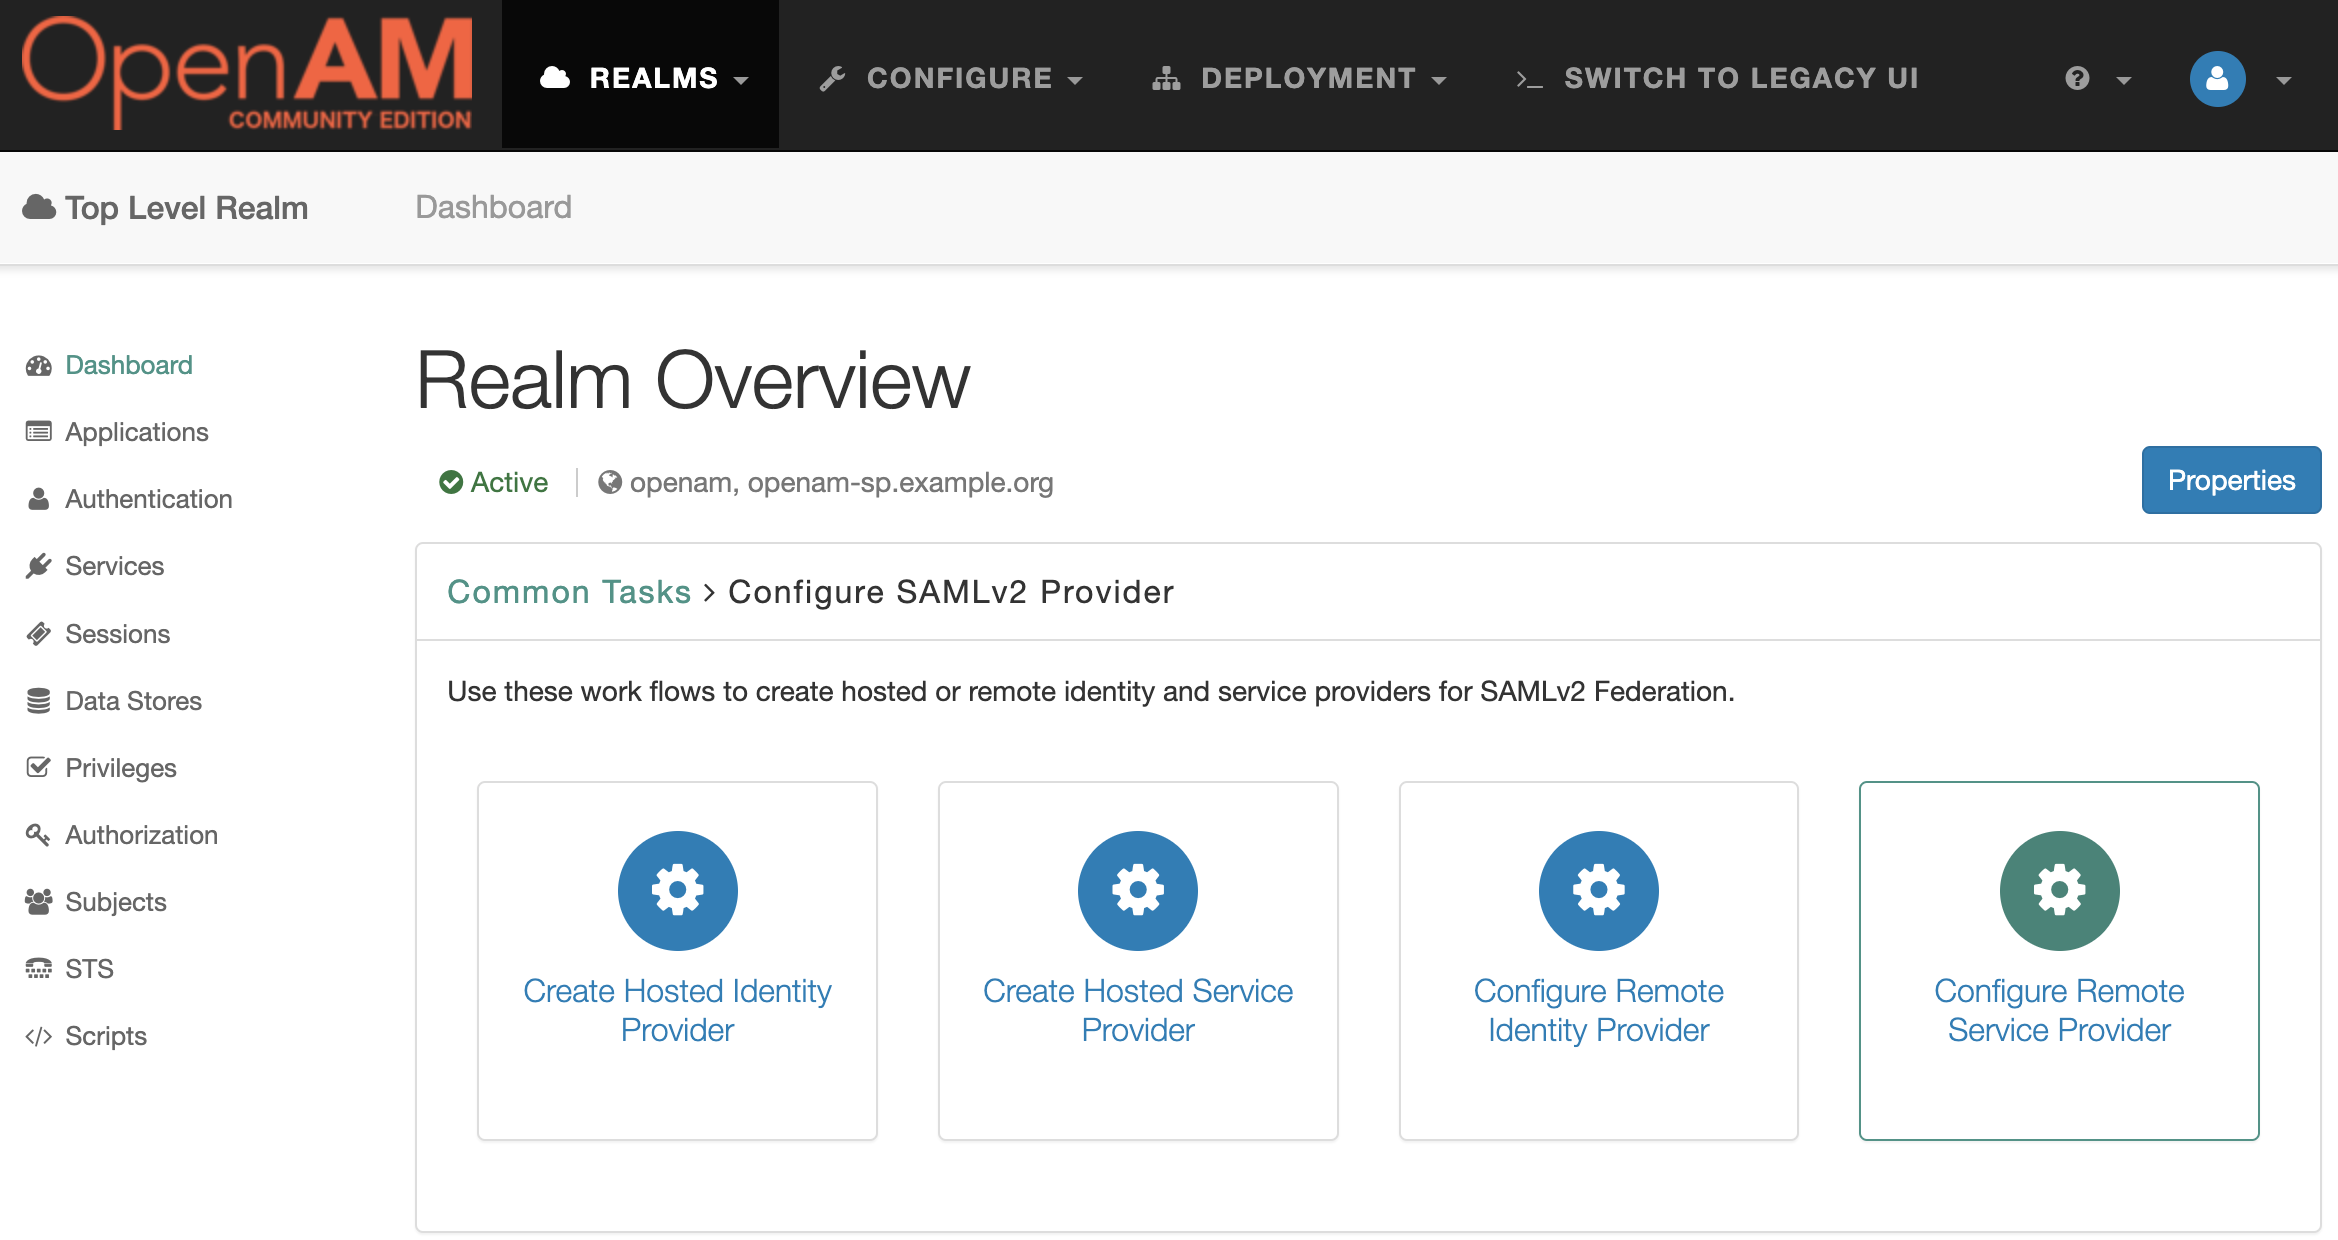
Go to OpenAM IdP administration console at http://openam-idp.example.org:8080/openam. Open the root realm and in the Dashboard select Configure SAMLv2 Provider, then Configure Remote Service Provider.
Add the service provider metadata URL http://sp.mycompany.org:8080/openam/saml2/jsp/exportmetadata.jsp. Note that the OpenAM Service Provider port is 8080 since the OpenAM instances are on the same network OpenAM IdP connects to the SP container on port 8080.
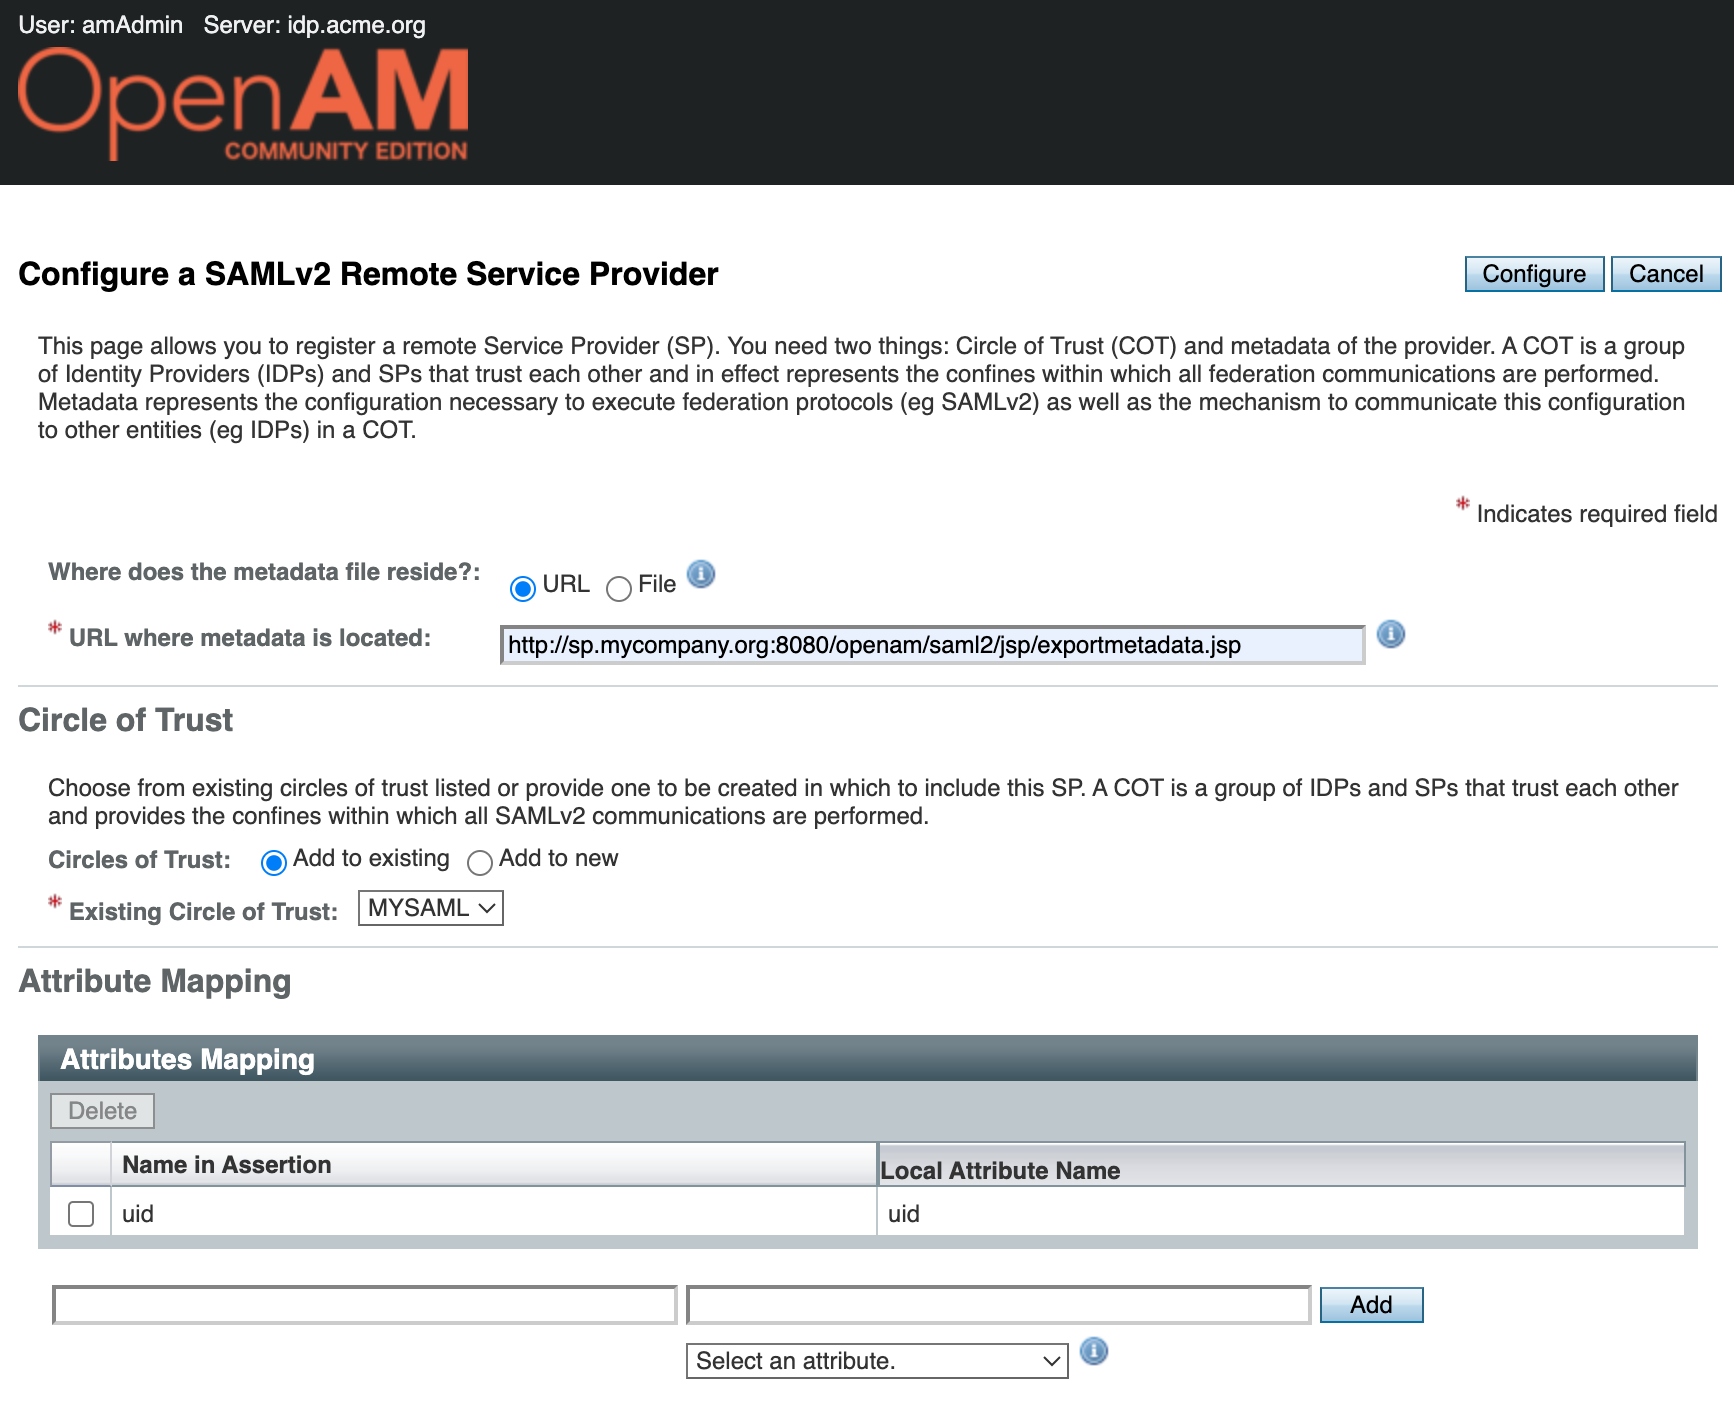
Click the Configure button. A message indicating that the remote service provider has been successfully created will be displayed.
Go to the OpenAM IdP admin console, select realm, in the Dashboard in the left hand menu select Subjects.
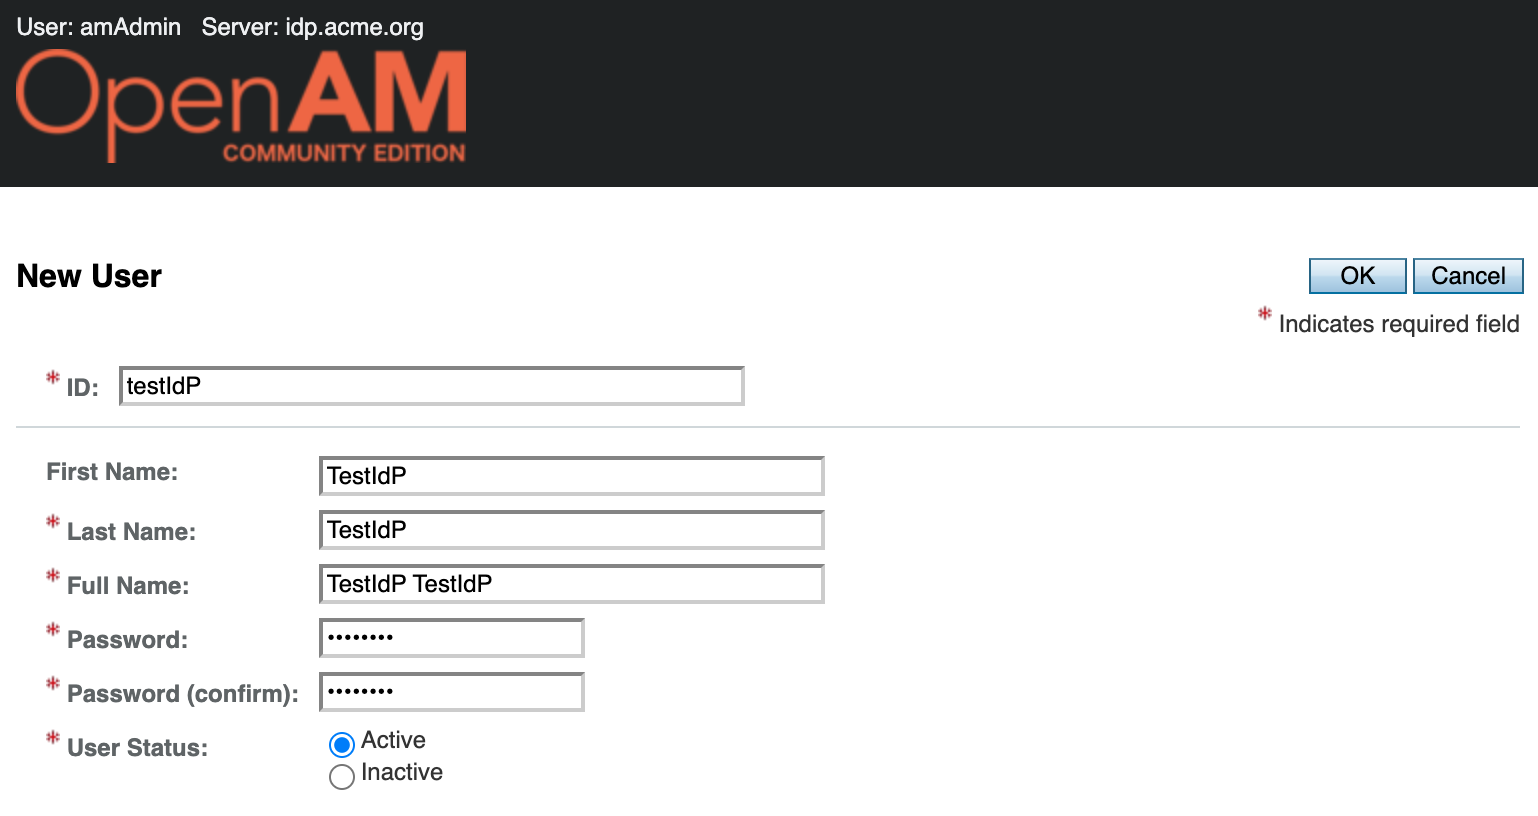
A list of users will open. Create a new testIdp account
Log out of both OpenAM consoles and open the Service Provider authentication initialization link in your browser. http://sp.mycompany.org:8081/openam/spssoinit?metaAlias=/sp&idpEntityID=http%3A//idp.acme.org%3A8080/openam&RelayState=http%3A//sp.mycompany.org%3A8081/openam
As an alternative, you can use the Identity Provider authentication initalization link http://idp.acme.org:8080/openam/idpssoinit?metaAlias=/idp&spEntityID=http%3A//sp.mycompany.org%3A8081/openam&RelayState=http%3A//sp.mycompany.org%3A8081/openam
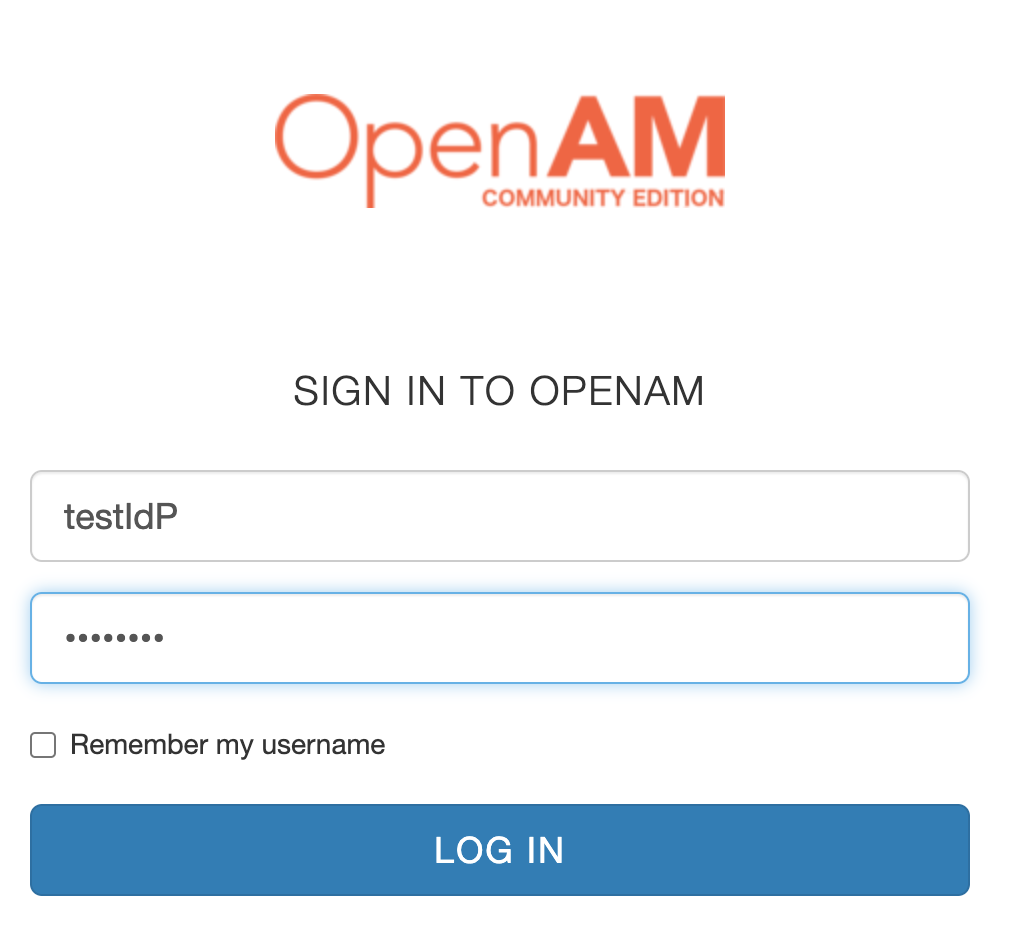
You will be redirected to the Identity Provider authentication. Enter the credentials for the user testIdP.
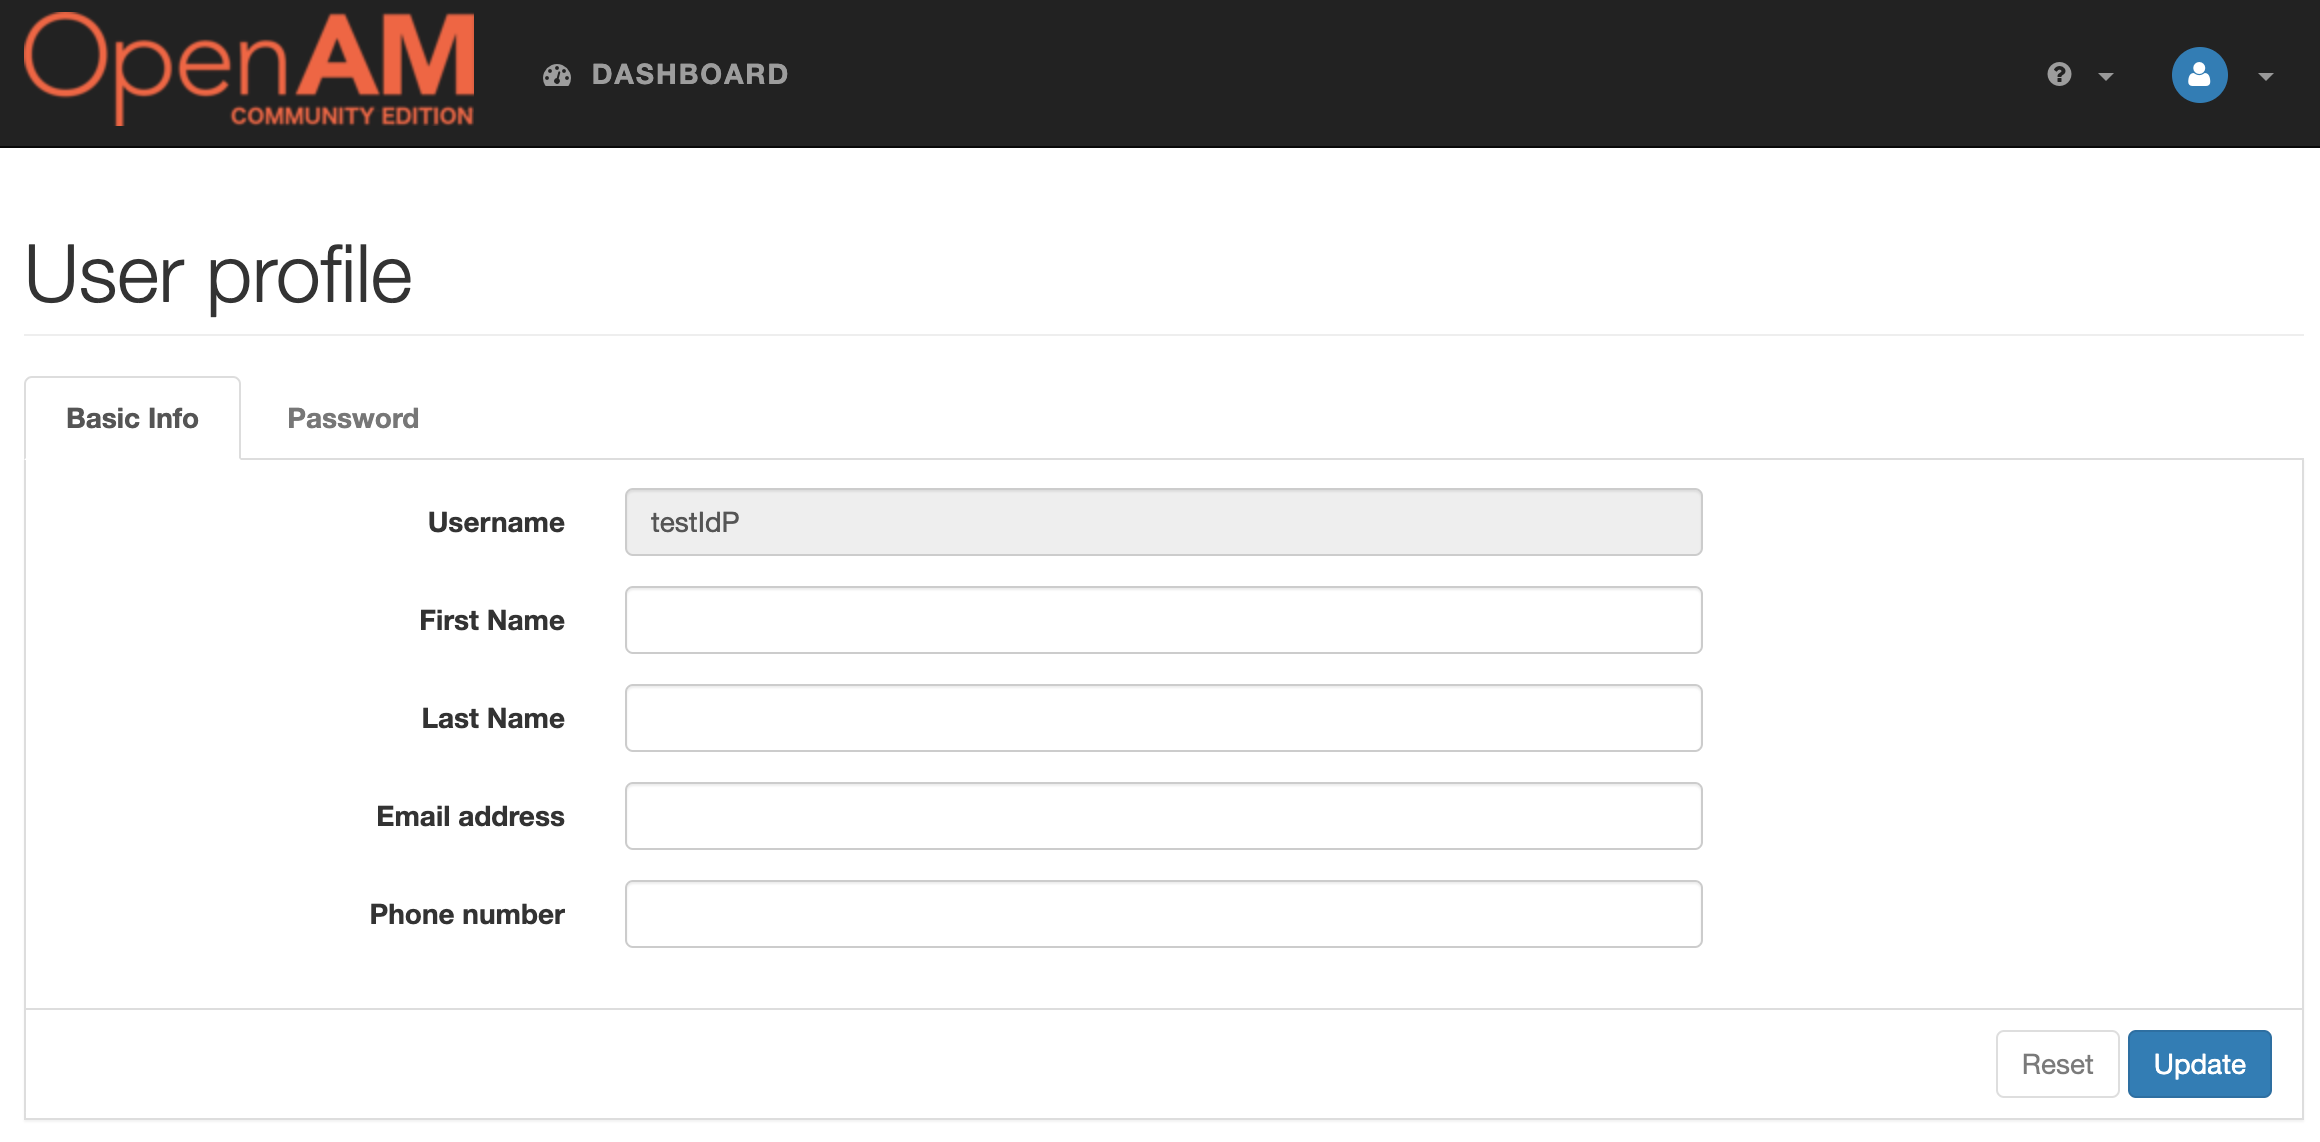
After successful authentication, the SP console with the authenticated user testIdP will be opened
