A NativeScript plugin to provide the Pull to Refresh control on any view.
 |
 |
|---|---|
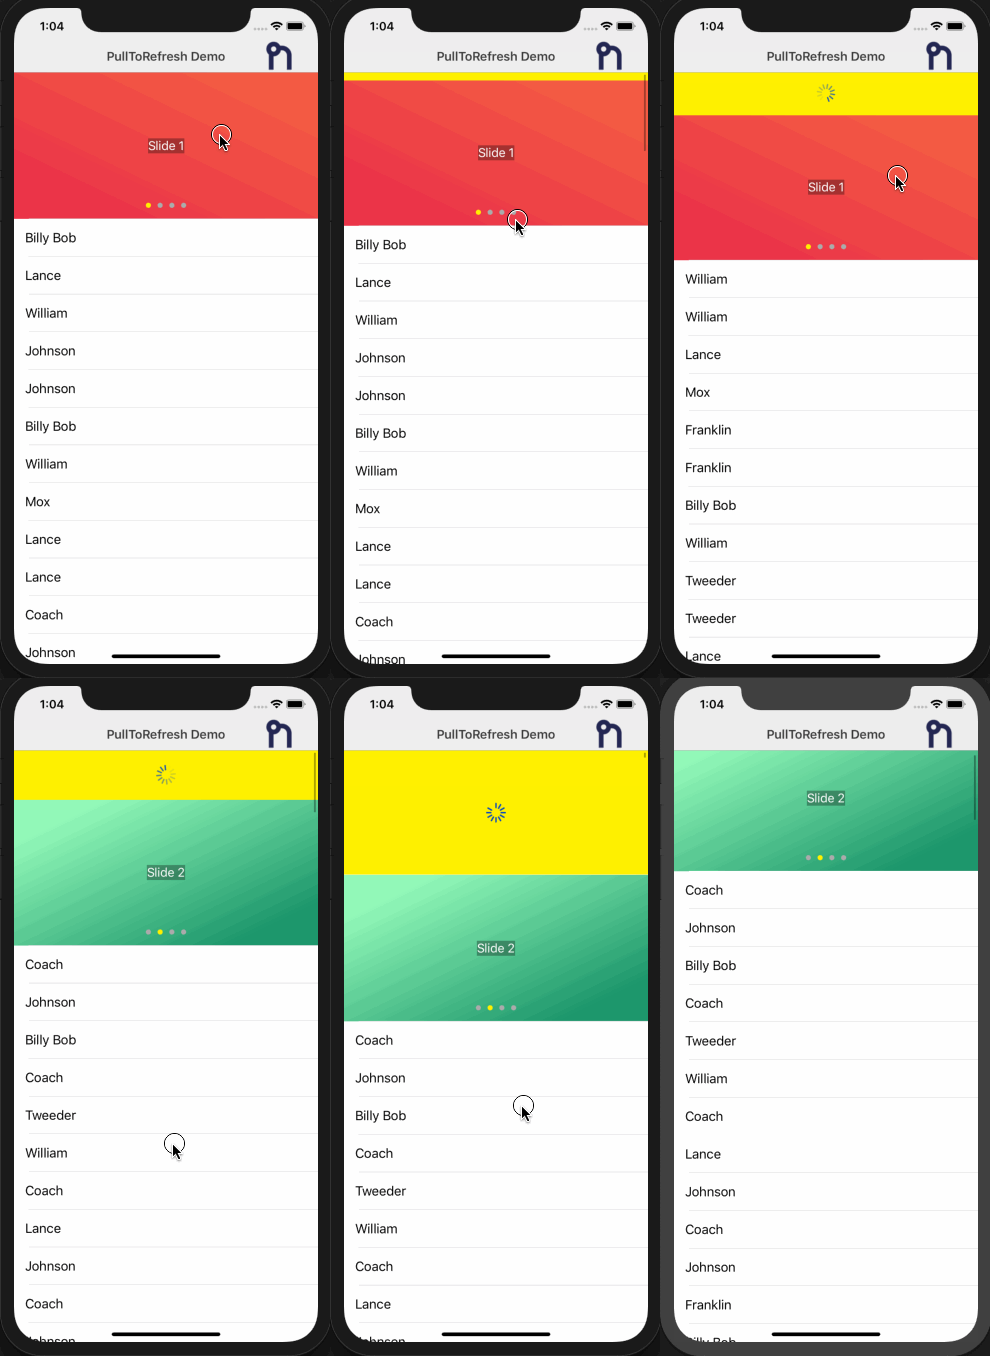
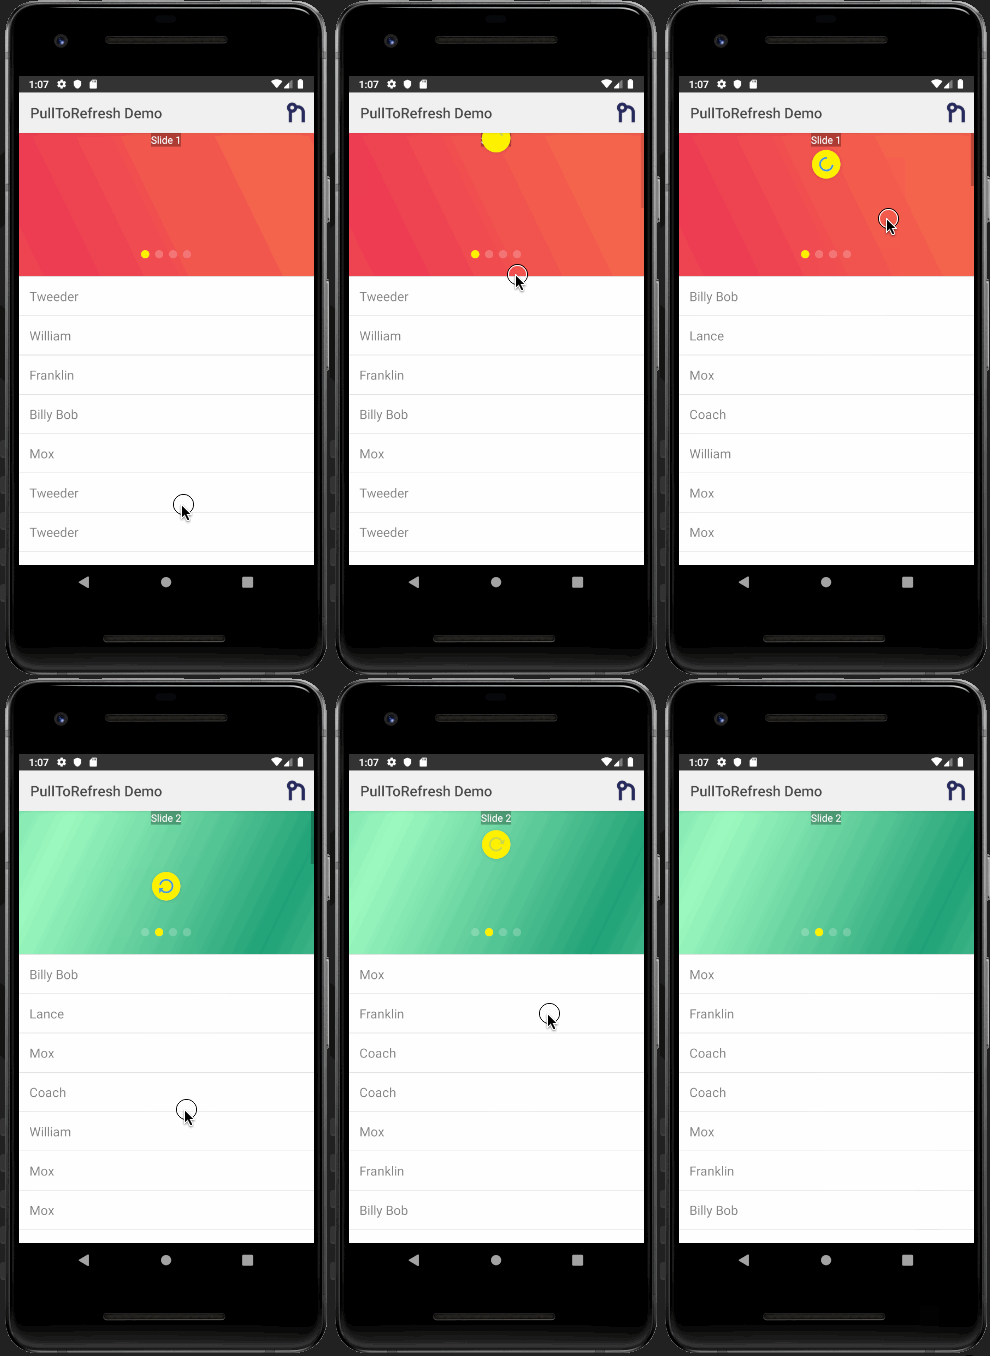
| iOS Demo | Android Demo |
- Installation * [Android - SwipeRefreshLayout](#android---_swiperefreshlayout_httpdeveloperandroidcomreferenceandroidsupportv4widgetswiperefreshlayouthtml) * [iOS - UIRefreshControl](#ios---_uirefreshcontrol_httpsdeveloperapplecomlibraryiosdocumentationuikitreferenceuirefreshcontrol_class)
- Usage
- NativeScript Vue
- Assets
- Properties (bindable)
- Properties
- Methods
- Contributors
- Demos and Development
- Contributing
- Questions
Run the following command from the root of your project:
ns plugin add @nativescript-community/ui-pulltorefresh
<Page
    xmlns="http://schemas.nativescript.org/tns.xsd"
    xmlns:Lottie="@nativescript-community/ui-lottie" navigatingTo="navigatingTo" class="page">
    <StackLayout>
        <Lottie:LottieView src="PinJump.json" height="130" loop="true" autoPlay="true" loaded="yourLoadedEvent" />
    </StackLayout>
</Page>import { LottieView } from "@nativescript-community/ui-lottie";
public yourLoadedEvent(args) {
this._myLottie = args.object as LottieView; /// this is the instance of the LottieAnimationView
}First you need to include the NativeScriptLottieModule in your app.module.ts
import { NativeScriptLottieModule} from '@nativescript-community/ui-lottie/angular';

@NgModule({
    imports: [
        NativeScriptLottieModule
    ],
    ...
})<StackLayout>
<LottieView width="100" height="150" [src]="src" [loop]="loop" [autoPlay]="autoPlay" (loaded)="lottieViewLoaded($event)"> </LottieView>
</StackLayout>import { Component } from '@angular/core';
import { LottieView } from '@nativescript-community/ui-lottie';
@Component({
templateUrl: 'home.component.html',
moduleId: module.id
})
export class HomeComponent {
public loop: boolean = true;
public src: string;
public autoPlay: boolean = true;
public animations: Array<string>;
private _lottieView: LottieView;
constructor() {
this.animations = [
'Mobilo/A.json',
'Mobilo/D.json',
'Mobilo/N.json',
'Mobilo/S.json'
];
this.src = this.animations[0];
}
lottieViewLoaded(event) {
this._lottieView = <LottieView>event.object;
}
}If you want to use this plugin with Vue, do this in your app.js or main.js:
import LottieView from '@nativescript-community/ui-lottie/vue';

Vue.use(LottieView);
This will install and register LottieView component to your Vue instance and now you can use the plugin.
<template>
    <Page class="page">
        <StackLayout>
            <LottieView height="130" src="PinJump.json" :loop="true" :autoPlay="true" @loaded="lottieViewLoaded"></LottieView>
        </StackLayout>
    </page
</template>

<script>
    export default {
        methods: {
            lottieViewLoaded(args) {
                this._lottieView = args.object;
            },
        },
        data() {
            return {
                _lottieView: null,
            }
        }
    };
</script>🔥 You can find animations in the sample-effects folder.
Place your animation files in the NS app's app/App_Resources/Android/src/main/assets folder.
Note: In a nativescript-vue project the above folder may not exist. Place the files in platforms/android/app/src/main/assets.
Place your animations files in your app/App_Resources/iOS/ folder.
| Property | Type | Default | Description |
|---|---|---|---|
autoPlay |
boolean |
false |
Start LottieView animation on load if true. |
loop |
boolean |
false |
Loop continuously animation if true. |
src |
string |
null |
Animation path to .json file. |
| Property | Type | Default | Description |
|---|---|---|---|
completionBlock |
(boolean) => void |
null |
Completion block to be executed upon completion of the animation. The animation is considered complete when it finishes playing and is no longer looping. |
duration |
number |
null |
Get the duration of the animation. |
progress |
number |
0 |
Get/set the progress of the animation. |
speed |
number |
1 |
Get/set the speed of the animation. |
| Method | Return | Parameters | Description |
|---|---|---|---|
cancelAnimation |
void |
None | Pauses the animation for the LottieView instance. |
isAnimating |
boolean |
None | Returns true if the LottieView is animating, else false. |
playAnimation |
void |
None | Plays the animation for the LottieView instance. |
playAnimationFromProgressToProgress |
void |
startProgress, endProgress | Plays the animation for the LottieView instance from the specified start and end progress values (between 0 and 1). |
setColor |
void |
value, keyPath | Sets the provided color value on each property that matches the specified keyPath in the LottieView instance. |
setOpacity |
void |
value, keyPath | Sets the provided opacity value (0 - 1) on each property that matches the specified keyPath in the LottieView instance. |
| bradmartin | NathanWalker | rhanb | HamdiWanis |
| itstheceo | mudlabs |
The repo uses submodules. If you did not clone with --recursive then you need to call
git submodule update --init
The package manager used to install and link dependencies must be pnpm or yarn. npm wont work.
To develop and test:
if you use yarn then run yarn
if you use pnpm then run pnpm i
Interactive Menu:
To start the interactive menu, run npm start (or yarn start or pnpm start). This will list all of the commonly used scripts.
npm run build.allWARNING: it seems yarn build.all wont always work (not finding binaries in node_modules/.bin) which is why the doc explicitly uses npm run
npm run demo.[ng|react|svelte|vue].[ios|android]

npm run demo.svelte.ios # Example
Demo setup is a bit special in the sense that if you want to modify/add demos you dont work directly in demo-[ng|react|svelte|vue]
Instead you work in demo-snippets/[ng|react|svelte|vue]
You can start from the install.ts of each flavor to see how to register new demos
You can update the repo files quite easily
First update the submodules
npm run updateThen commit the changes Then update common files
npm run syncThen you can run yarn|pnpm, commit changed files if any
npm run readmenpm run docThe publishing is completely handled by lerna (you can add -- --bump major to force a major release)
Simply run
npm run publishThe repo uses https:// for submodules which means you won't be able to push directly into the submodules.
One easy solution is t modify ~/.gitconfig and add
[url "ssh://[email protected]/"]
	pushInsteadOf = https://github.com/
If you have any questions/issues/comments please feel free to create an issue or start a conversation in the NativeScript Community Discord.