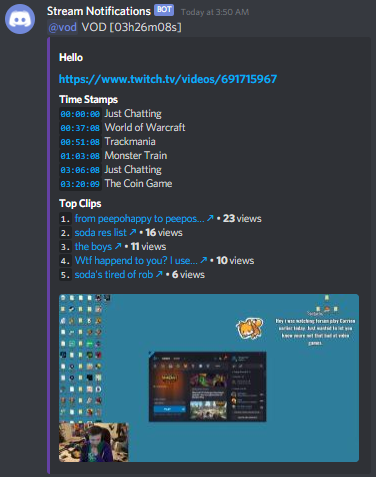
A Twitch Stream Notification Bot. This will send notifications to a webhook in your Discord server when the subscribed streamer goes live or changes their game.
- JDK 11 or better
- Stable Internet
The configuration file must be called config.json and has to be in the working directory. An example configuration can be found in example-config.json.
Anything marked with (optional) can be set to null to be disabled.
In this section you can configure some custom logging pattern and the minimum logging level to show in your Discord Webhook. By default, this will only log for messages with level WARN or ERROR.
levelThe severity level at which to start logging (INFO > WARN > ERROR)patternThe custom logback pattern to use
The webhook URL is configured in discord.logging below.
This section of the configuration contains settings for the discord side of the bot such as role names and webhook URLs. Note that the bot uses global role cache, independent of servers, and it is recommended to only have the bot account in one server.
If you don't know how to create a discord bot and get access to the token: How to make a discord bot
tokenThe discord bot tokenstream_notificationsThe webhook URL to send stream updates to (see How to create a webhook)role_nameConfiguration oftype->roleto change the default names of the update roles (empty value""disables the role, and removes the role mention from notifications)enabled_eventsArray of events to publish to thestream_notificationswebhookloggingOptional webhook URL for errors and warnings printed at runtime (omit or null to disable)show_notify_hintsWhether to show a hint in the embed footer about the/notifycommand
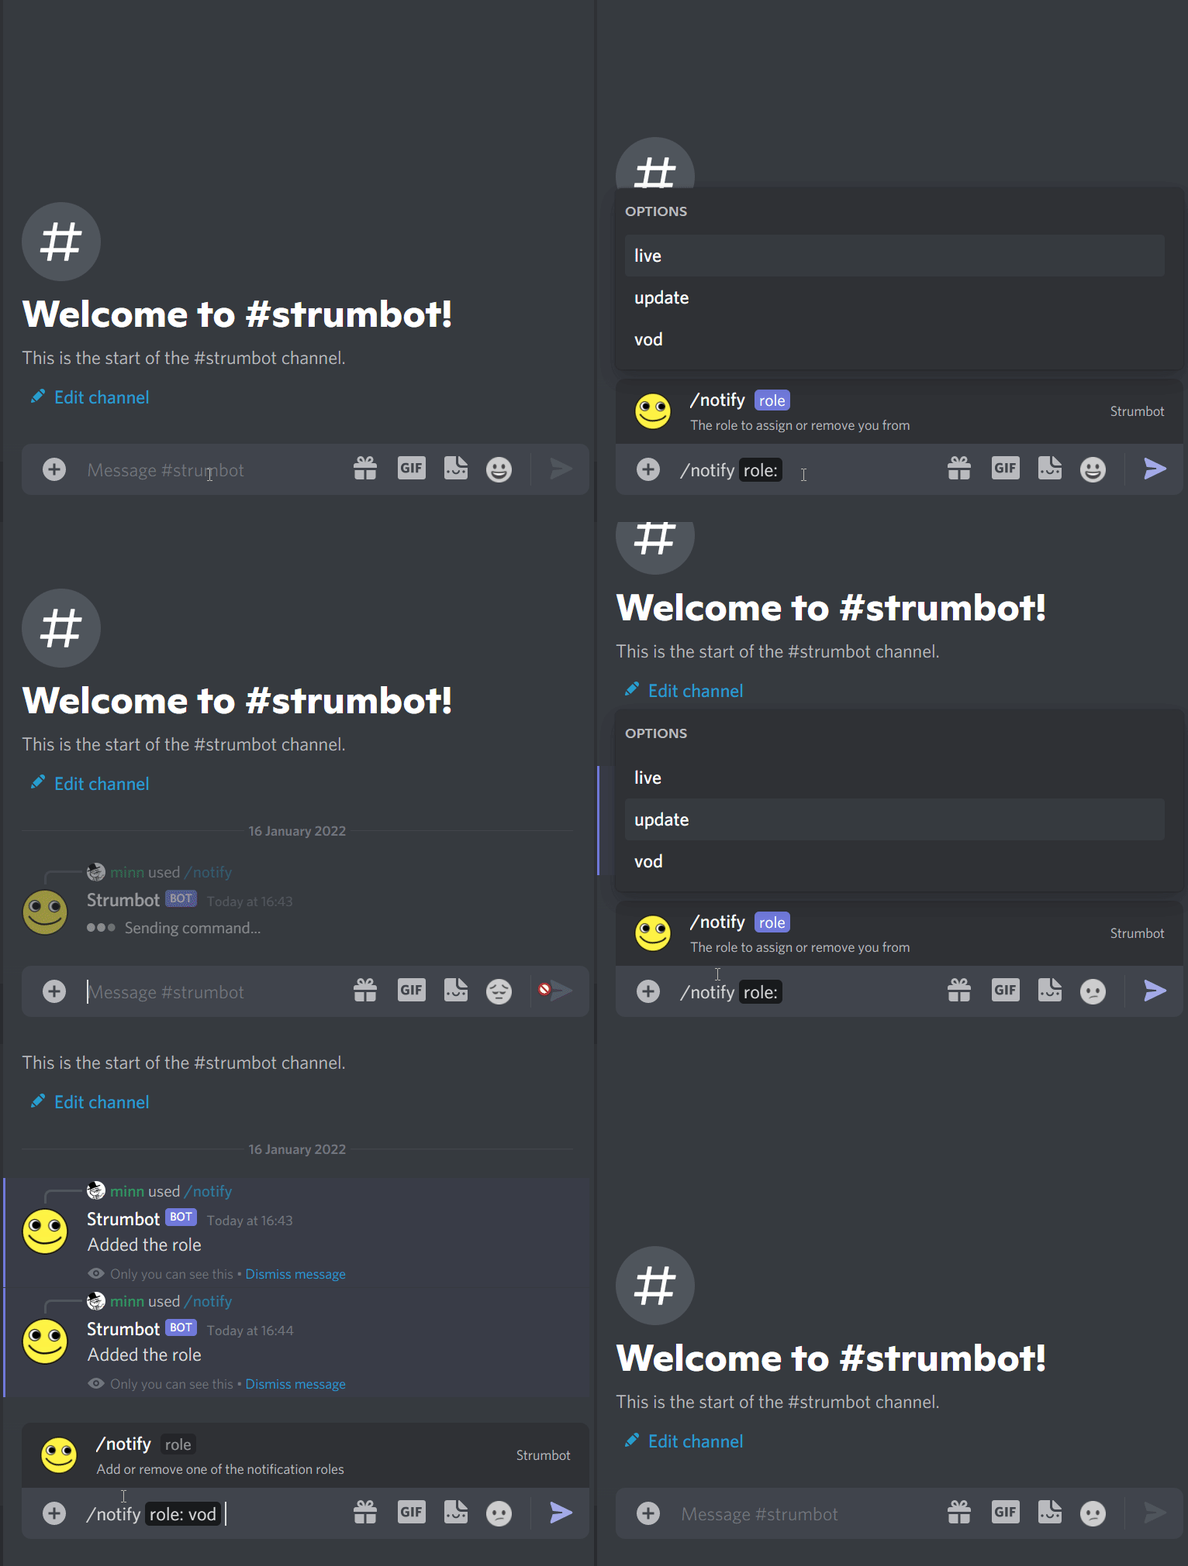
The roles used for updates can be managed by the bot with the /notify role: <type> command.
This command will automatically assign the role to the user.
For example, with the configuration "live": "Stream is Live" the bot will accept the command /notify role: live and assign/remove the role Stream is Live for the user.
These commands are ephemeral, which means they only show up to the user who invokes them. This way you can use them anywhere without having any clutter in chat!
liveWhen the streamer goes liveupdateWhen the streamer changes the current gamevodWhen the streamer goes offline (includes vod timestamps for game changes)
This configuration section contains required information to track the stream status.
If you don't know how to make a twitch application and access the client_id: How to make a twitch app
offline_grace_periodMinutes to wait before firing a VOD event after channel appears offline (Default: 2)top_clipsThe maximum number of top clips to show in the vod event (0 <= x <= 5)client_idThe twitch application's client_idclient_secretThe twitch application's client_secretuser_loginThe username of the tracked streamer
The offline_grace_period is an engineering parameter which is helpful to handle cases where streams temporarily appear offline due to outages or otherwise unwanted connection issues.
{
  "discord": {
    "token": "NjUzMjM1MjY5MzM1NjQ2MjA4.*******.*******",
    "stream_notifications": "https://discord.com/api/webhooks/*******/******",
    "logging": null,
    "show_notify_hints": true,
    "role_name": {
      "live": "live",
      "vod": "vod",
      "update": "update"
    },
    "enabled_events": ["live", "update", "vod"]
  },
  "twitch": {
    "top_clips": 5,
    "offline_grace_period": 2,
    "client_id": "*******",
    "client_secret": "*******",
    "user_login": ["Elajjaz", "Distortion2"]
  }
}Currently, I only provide 2 setups. Either docker or through a script. I'm open for pull requests that introduce more or better setups.
The image is hosted at docker hub.
- Open a terminal in the directory of your choice (which includes the
config.json!) - Pull the image with
docker pull minnced/strumbot:%VERSION%(Replace%VERSION%with the version here: latest release) - Change the configuration in
config.json - Create and start a container with this command:
docker run -d \
  -v ./config.json:/etc/strumbot/config.json \
  --name strumbot \
  --restart unless-stopped \
  minnced/strumbot:%VERSION%
- Download the zip archive from the latest release
- Unzip and open the resulting directory in a terminal of your choice
- Change the configuration in
config.json - Run the script for your current platform:
- Windows:
run.bat - Linux:
run.sh
- Windows:


