-
Notifications
You must be signed in to change notification settings - Fork 98
Getting Started
This is the Getting Started guide. Here we show how to setup a local KES server that stores keys in-memory. Therefore, all keys will be gone once the KES server has been shut down.
                   ╔══════════════════════════════════════════╗
┌────────────┐     ║   ┌────────────┐          ┌───────────┐  ║
│ KES Client ├─────╫───┤ KES Server ├──────────┤ In-Memory │  ║
└────────────┘     ║   └────────────┘          └───────────┘  ║
                   ╚══════════════════════════════════════════╝
If you haven't installed KES yet, install it first.
A KES server can only be run with TLS - since secure-by-default. Here we use self-signed certificates for simplicity.
First, create the TLS private key:
openssl ecparam -genkey -name prime256v1 | openssl ec -out server.keyThen, create the corresponding TLS X.509 certificate:
openssl req -new -x509 -days 30 -key server.key -out server.cert \
  -subj "/C=/ST=/L=/O=/CN=localhost" -addext "subjectAltName = IP:127.0.0.1"
You can ignore output messages like:
req: No value provided for Subject Attribute C, skipped. OpenSSL just tells you that you haven't specified a country, state, a.s.o for the certificate subject. Since we generate a self-signed certificate we don't have to worry about this.
As the root identity we can perform any operation without having to worry about policies for now. A new identity can be created via:
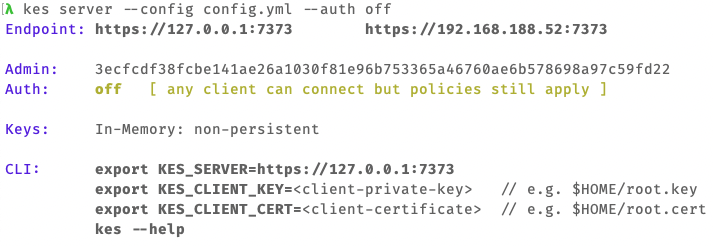
kes tool identity new --key=root.key --cert=root.cert rootNow, switch to a new terminal window and start the KES server:
kes server \
    --key=server.key \
    --cert=server.cert \
    --root=$(kes tool identity of root.cert) \
    --auth=off
--auth=offis required since our root.cert certificates is self-signed

Now, we try to connect to the KES server, create a new secret key, derive a new data key and then decrypt the data key ciphertext.
Switch back to the previous terminal window to set the following environment variables:
export KES_CLIENT_KEY=root.key
export KES_CLIENT_CERT=root.cert
kes key create -k my-key
We have to specify
-ksince we use self-signed certificates.
kes key derive -k my-key
You will see some output similar to:
{
  plaintext : ...
  ciphertext: ...
}
The plaintext is a base64-encoded 256-bit key.
The ciphertext is the plaintext key encrypted with my-key at the server.
kes key decrypt -k my-key <base64-ciphertext>
For more CLI commands see: kes --help
Usage:
    kes [options] <command>

Commands:
    server                   Starts a KES server.
    key                      Manage secret keys.
    log                      Work with server logs.
    policy                   Manage the kes server policies.
    identity                 Assign policies to identities.
    tool                     Run specific key and identity management tools.

Options:
    -v, --version            Print version information
    -h, --help               Show this list of command line options.