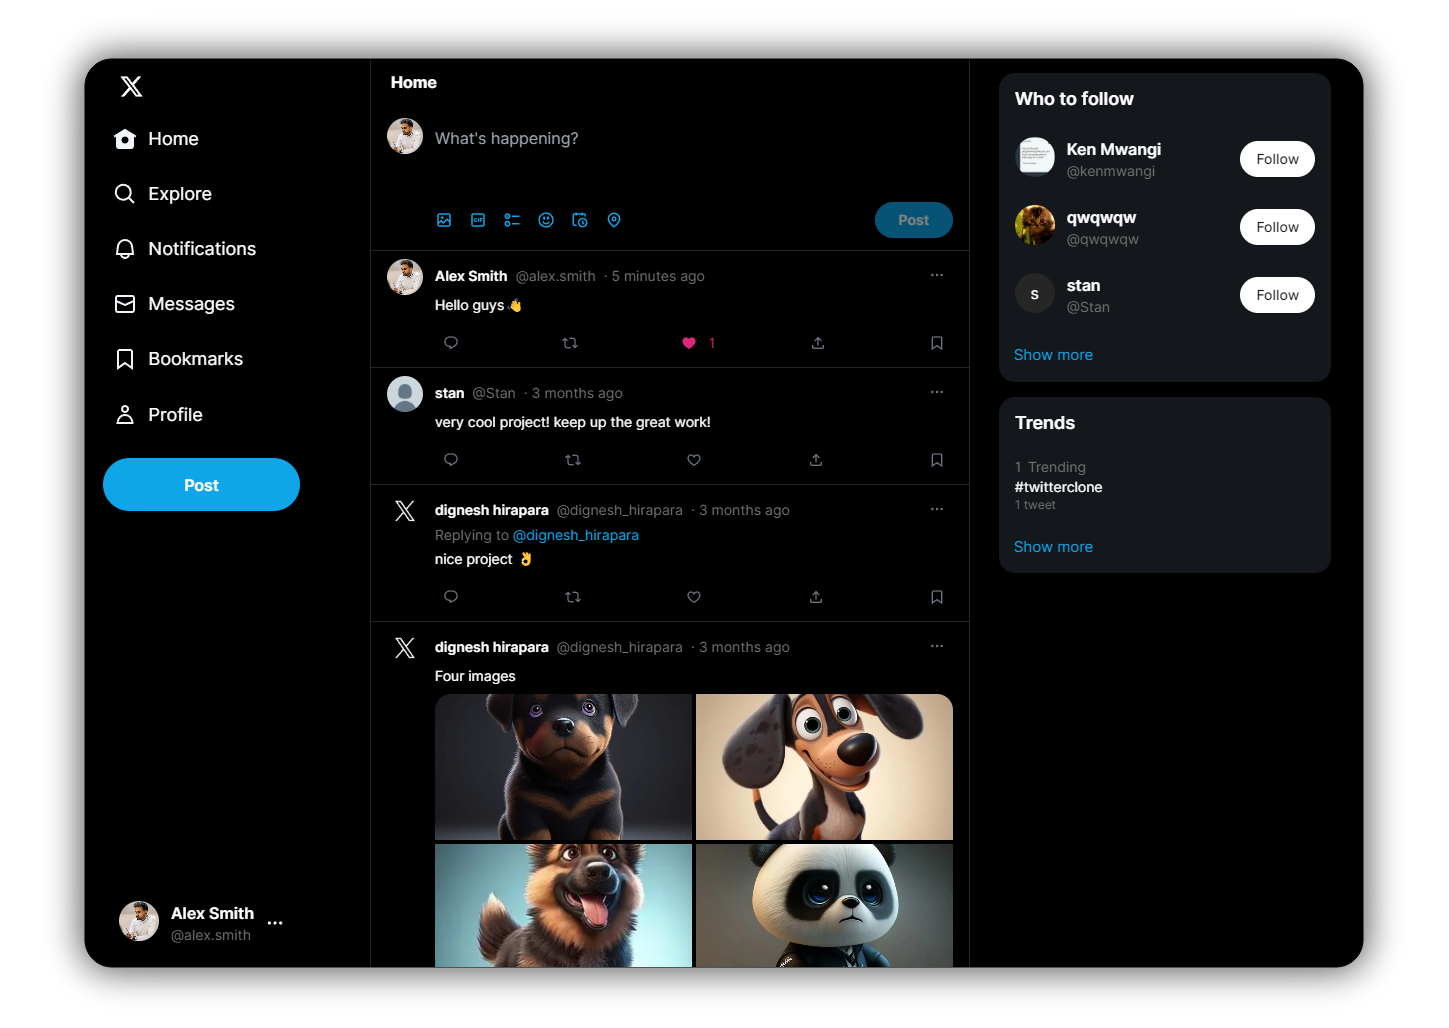
Build a fully functional Twitter clone with using a Next.js 14 with TypeScript, Sass, TailwindCSS, Framer-motion, Tanstack Query, MongoDB, Supabase, Prisma, NextAuth and Zustand. It showcases advanced frontend and backend capabilities.
https://x.com/imDignesh/status/1784166713694773756
- Google / Github / Email (NextAuth) Authentication
- Edit profile with profile / banner images and other details
- Create tweet with upto 4 images and support emojis
- Follow / Unfollow user functionality
- User can Likes / Comments / Replies / Bookmark tweet
- User can see following list of other users
- User can Delete / Pin own post
- User can see other user's following / followers list
- Search any tweet and user
- Discover trending hashtags
- Fully responsive
- Change theme using shortcut
Alt + T
- Next.js
- TypeScript
- Tailwind CSS
- Sass
- Mongodb
- Prisma
- Supabase
- Zustand
- TanStack Query
- NextAuth.js
- Upstash Redis
- zod
- SWR
git clone https://github.com/devdignesh/twitter-clone.git
cd twitter-clone
npm i
npm run devBefore running the development server, make sure to create .env file in the root directory of the project and add the required environment variables. You can use the example provided in the repository as a starting point.
cp .env.example .envnpm install- This will automatically install Prisma and all the necessary dependencies
npx prisma generate- The project uses MongoDB, and the connection is defined in the
.envfile. Make sure your.envincludes the correct MongoDB connection string
DATABASE_URL="mongodb+srv://username:[email protected]/twitter_clone"npx prisma db push- Visit Supabase, sign up, and create a new project.
- After creating your project, go to the
API sectionorconnect. - Find
Project URLandAPI Key/anon keyfor the following environment variables:
NEXT_PUBLIC_SUPABASE_URL="xxx"
NEXT_PUBLIC_SUPABASE_ANON_KEY="xxx"- Copy these keys and add them to your .env file.
- Navigate to Storage in the Supabase dashboard.
- Create three public buckets:
images,banners, andavatars. - Set their public access policies so that users can upload and fetch files. Refer to this detailed guide if you need help with configuring storage policies.
- In each bucket, set the policy under
Configurationto make sure the files can be publicly read.
Once done, your Supabase setup is complete and your application will now be able to store and retrieve images.
This project includes Docker support for easier development and deployment.
- Docker installed on your machine.
- Clone the repository:
git clone https://github.com/devdignesh/twitter-clone.git
cd twitter-clone- Pull the latest Docker image:
docker pull devdignesh/twitter_clone_nextjs:v1.1.0- Run the Docker container:
docker run -d -p 8000:3000 devdignesh/twitter_clone_nextjs:v1.1.0- Access the application in your browser
http://localhost:8000
Welcome to contribute to our repository! We value your input and appreciate any contributions you make
